|
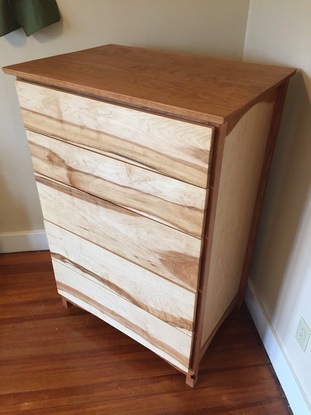
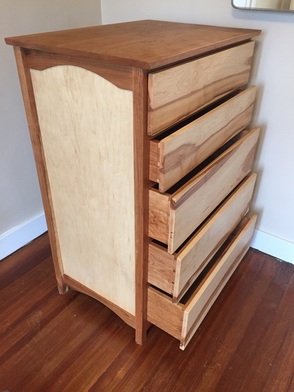
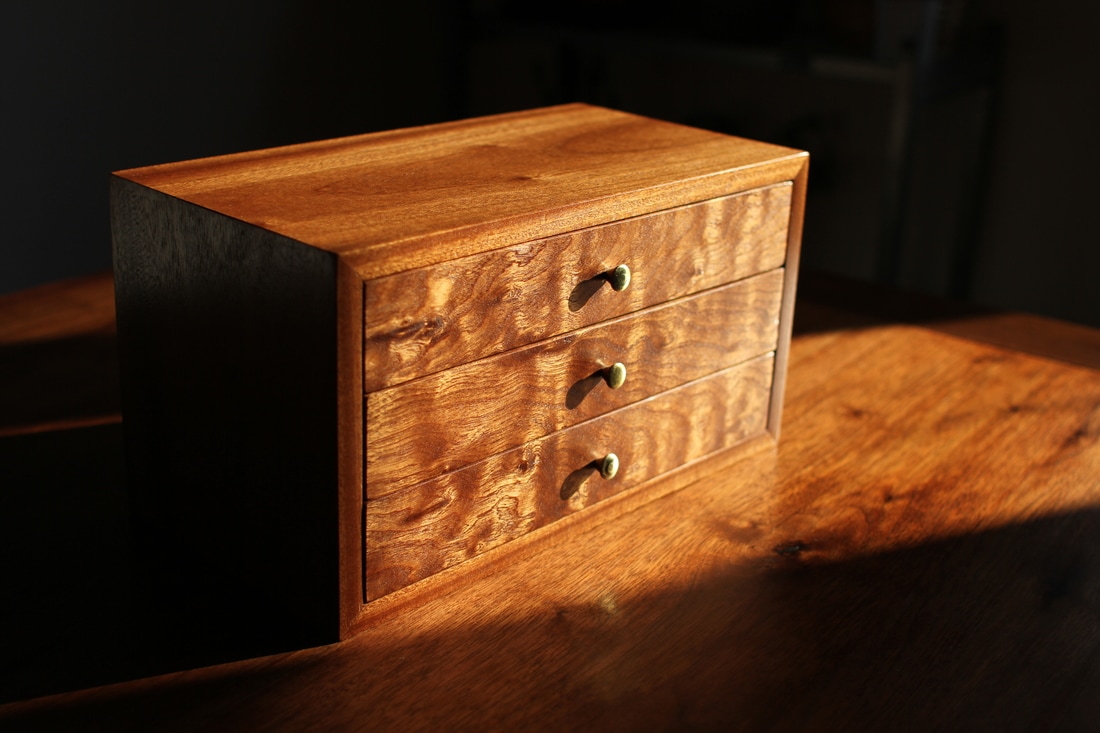
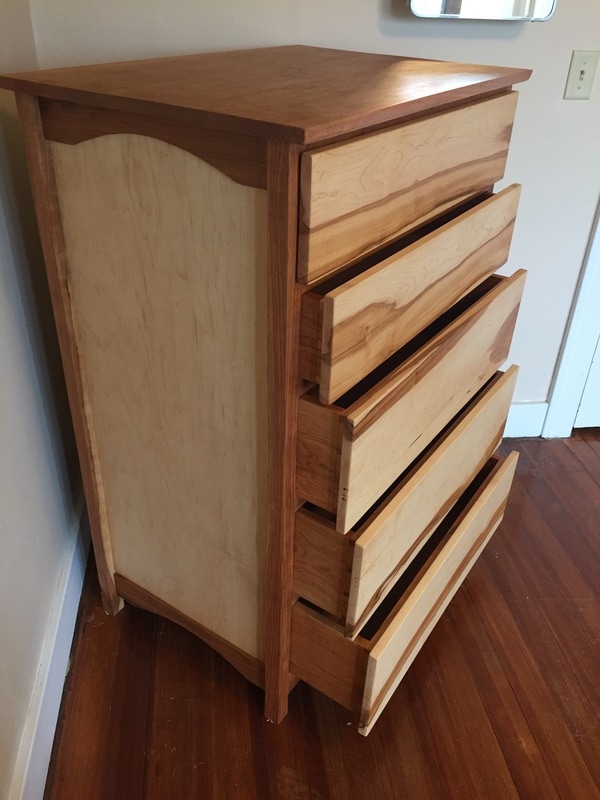
This is a chest of drawers I designed and built for our first child. It had many challenges but I was able to get through all of them and I love the way it turned out. It is mostly shaker style and matches the nightstand I built previously. It weighs about 1000 lbs and is built to last. It contains 26 mortise and tenon joints and 88" of dovetails.
Finished product first. 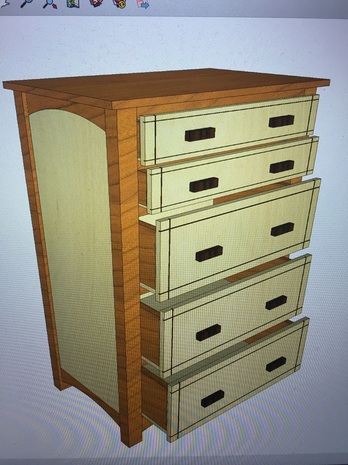 This is the inspiration for the build. I drew this in Sketchup. It was the first time I had a complete plan before starting a project. Due to the scale of this I really wanted to know where I was going to minimize mess-ups.
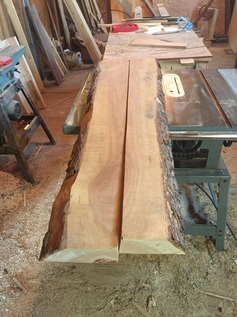
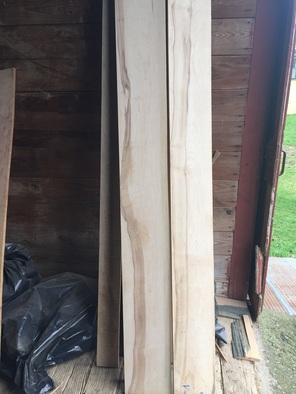
This should be enough cherry for a dresser.
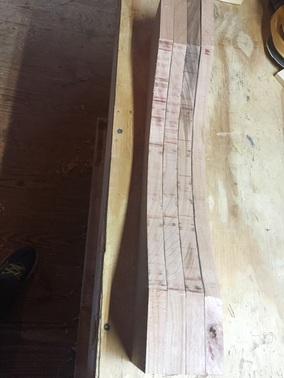
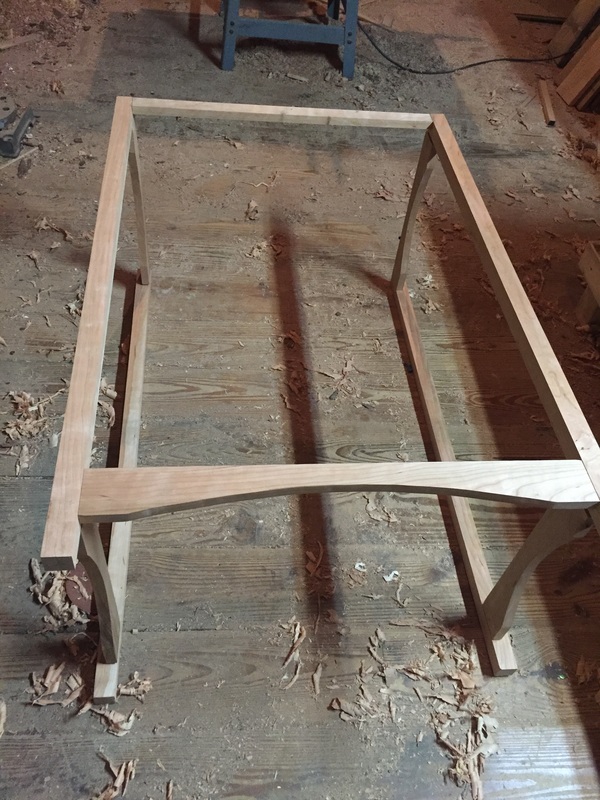
Roughed out the top and bottom rails for the side panels on the band saw. 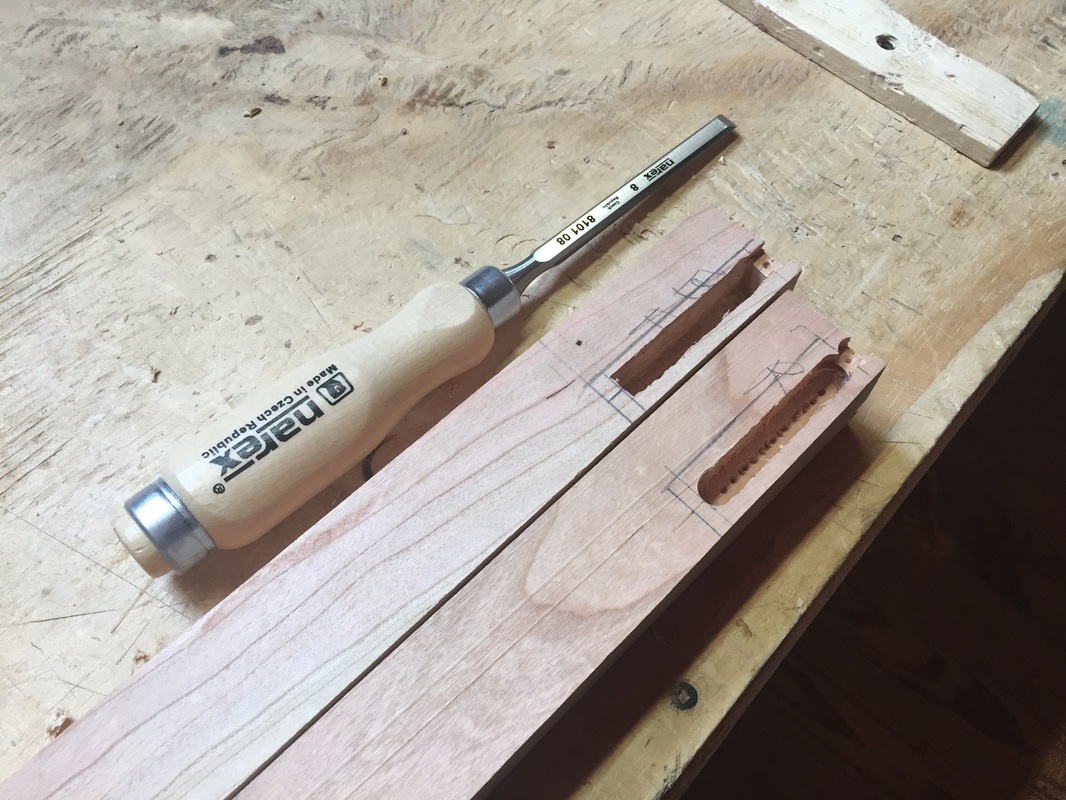 The first 10 mortises we drilled on the drill press and finished with chisels. With 16 to go I bought a mortiser and saved tons of time. It will get a lot use in the future.
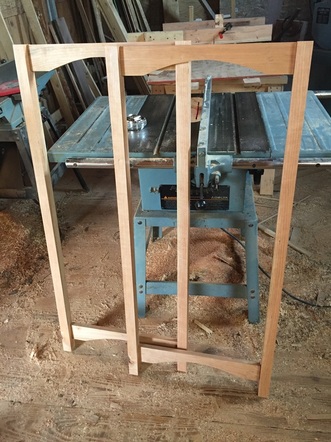
Dry fitting the side panels and the front frame rails.
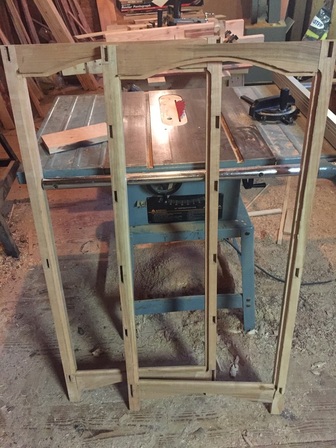
16 more mortise and tenons. This went way better with the mortiser. I used my tenoning jig to cut all of the tenons all at once on the table saw.
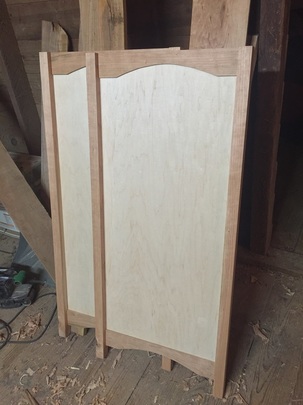
Fit up and panel glued in. There is a 1/2" rabbet cut all the way around the frame to house some really nice 1/2" maple plywood.
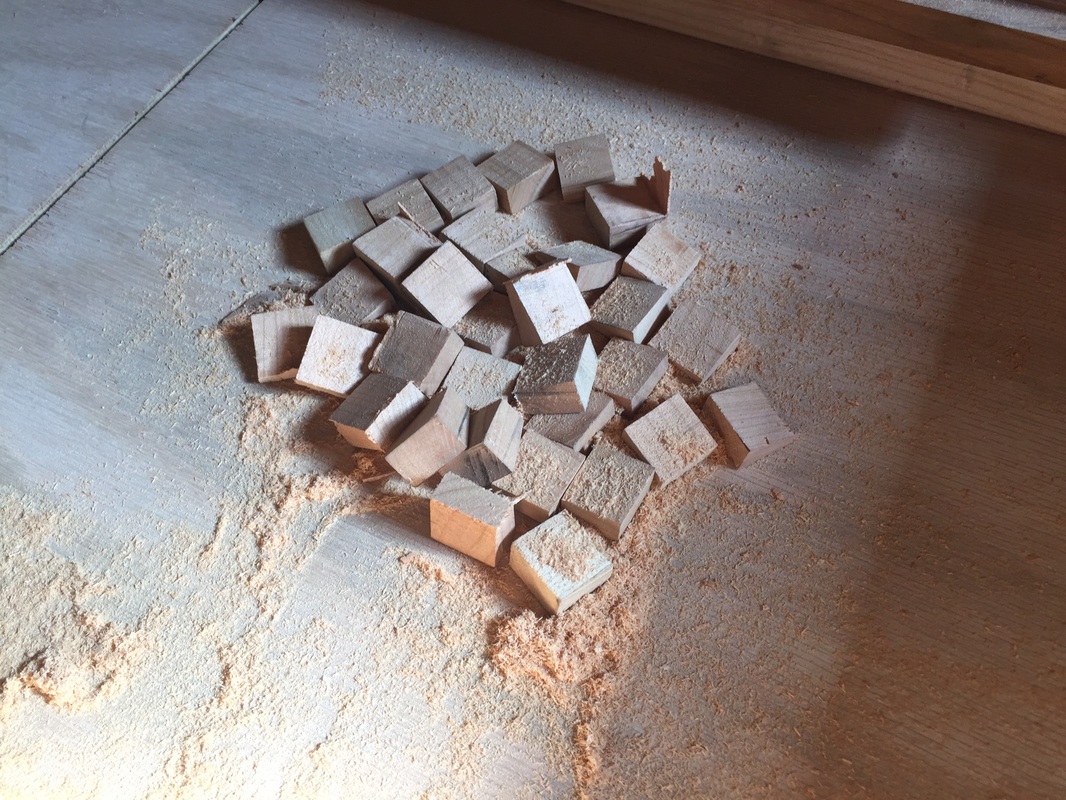
Anything worth doing is worth doing twice? I totally botched the first attempt at dovetails. If anyone is wondering what it looks like to cut off a whole bunch of dovetails here is a video here.
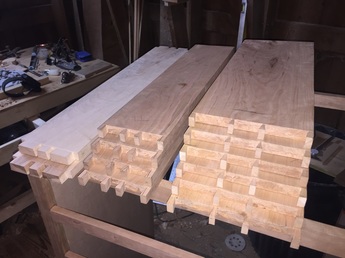
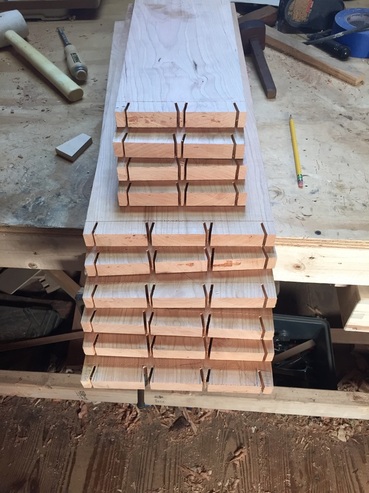
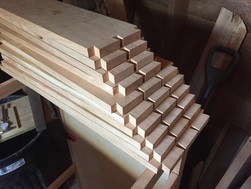
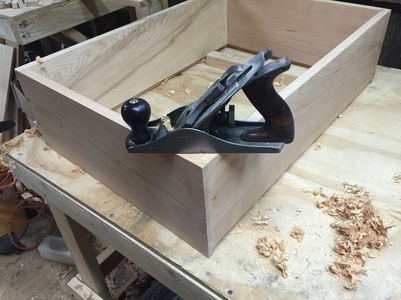
That looks a lot more like dovetails... These are semi-hand cut. The tails are roughed out on the table saw to ensure uniformity and are finished by hand chiseling out the waste. The pins are are all hand sawn and finished with a chisel. All in all, I spent about 9 hours doing and re-doing the dovetails on this project.
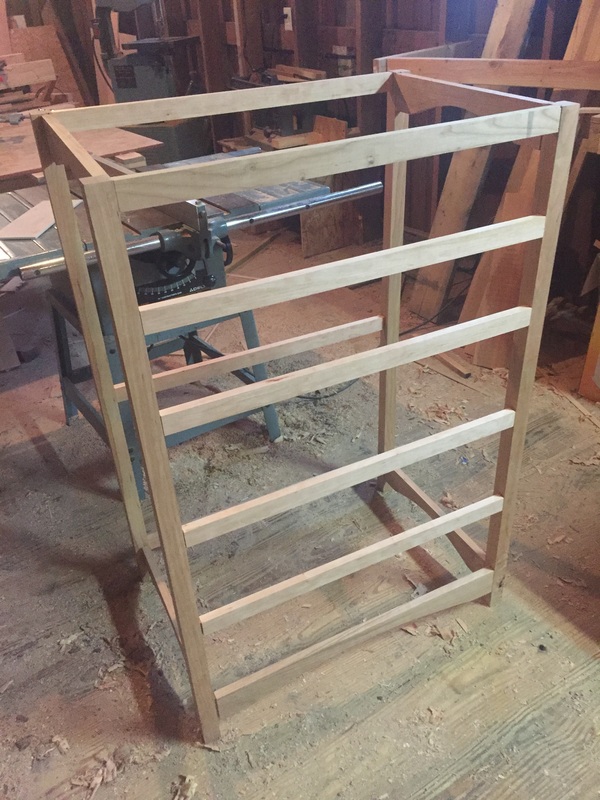
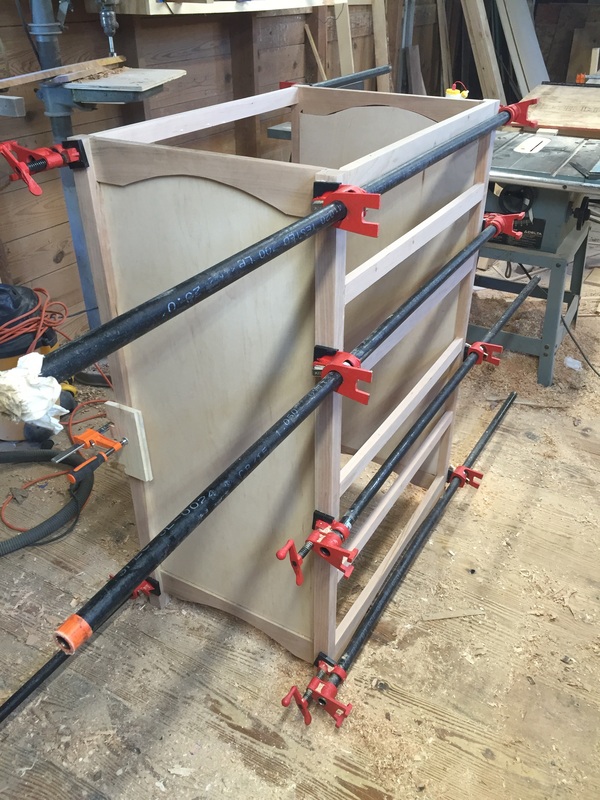
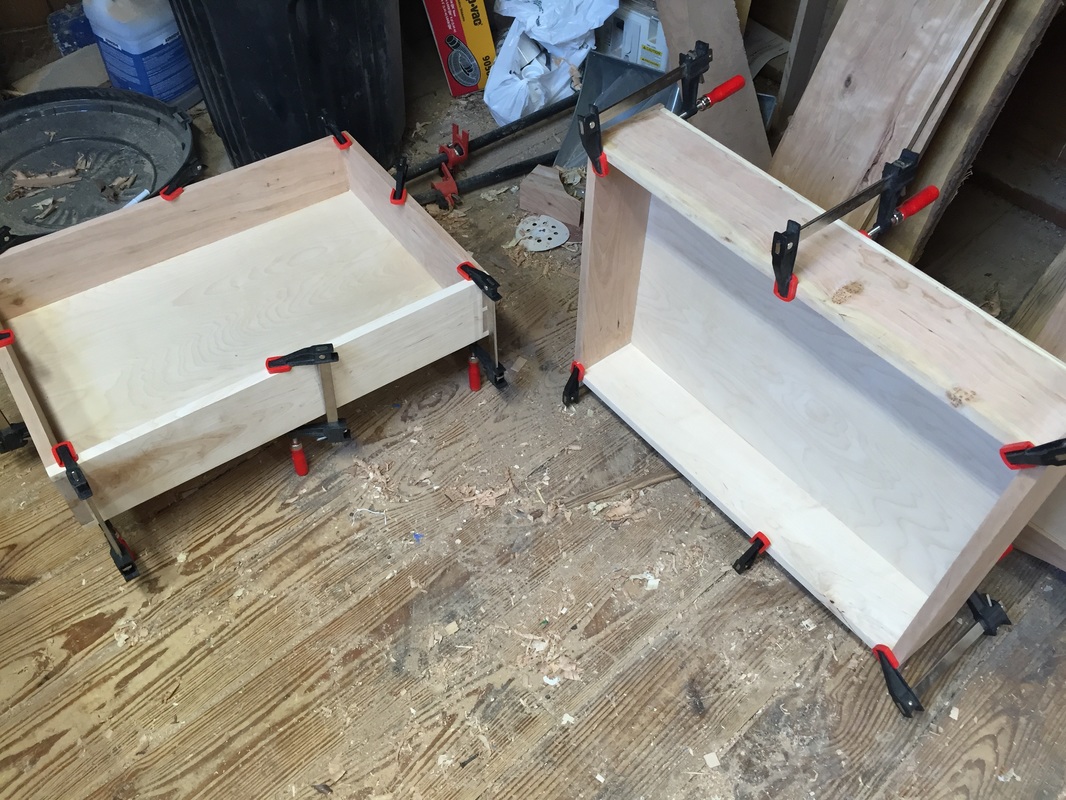
Glued the frame together. Its important to plane the drawer slides for smooth drawer movement.
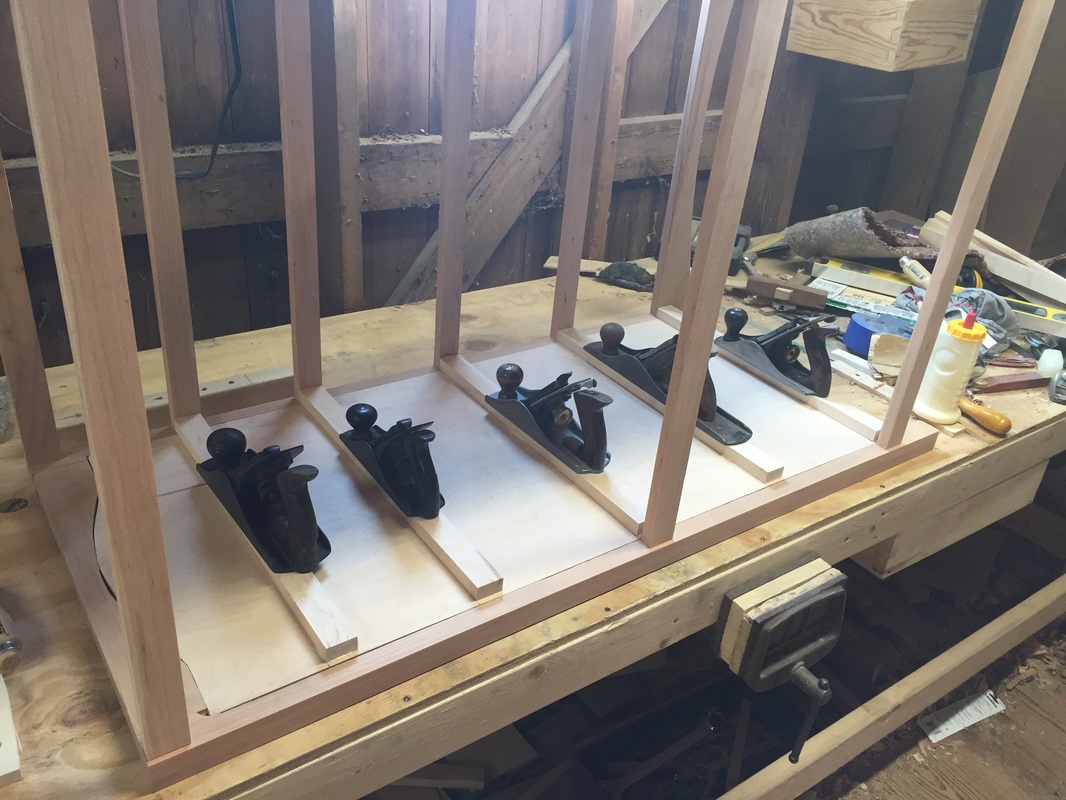
Glamour shot of the trusty '29 Stanley No 4. Each drawer height was planed do to fit perfectly. My small clamps were only big enough to do the two small drawers. The big drawers were glued in and weighed down with buckets full of chain.
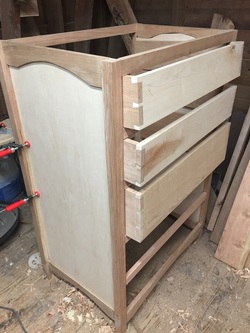
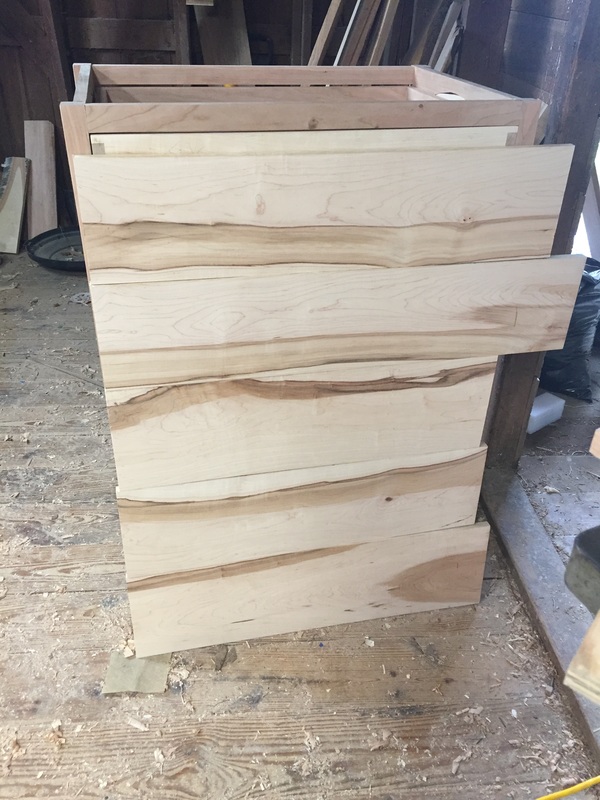
"Bacon wood" drawer fronts. It took me almost a week to decide on the drawer front wood. I looked at birdseye, curley maple, veneer, and plain maple with walnut accents. I wasn't very fond of this maple the first several times I looked at it but it has steadily grown on me and I really love the different grain patterns on it now.
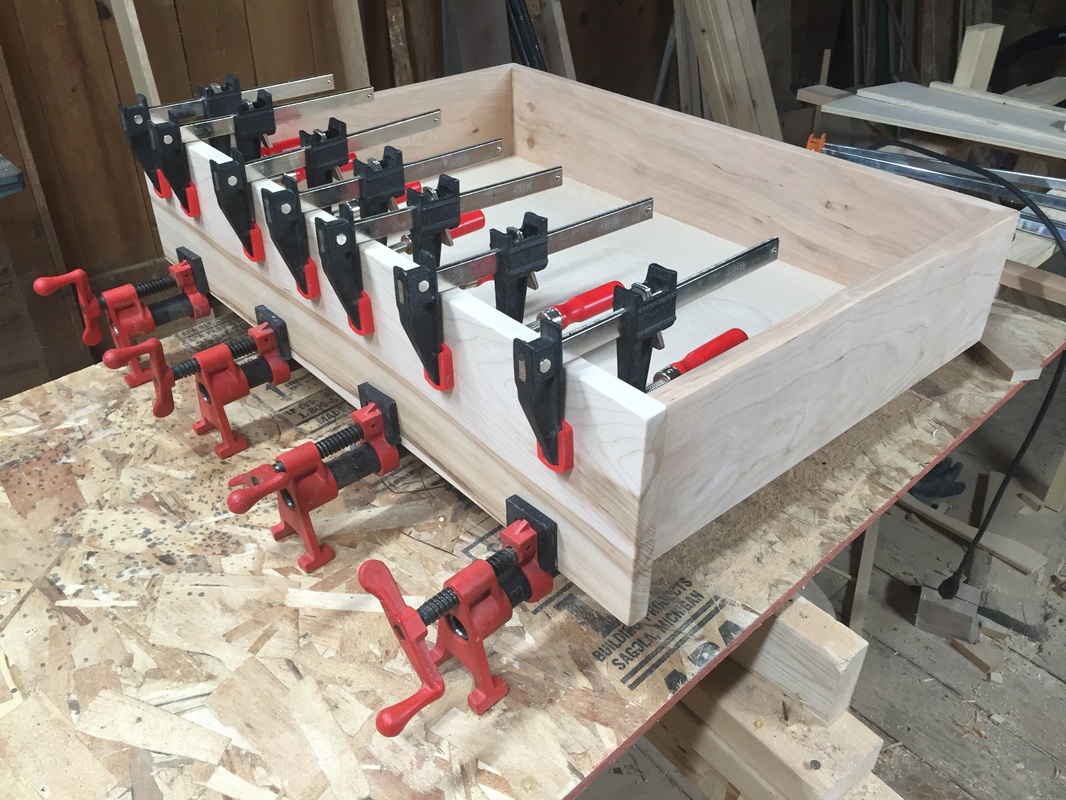
I spaced the drawer fronts out with 1/4" plywood spacers and clamped them to the drawers. Pilot holes were drilled and screws were put in for locaters for the glue up. This ensured perfect placement but adds no structural value. I was only able to glue up one drawer at a time. NEED MORE CLAMPS!
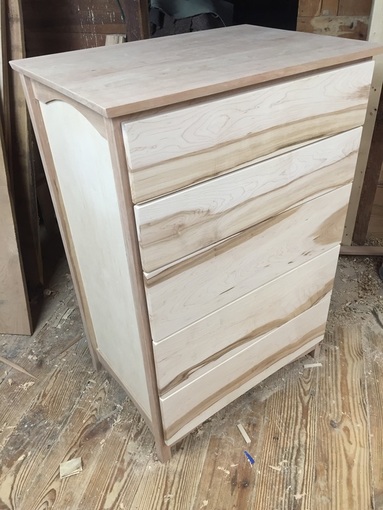
Two coats of boiled linseed oil for the finish. The top has boiled linseed oil with beeswax for added protection. It has a subtle and soft look and feel.
I just love the way this project turned out. I hope it something that will be in the family for years. As always, thanks for viewing!
0 Comments
|
Aaron Whalen:A blog about woodworking in Southwest Wisconsin Previous Projects
Archives
February 2024
|