|
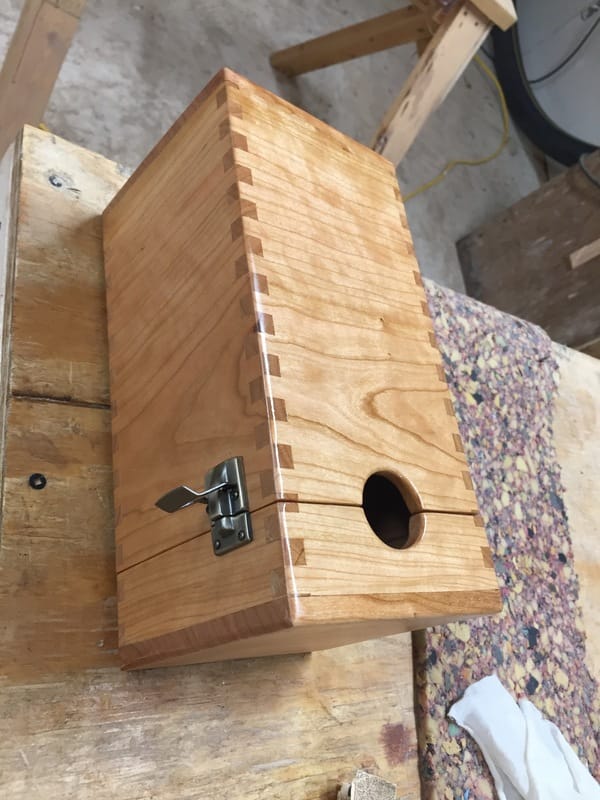
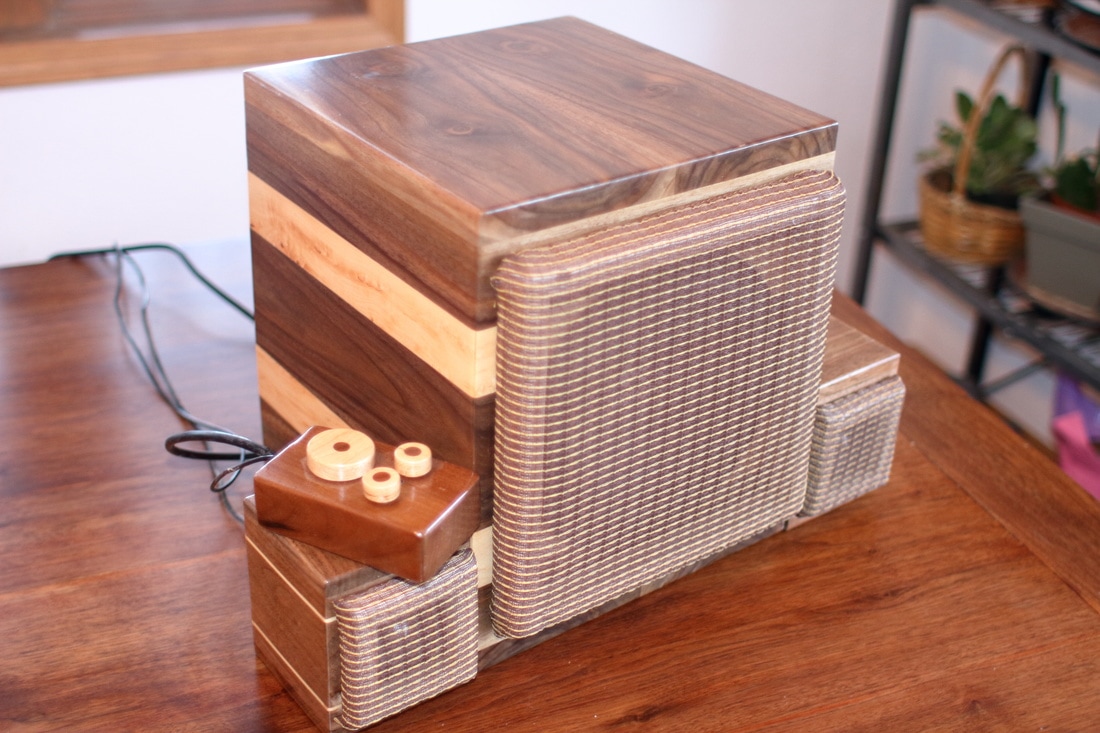
Box wine goes back a long time. If you believe wikipedia, 1935 was the birth year for this wonderful way to efficiently package and ship 1 gallon quantities of wine. It was a brilliant invention that is still underrated and underappreciated. Rectangular boxes stack way better than bottles and the polyethylene bladders held up to shipping better than glass bottles, but not everyone sees it this way. Some look down upon the giant bags of wine and made up reasons why their old bottles are better. I'm not a big wine drinker, I've probably had more wine while writing this post than in the last year, but my understanding is the main advantage to box wine is that it holds its freshness much better than bottle wine once opened. The bladder doesn't allow any air into it which prevents oxidation of the wine. This is what spoils opened bottles of wine. Most boxes of wine will remain good for up to 6 weeks after opening vs a couple days to a week for bottled wines. The other advantage is they can be kept at room temperature. Once a bottle of wine is opened it should be kept in the refrigerator to minimize the oxidation. Because there is no oxygen, box wines don't need to be kept in the fridge, but wine people tell me it tastes better at room temperature. There are some pretty good boxed wines now and they are getting fairly popular, but the boxes are always so ugly. Fixing this is something I have a lot more experience in. Let's build a Classy boxed wine box! Grab a glass and lets get started! 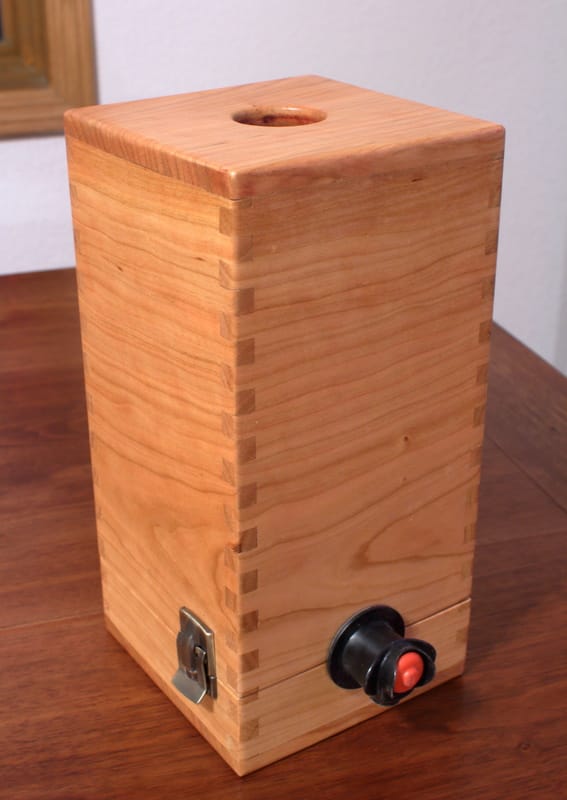 Finished product - This looks a lot better than a cardboard box on your counter.
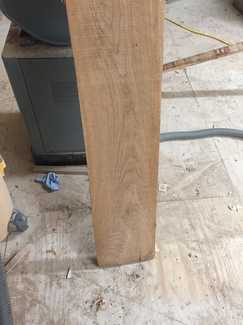
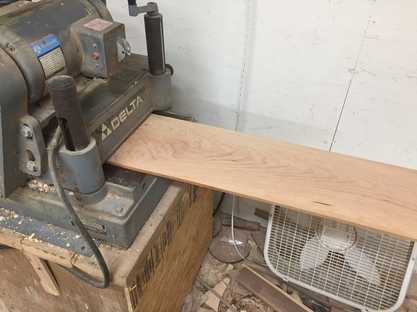
Almost all projects start the same. Take a board and run it through the planer to flatten both sides and get it to the thickness you are looking for. This was no exception. I needed the full width of the board at about 3/8". These start at about 1" so most of the board gets planed away.
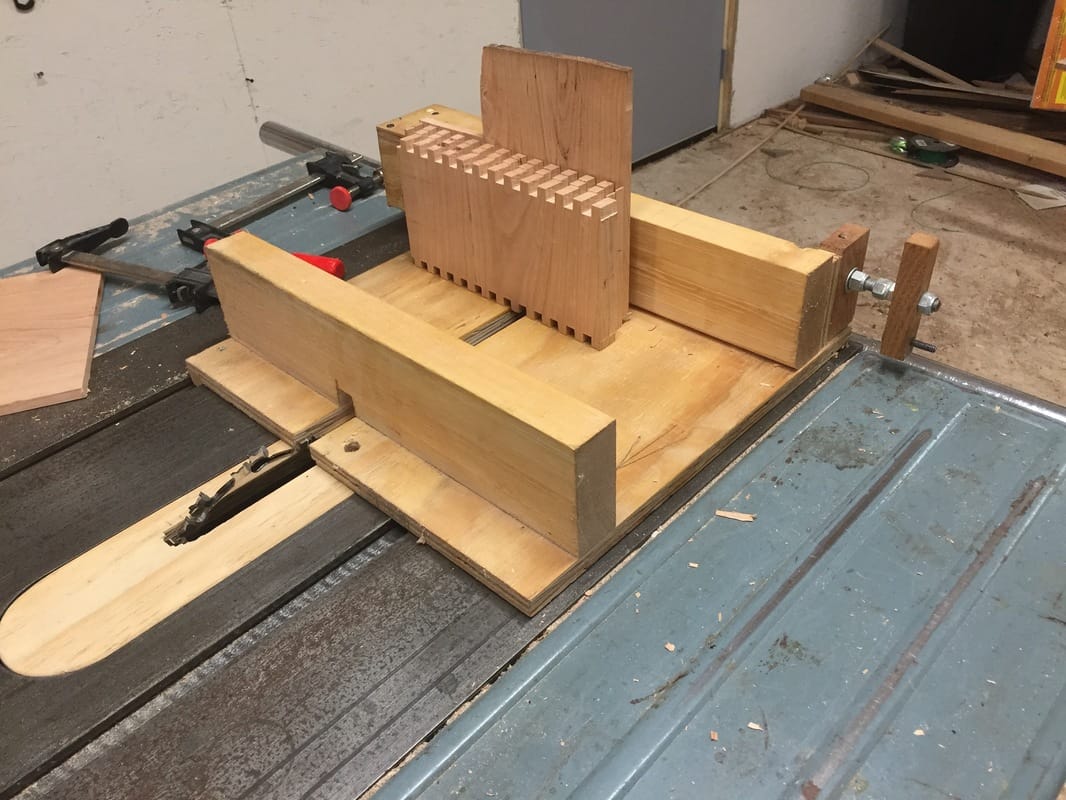
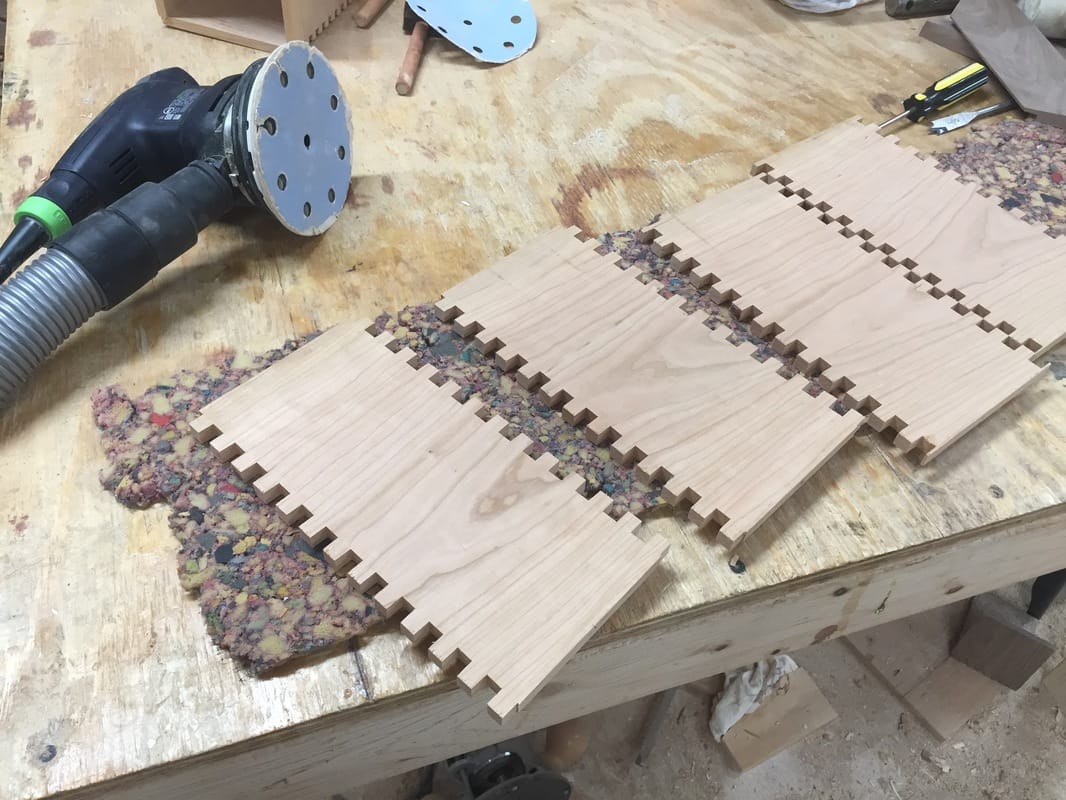
This is my box joint jig. You clamp all 4 pieces in and cut them all at once. The handle gets turned 1 revolution for every 1/16". For 3/8" finger joints you have to count 12 revolutions for each finger. This sounds easy but the chance of messing up at least once on a couple dozen fingers is pretty high. The sides are all cut out in sequence so the grain wraps around the box.
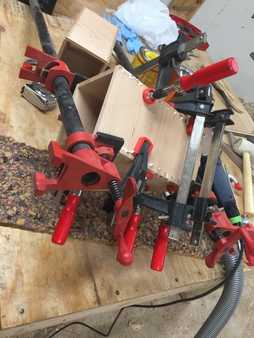
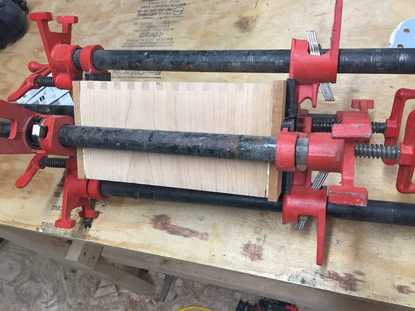
Once again I tried to use all my clamps in as small of area as possible. I cut some squares for tops and bottoms and glued those on as well.
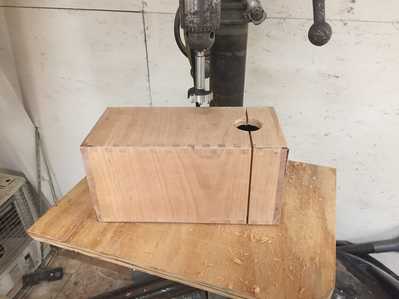
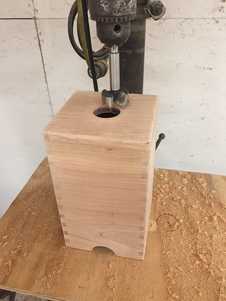
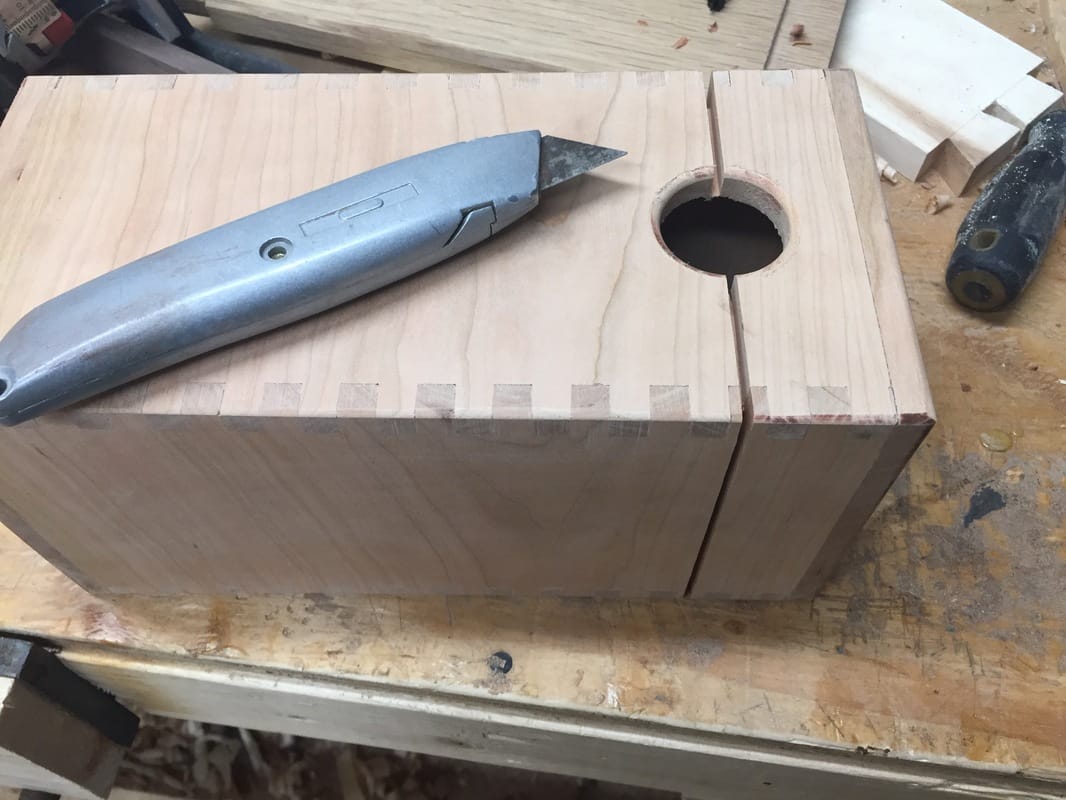
1-3/8" holes sever as the spot hole and a handle for the top. I got ahead of myself and cut the box in half before getting these pictures. The holes were drilled before the box was cut. 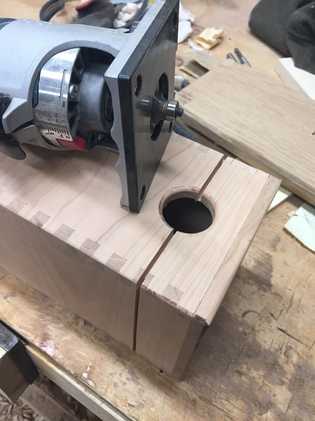 A quick pass with the router smooths out the sharp edges.
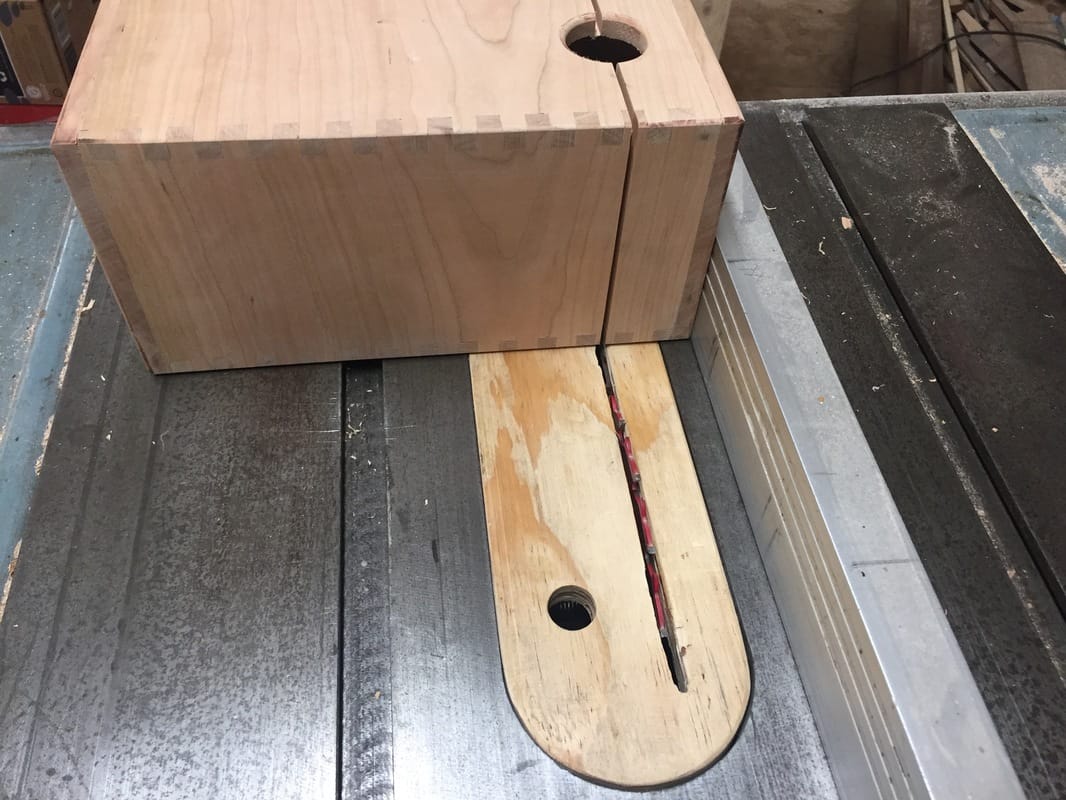
Here's a great tip for cutting boxes apart. Leave a tiny amount of the wood left all the way around on the tablesaw cut. This will support the lid while the rest of the cuts are made. Then go back and finish it with a sharp knife.
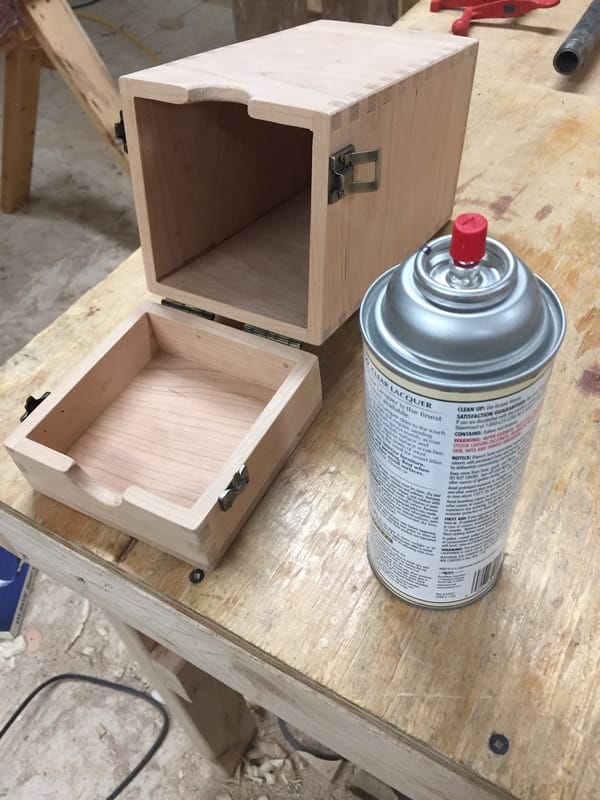
I added some oil rubbed bronze hardware and then applied many coats of spray on lacquer. Lacquer is great. In thin layers, it will dry in 15 minutes. Over the course of an evening you can apply 5-6 coats quite easily and build a very nice finish.  Thanks for reading and Happy New Year!
0 Comments
|
Aaron Whalen:A blog about woodworking in Southwest Wisconsin Previous Projects
Archives
February 2024
|