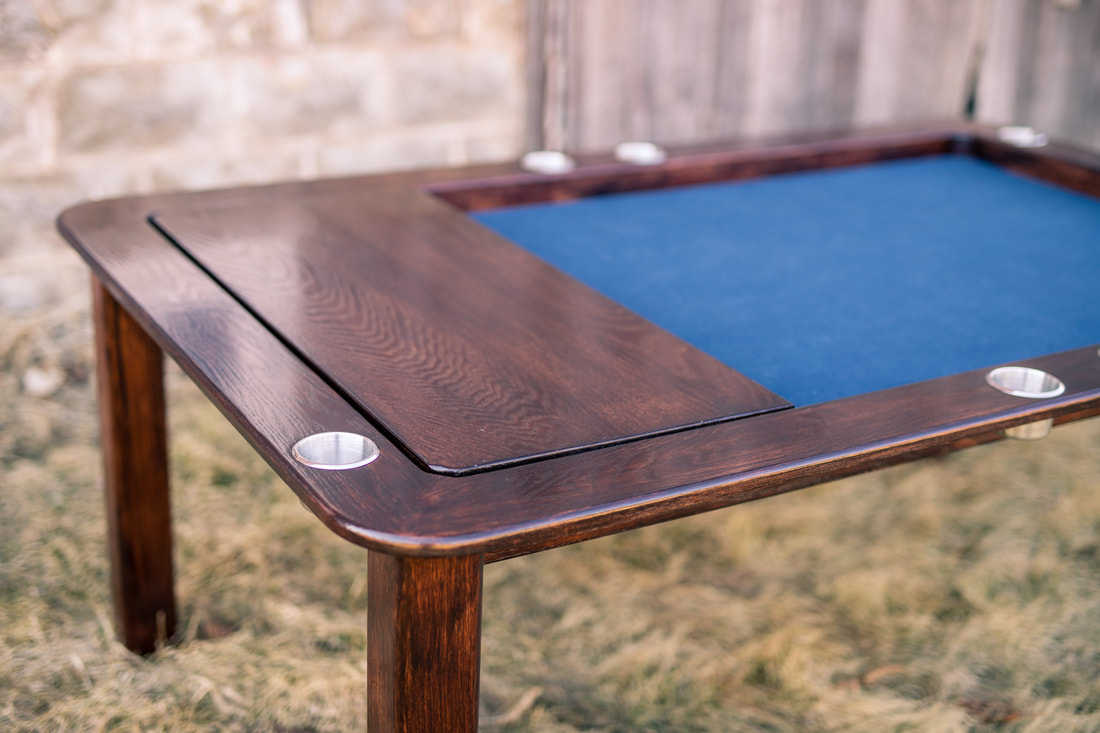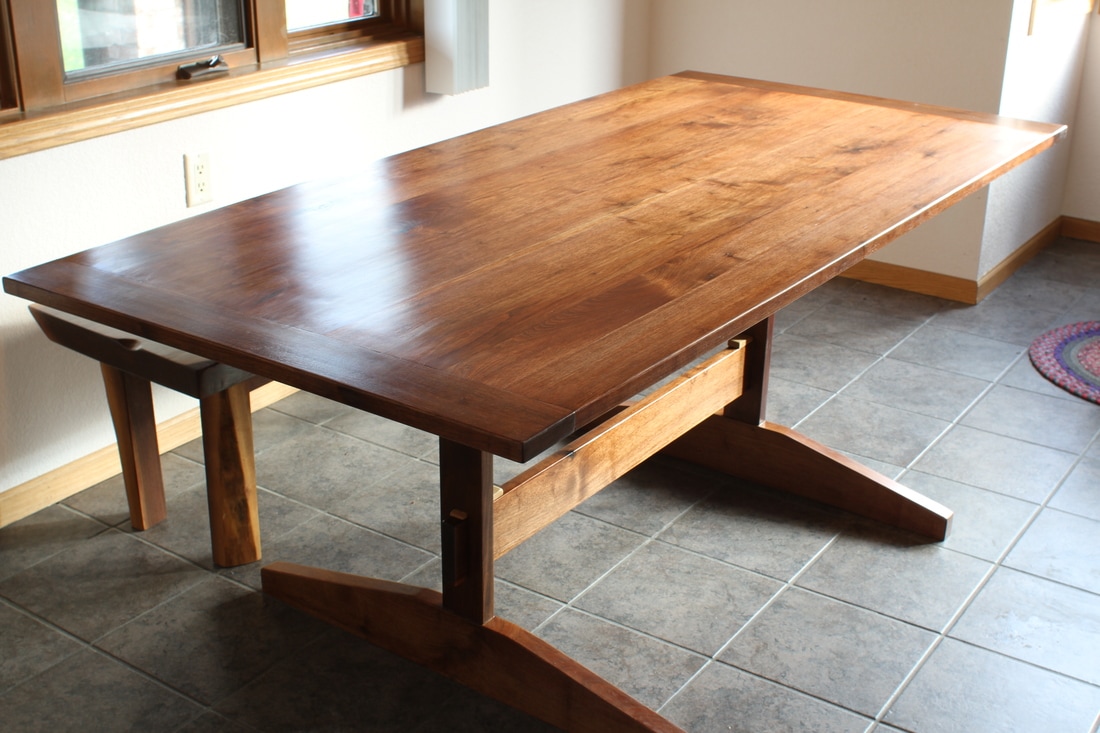
 A couple months ago a good friend of mine sent me a link to a website of something he wanted me to build. The concept was fairly straight forward. Make a table with a 3’ x 5’ playing surface for playing board games with a cover that serve as a dining room table. It also has a removable insert that adds a raised area for snacks and books and things. I went to work in Sketchup to come up with a design that would fit all of the specs they were looking for and after a few times back and forth we settled on a design. Much of the design is governed by standards in the furniture industry. Tables should be about 30” tall at the eating surface and should provide 8” of clearance from the bench to the apron of the table. One of the theme’s I tried to keep in mind when building this was comfort. Some longer games can last an entire night. With this in mind I profiled all of the edges with large radii and rounded all of the corners.
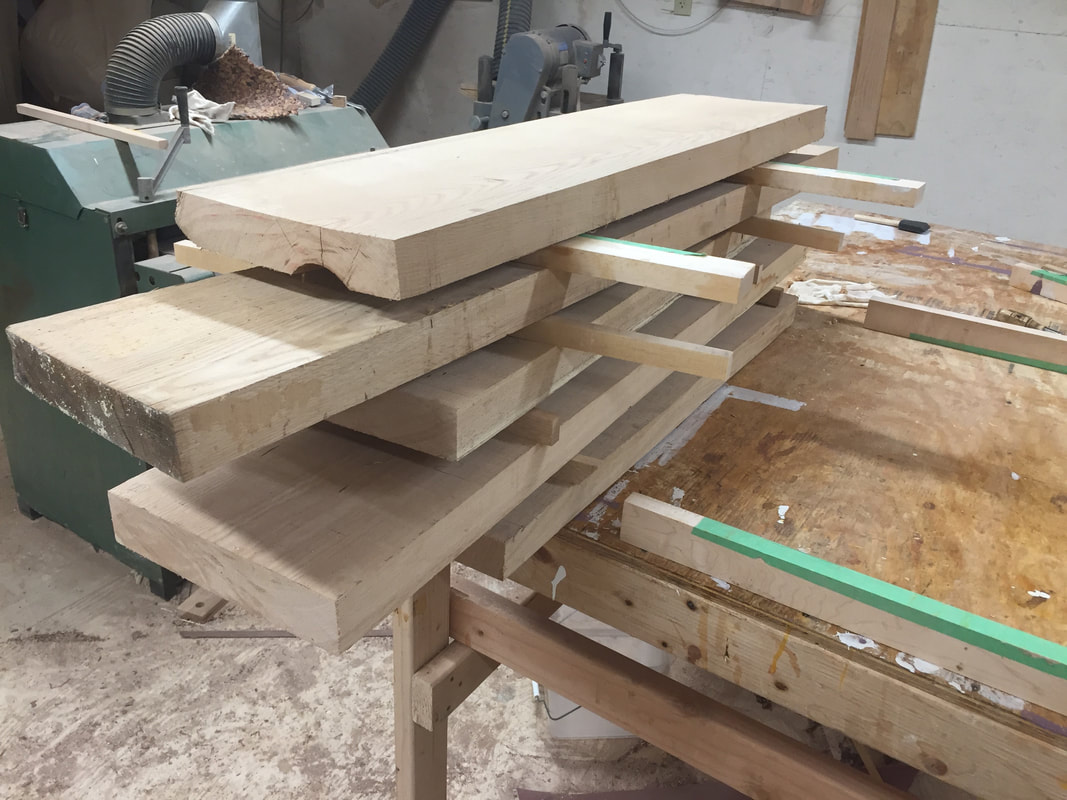
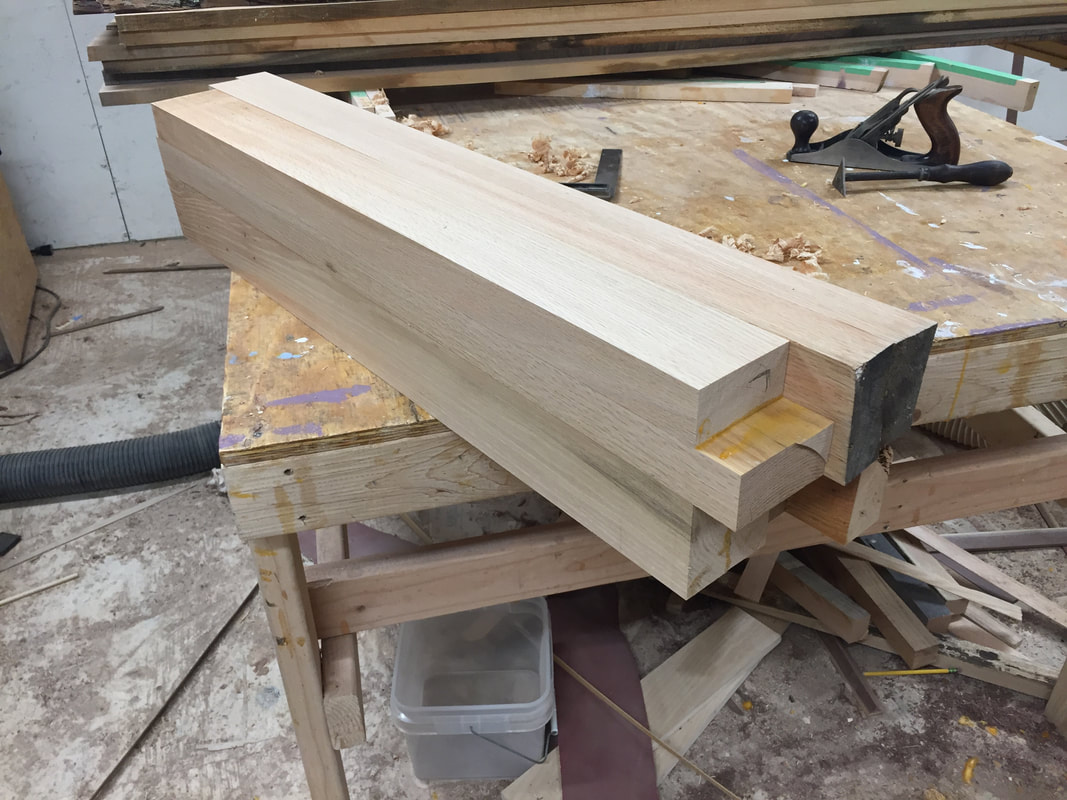
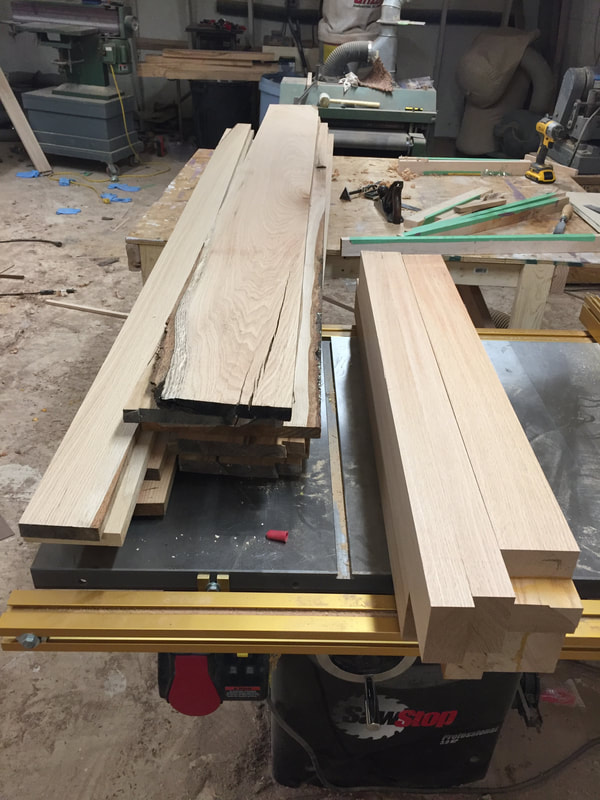
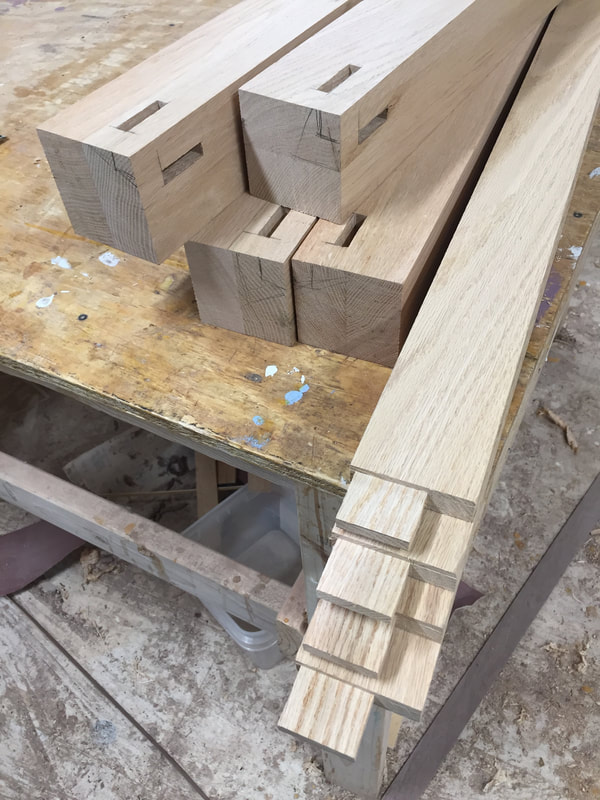
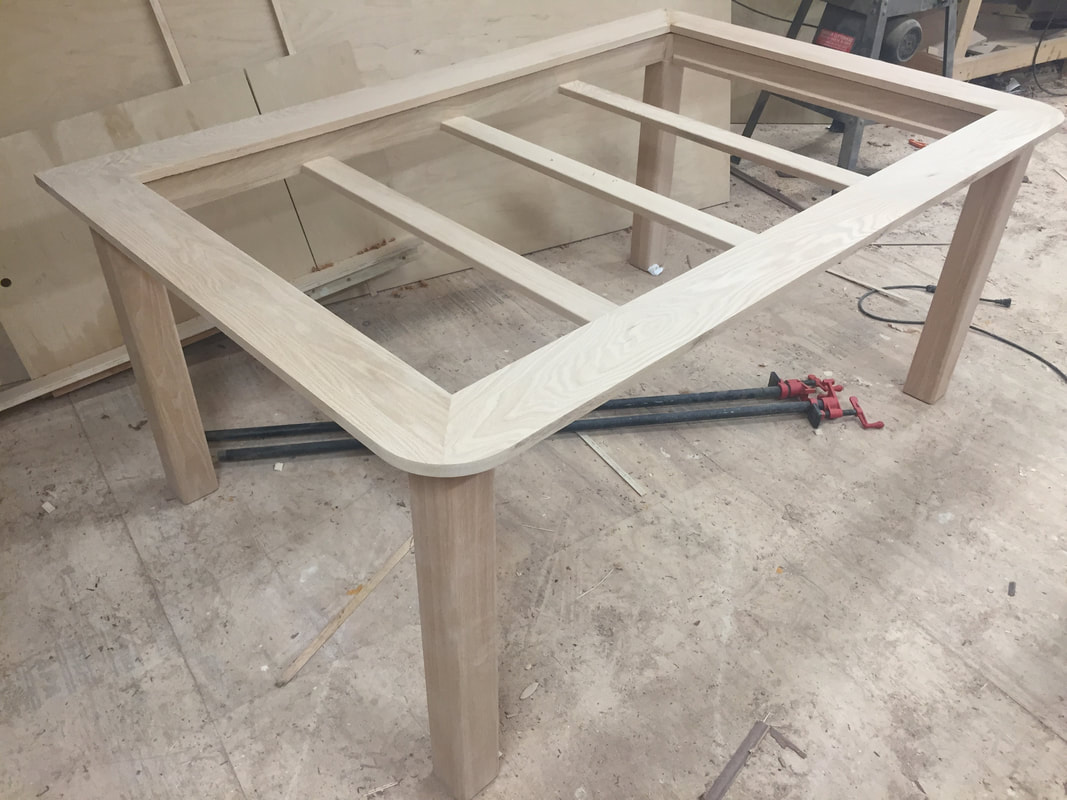
Projects like start by milling the lumber and glueing up the legs. The legs are made up of two pieces of 8/4 lumber and the rest of the table is made from 4/4 stock.
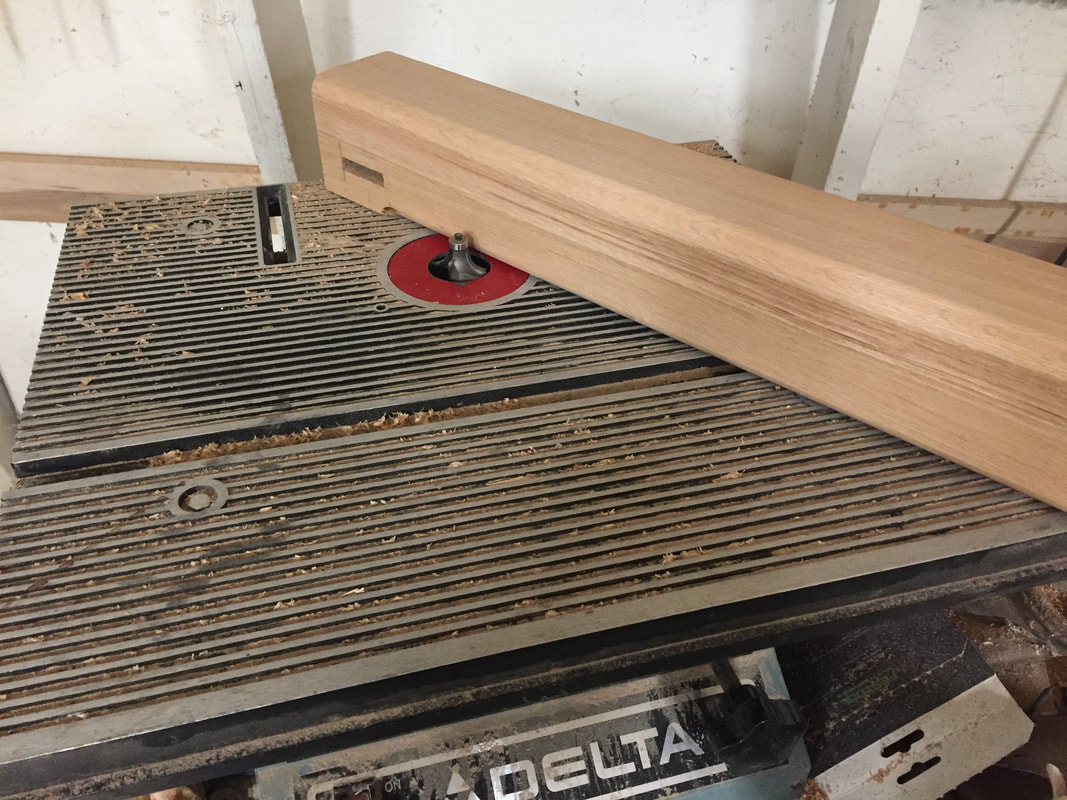
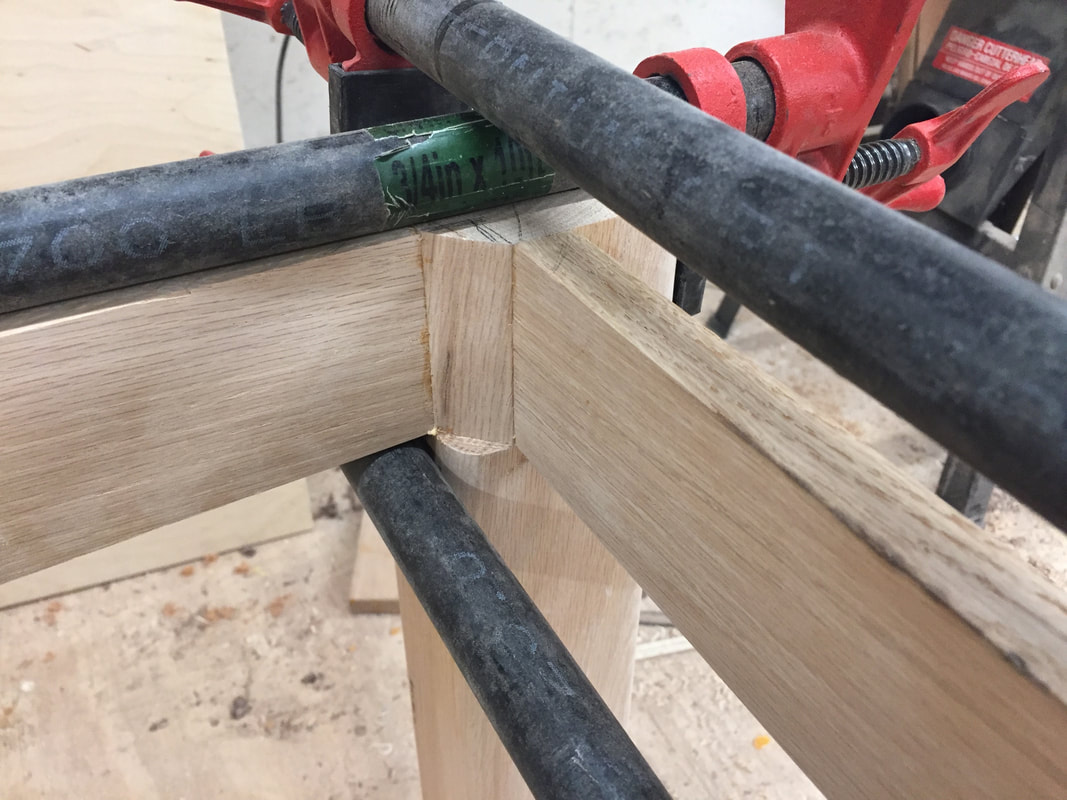
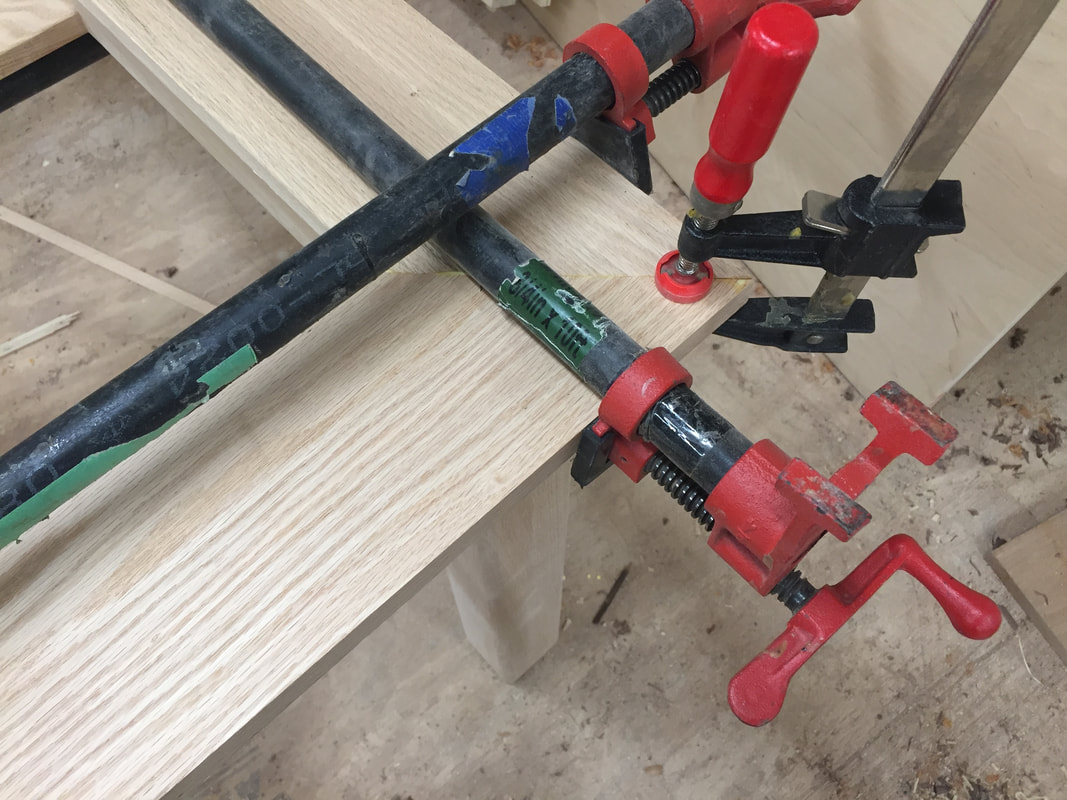
The aprons connect to the legs with mortise and tenon joints. I left a lot of material at the top of the leg to ensure the integrity of the top of the leg was maintained. This was especially important for this design because I later chamfered the inside corners for the game table top. The edges of the legs were rounded off on the router table and 45 degree angles were cut on the ends of the apron tenons so they wouldn’t touch each other in the mortises.
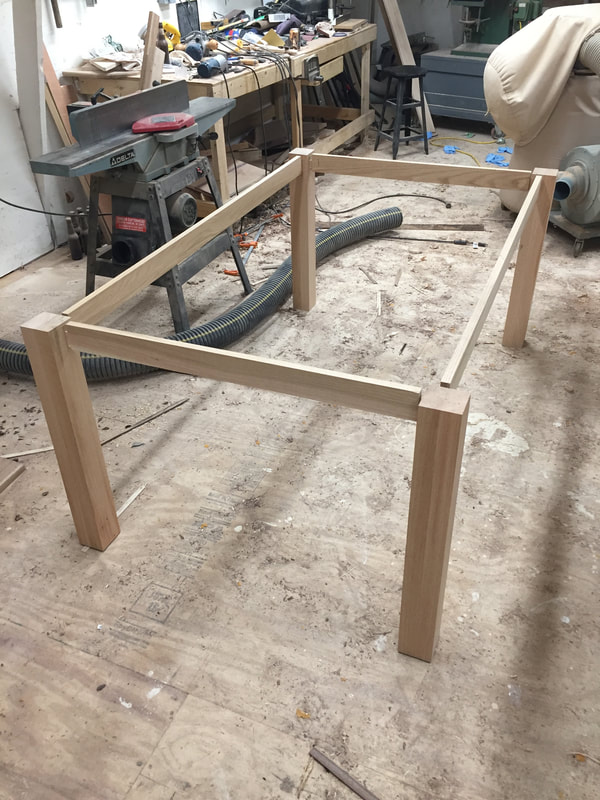
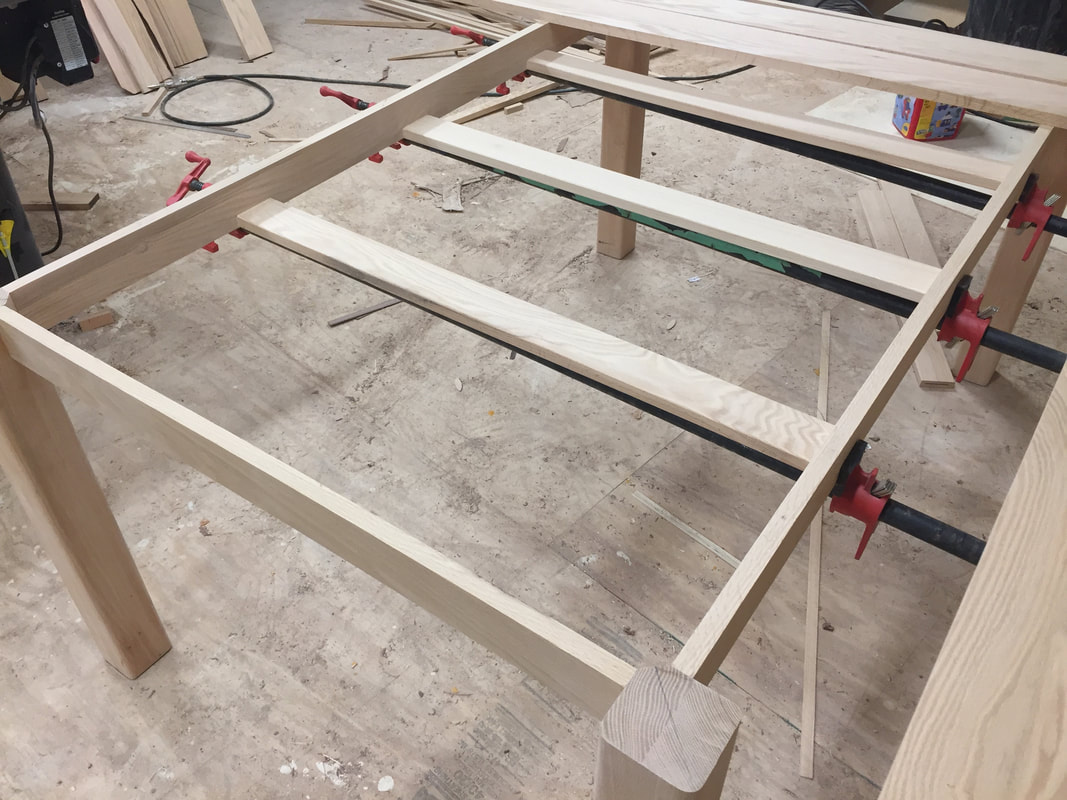 Before glueing, chamfers were cut on the inside corners of the legs. This will give the playing surface a more continuous look in the corners. Cross supports were glued in with biscuits to support the surface.
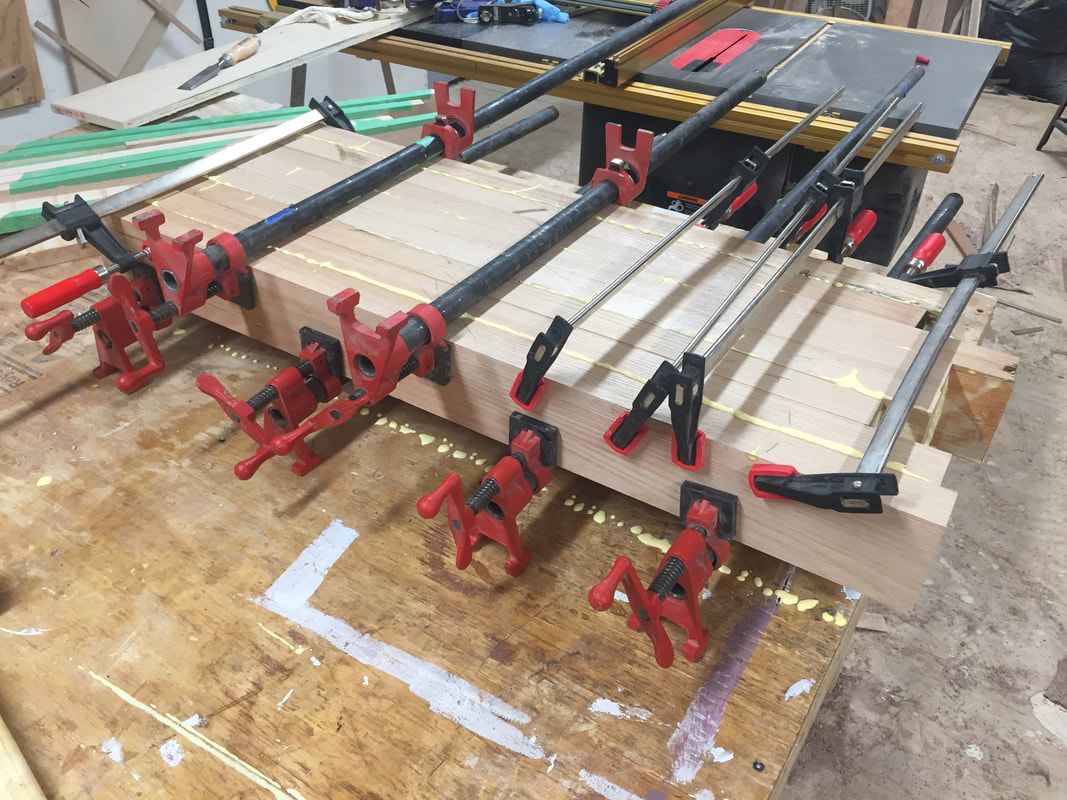
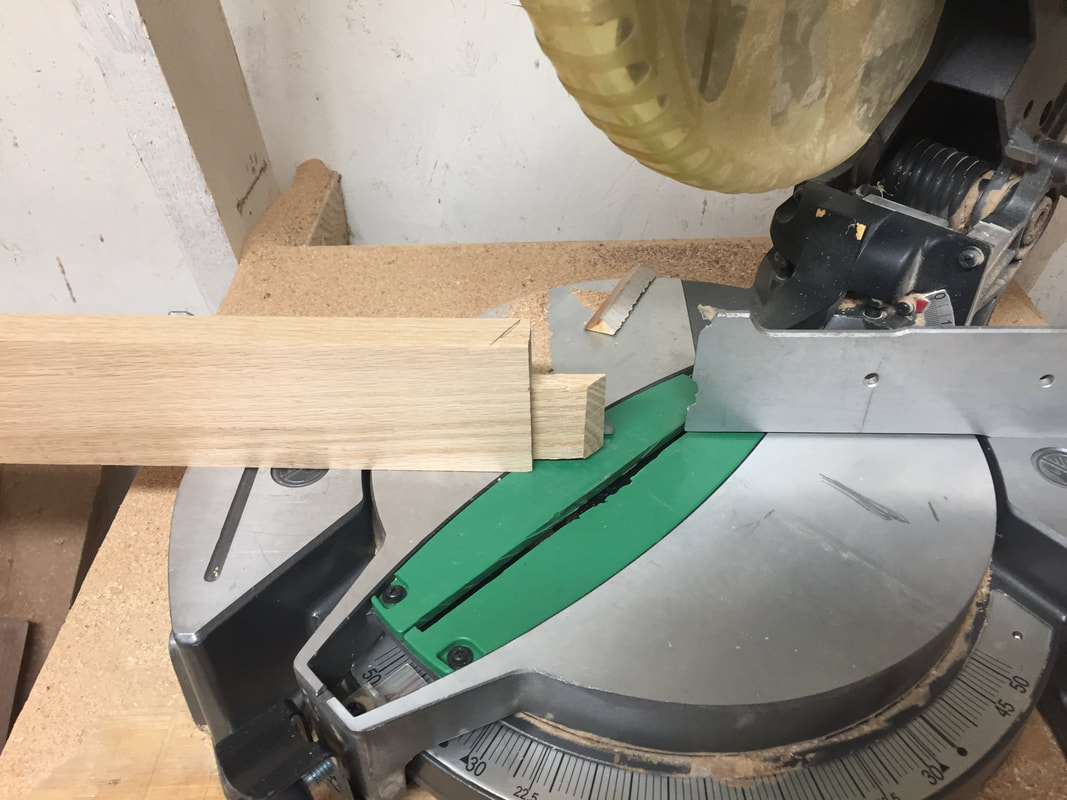
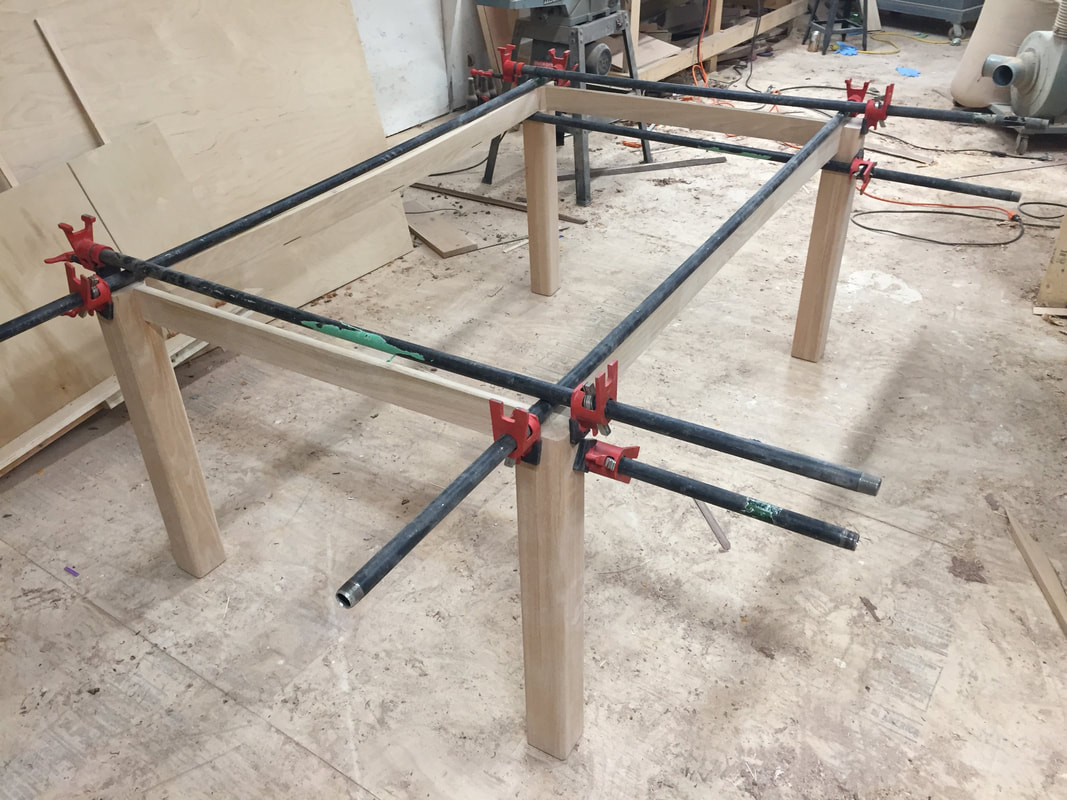
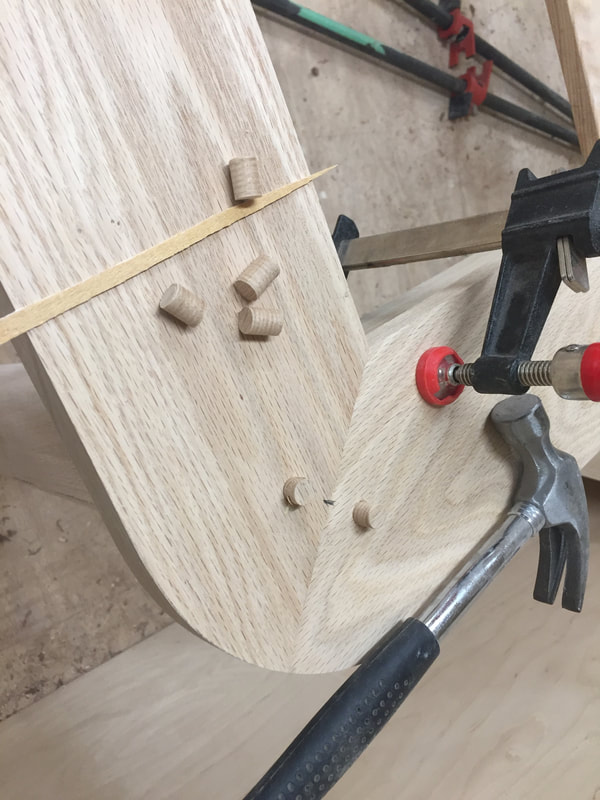
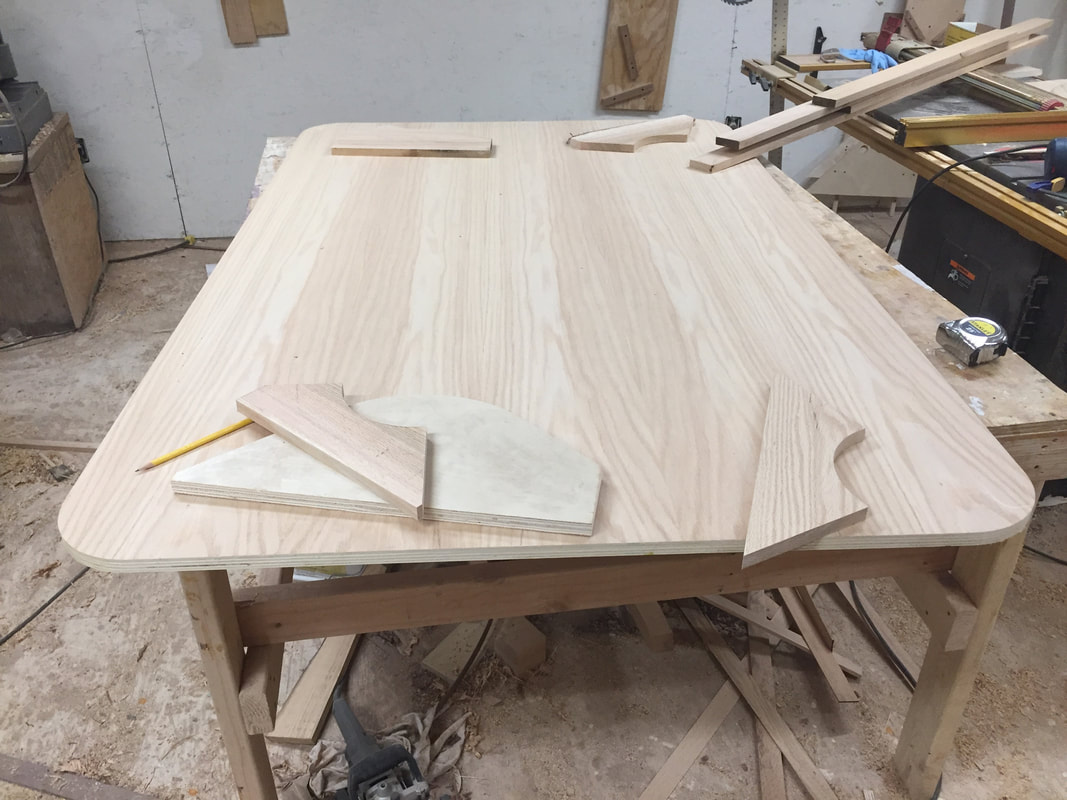
Next, it was time to start working on the top rail. This was made with mitered corner and biscuits hold the miters together. The whole top rail was glued up loose and installed to the base after it was assembled. This ensured tight miters. The whole top rail extends over the inside edge by about a 1/4". This was later trimmed with a flush trim bit to fit the apron perfectly.
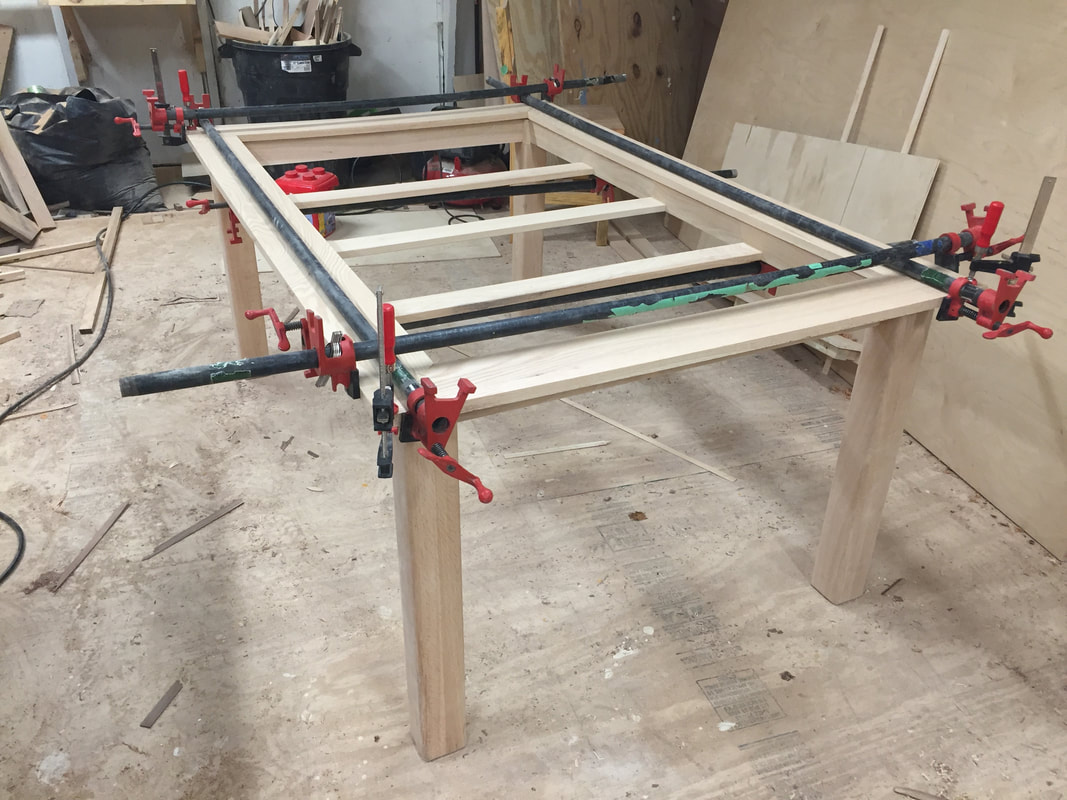
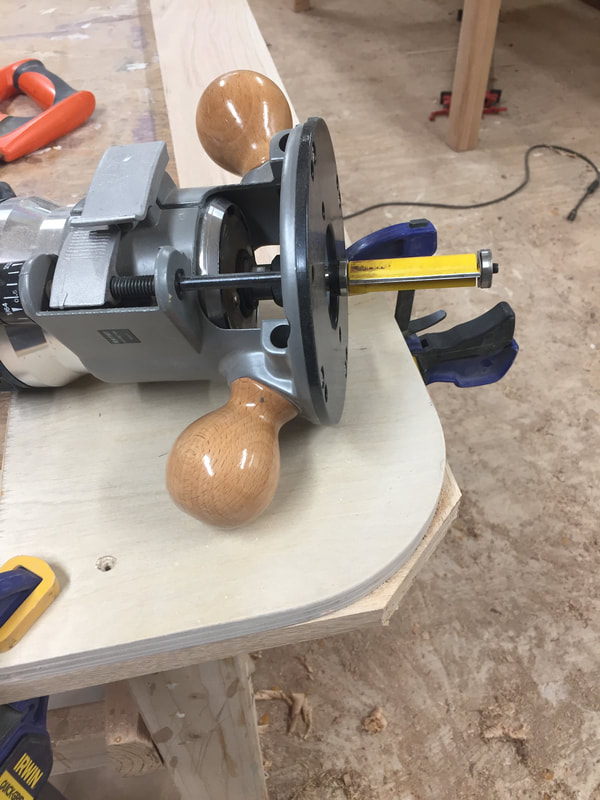
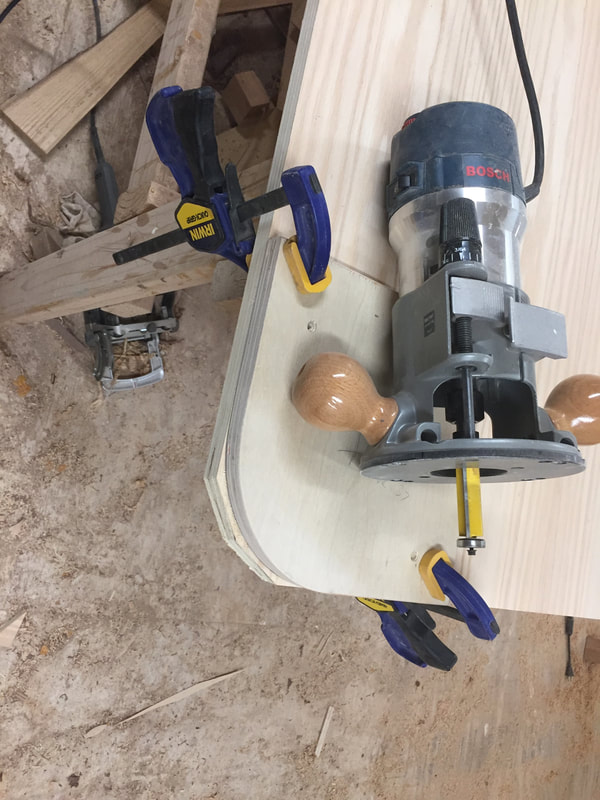
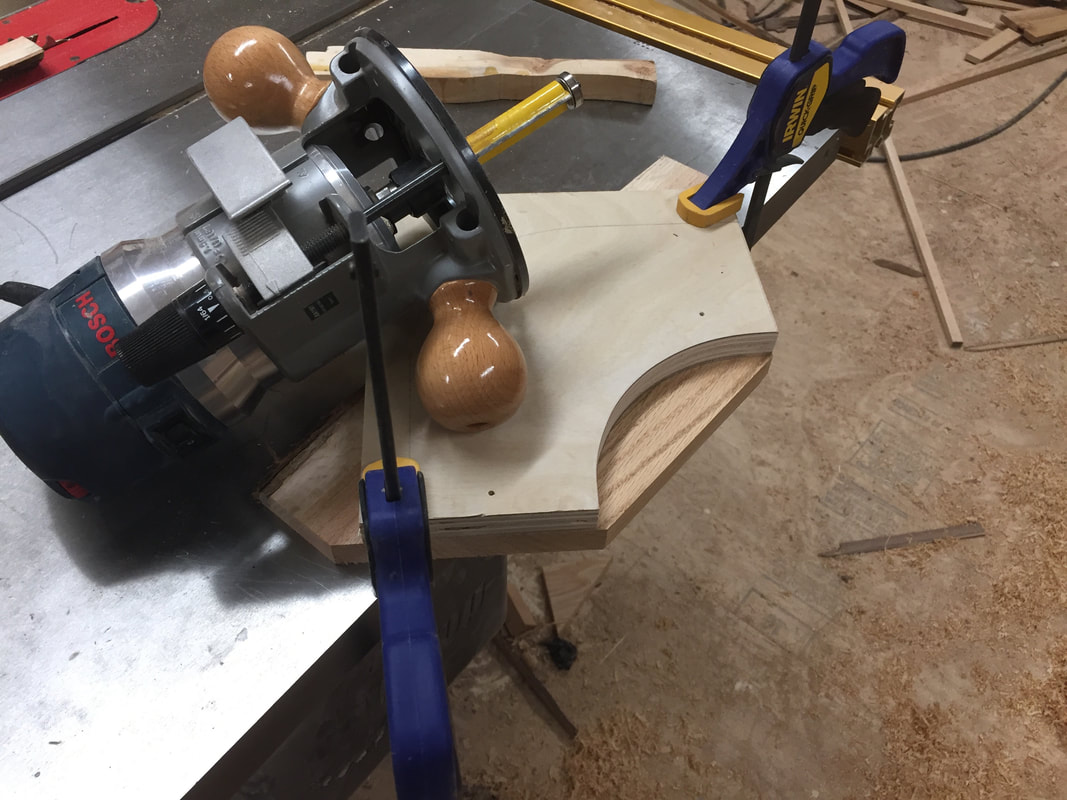
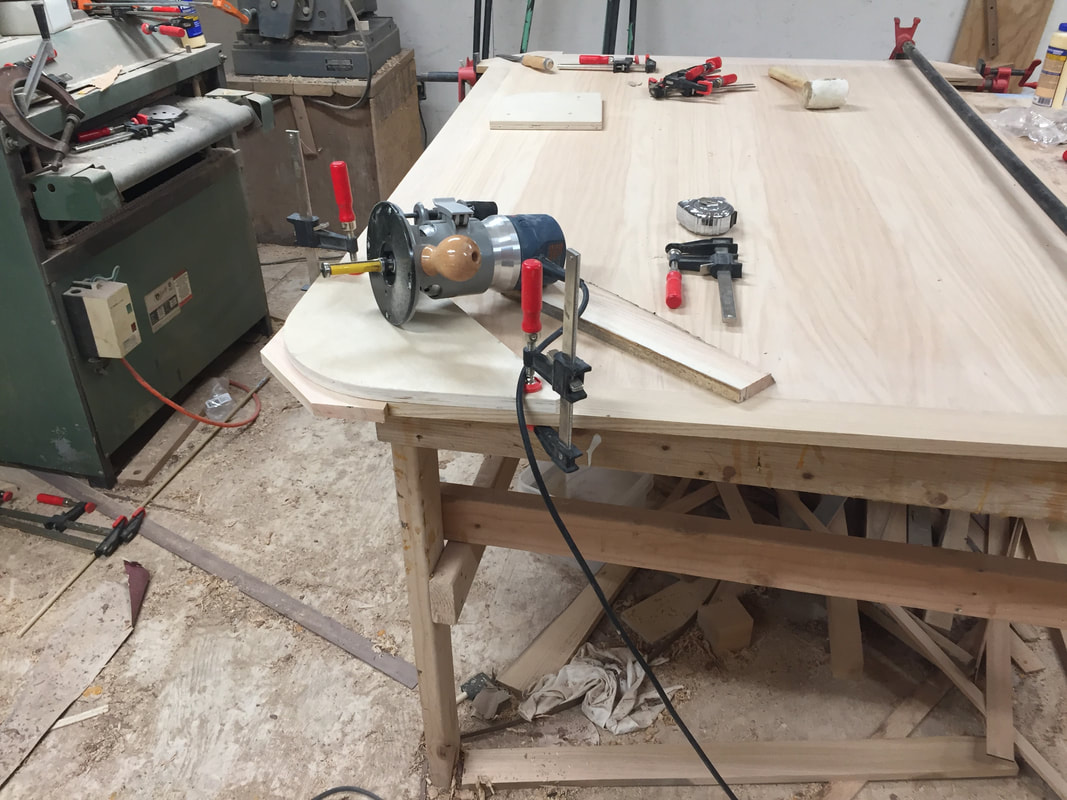
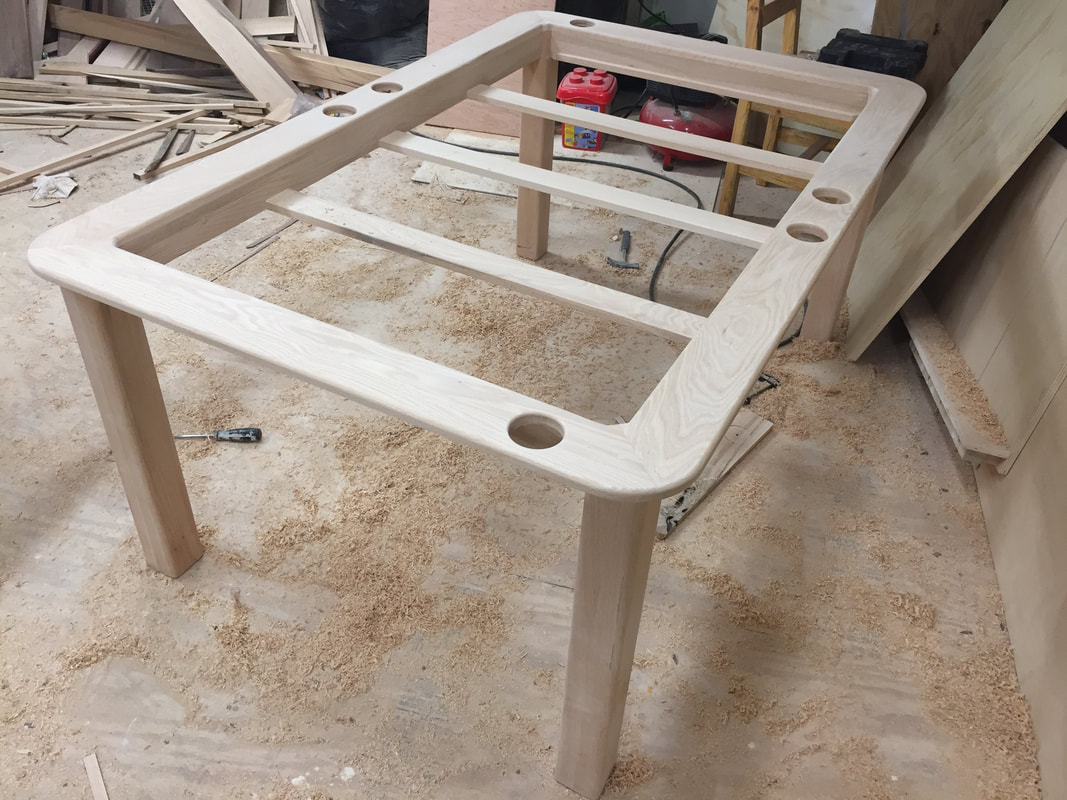
The Corners were rounded with a pattern I cut out of plywood and a pattern bit in the router. Since this cuts directly on the tip of the miters and grain goes both directions, care was taken to take small nibbles to prevent tearout. The top is secured to the base with glue and screws. Each corner gets screwed directly to the leg. Carefully selected grain matched plugs cover the holes. These are barely noticeable in the finished project.
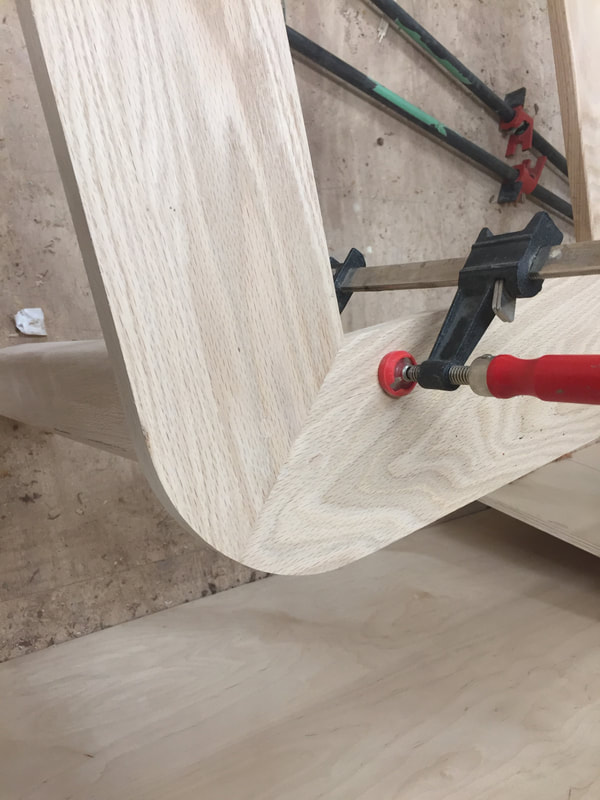
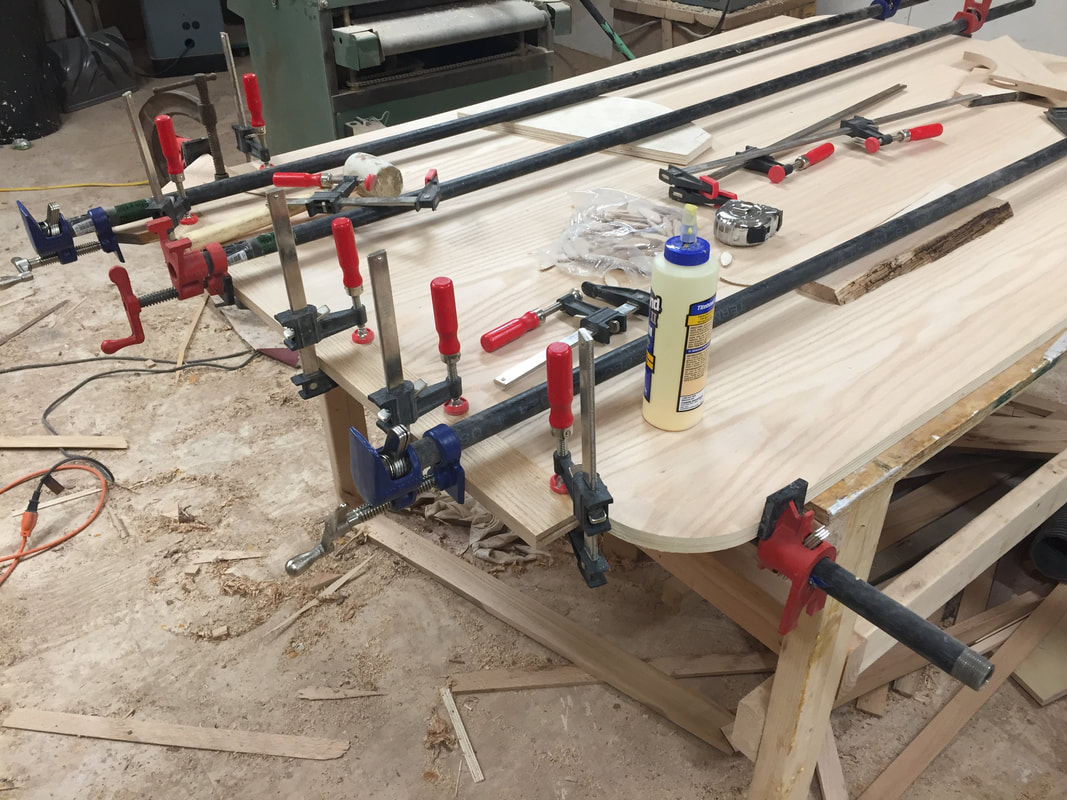
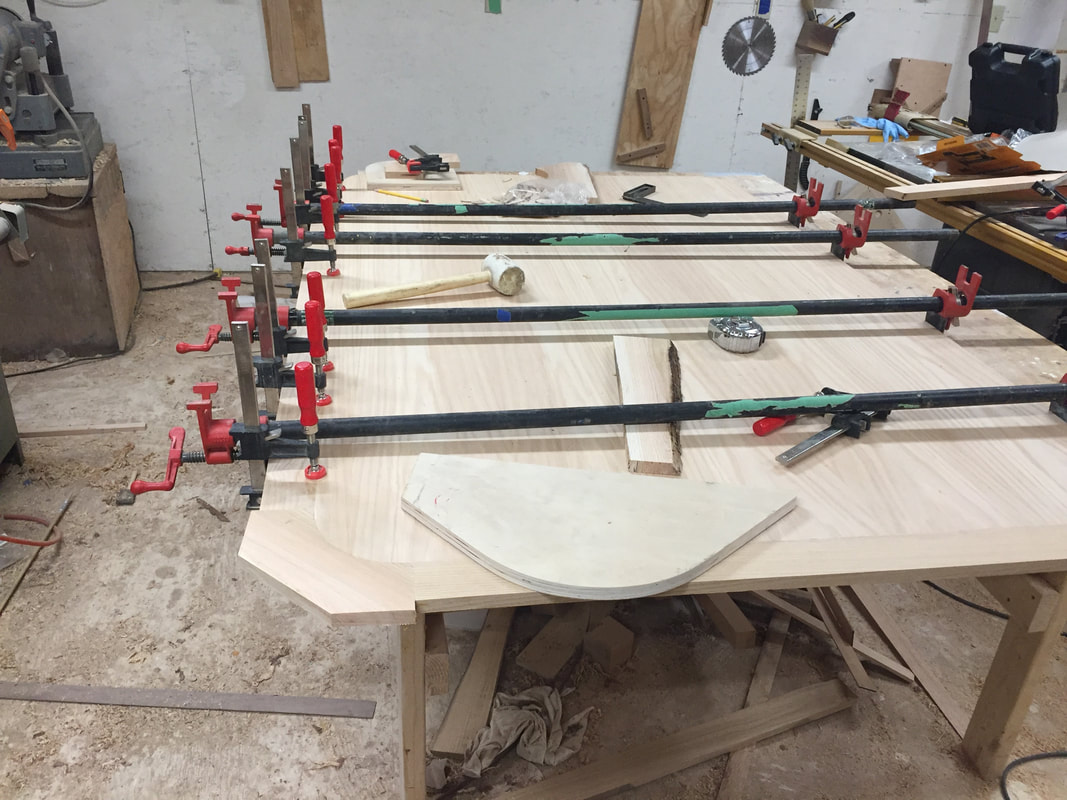
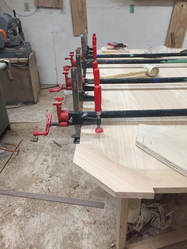
The top is made up of a sheet of oak veneer plywood and wrapped with 2-1/2” of solid oak trim. This is the only way a trim can wrap all the way around tabletop. If solid wood was used, wood movement would eventually tear the trim away from the ends of the tabletop. I wanted to keep the same rounded theme of the base which meant making a few more templates to round the corners and make corner blocks that follow the edges. I worked this out on some practice pieces before I started this project and thought this would be a cool place to use this technique.
Assembling this all together was a very tedious process. Since everything had to fit perfectly each of the eight pieces was glued in one at a time. Every couple hours the glue was dry enough to put the next piece in. They are held on with biscuits and plenty of glue.
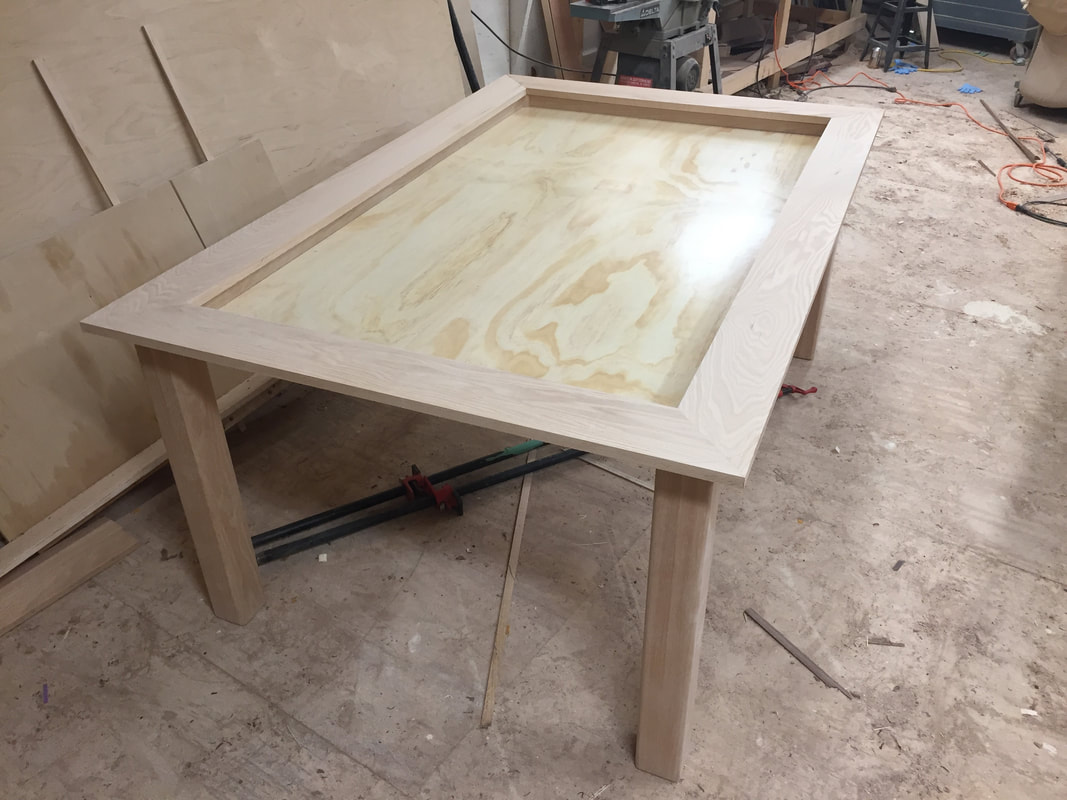
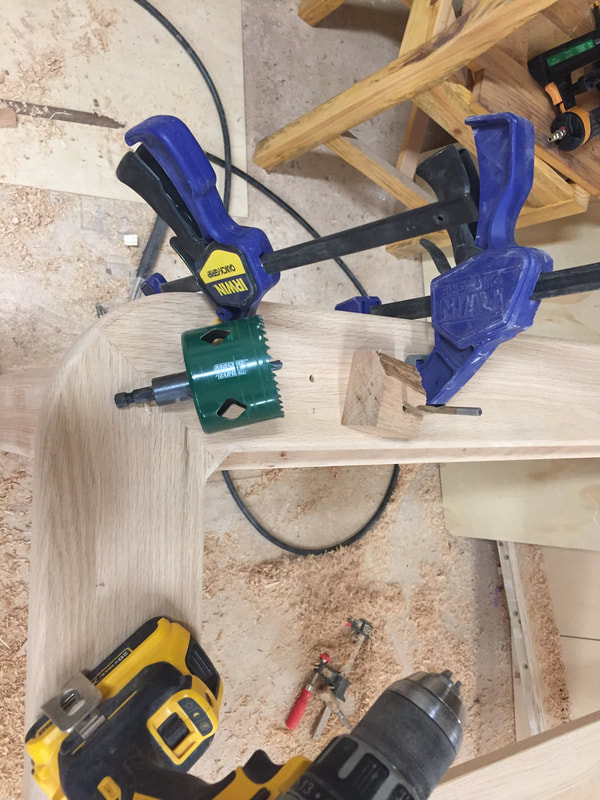
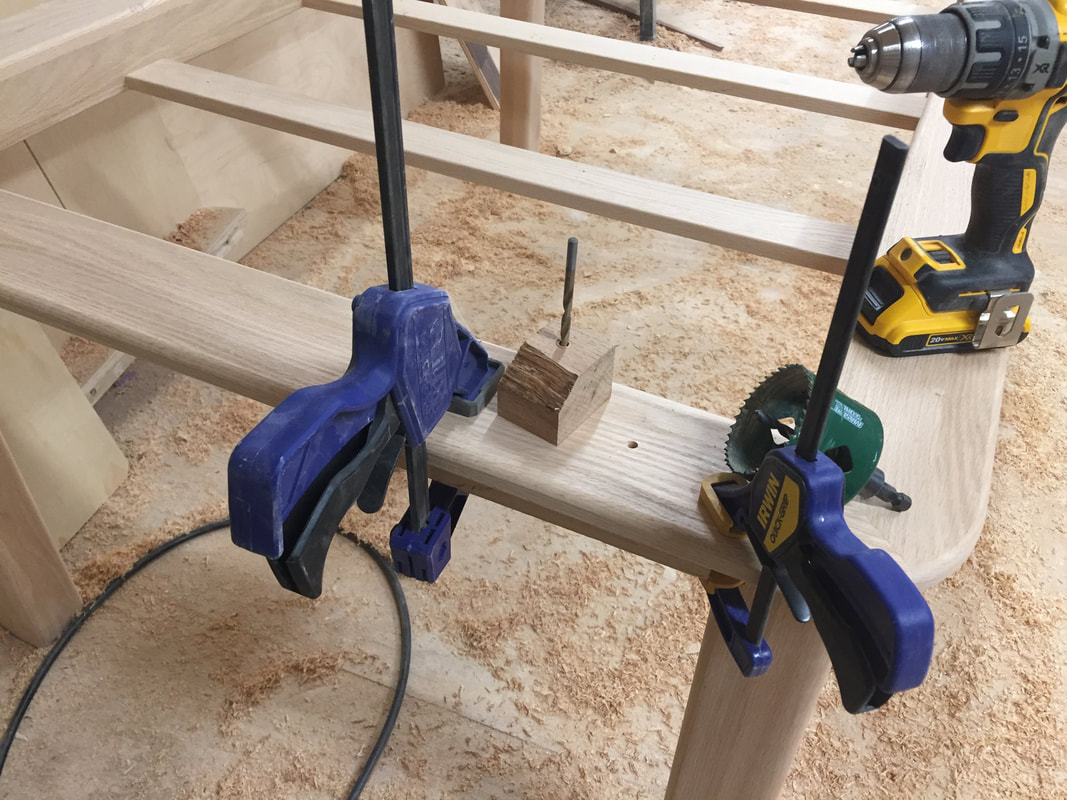
A 2-3/4” hole saw was used to drill holes for stainless steel cup holders. These fit a bottle or can perfectly and when removed a pint glass fits perfectly in the hole. The clamps are holding a backer board in place to prevent tearout on the backside of the holes. For finish, I used General Finishes Java Gel Stain followed by several coats of General Finishes Polyurethane. 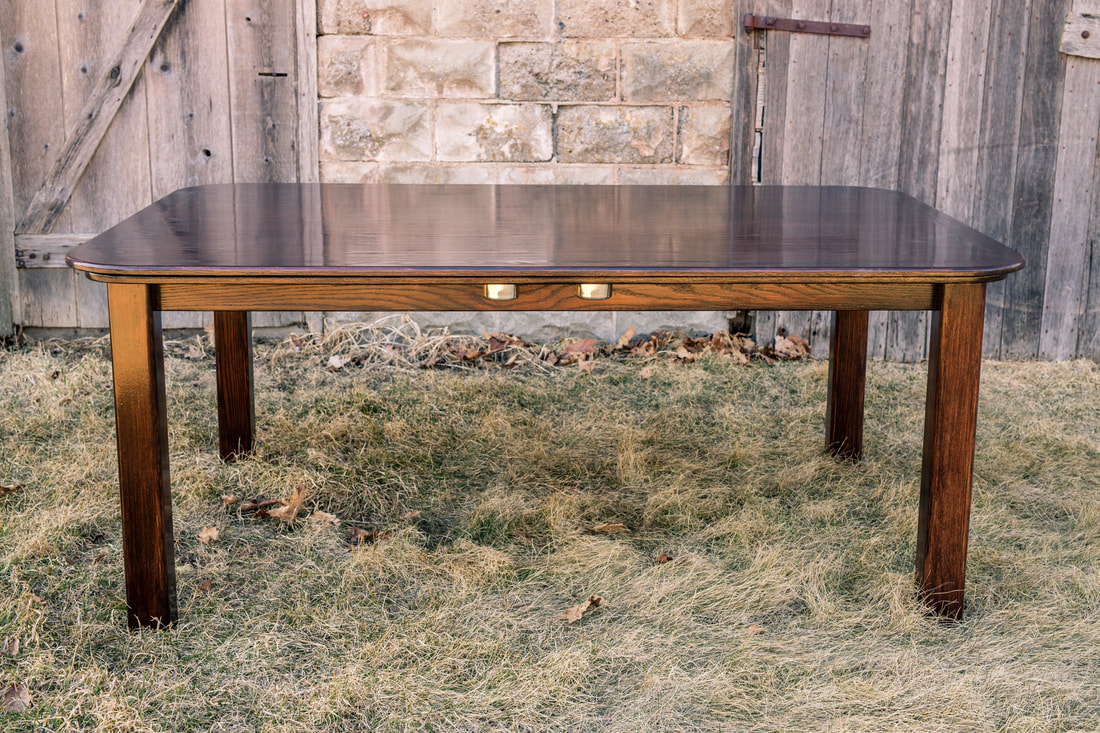 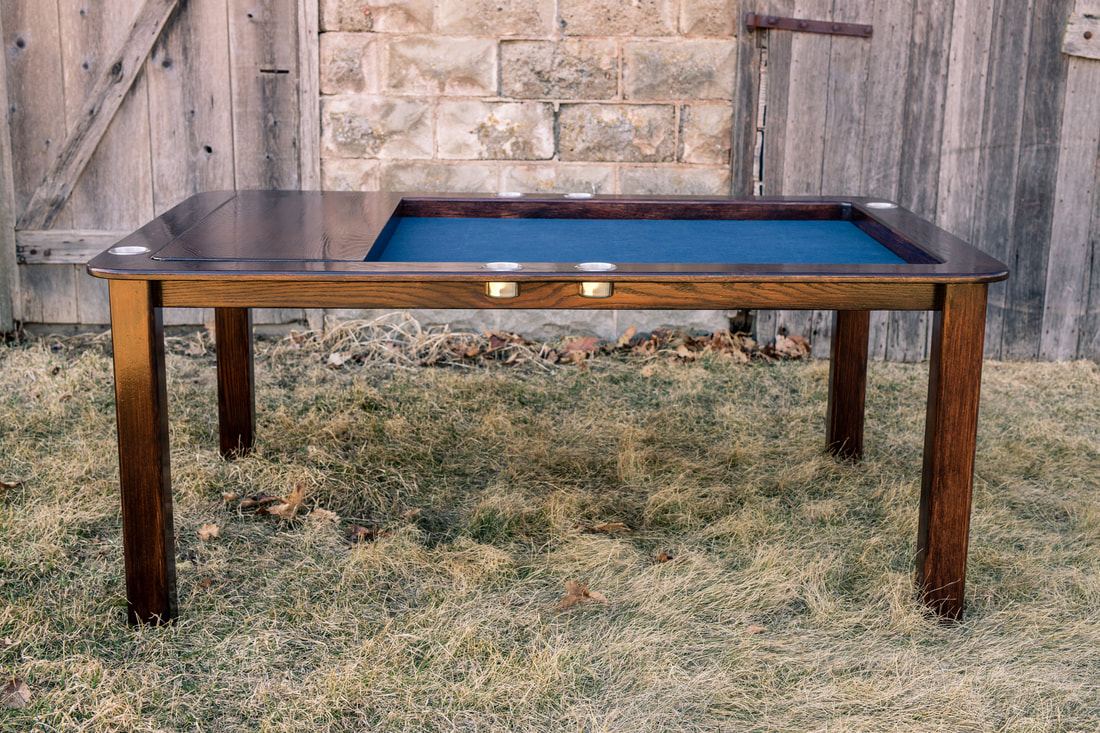 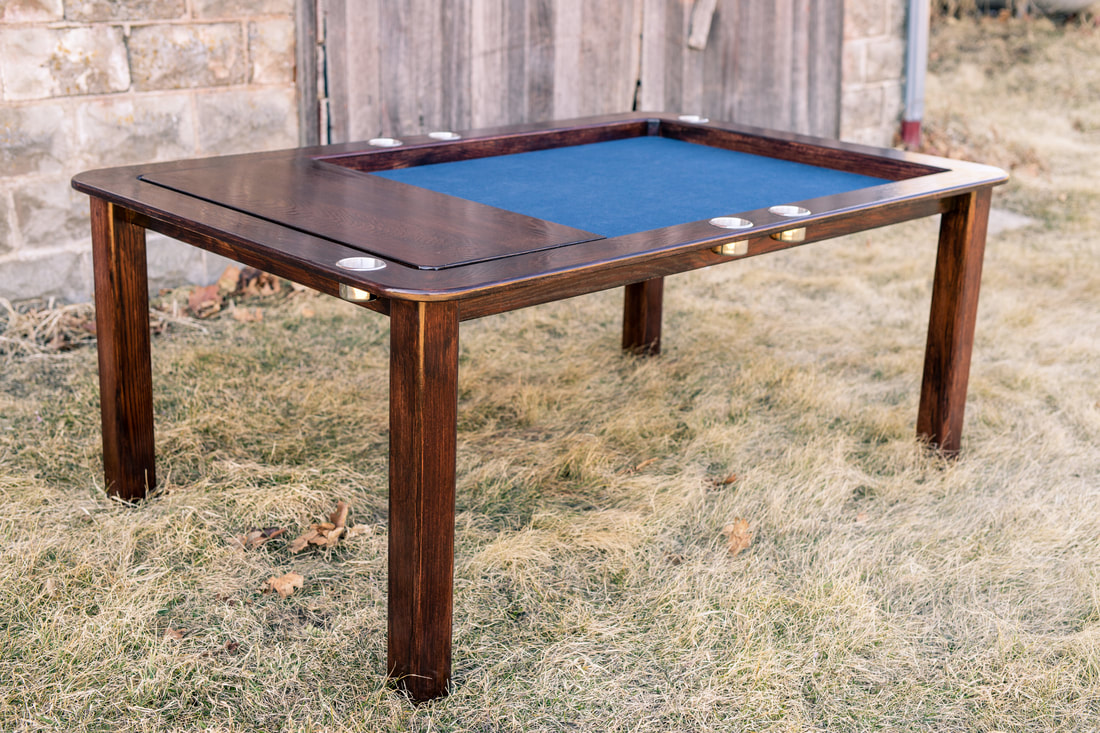 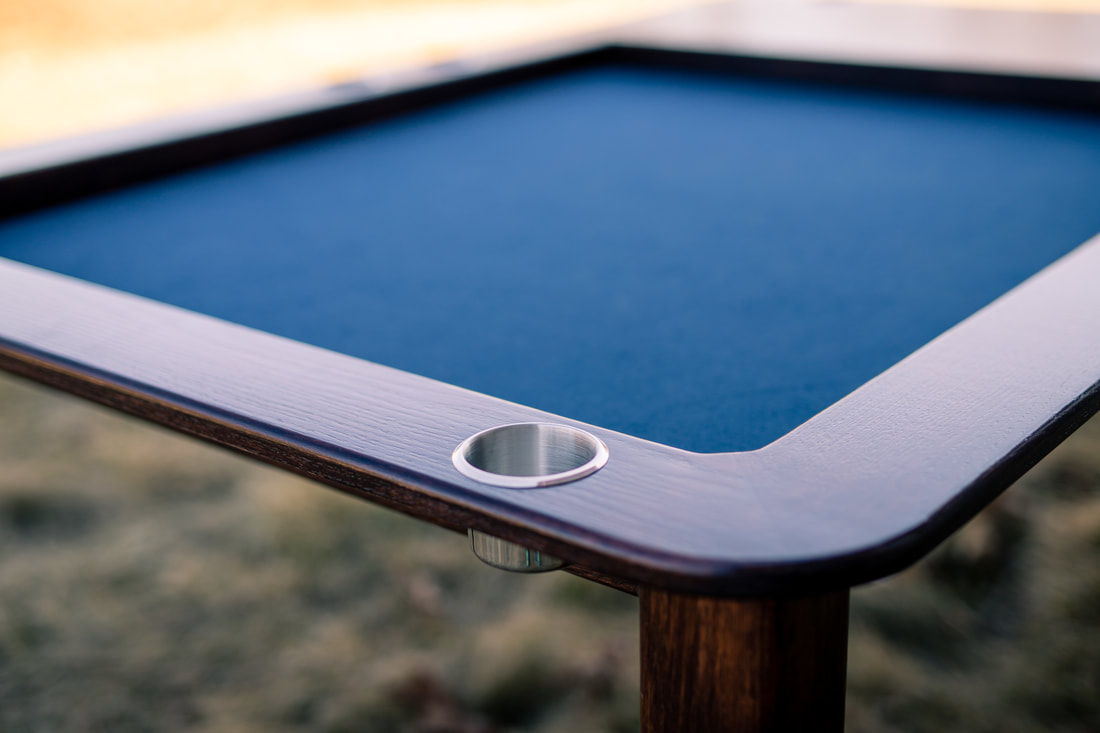 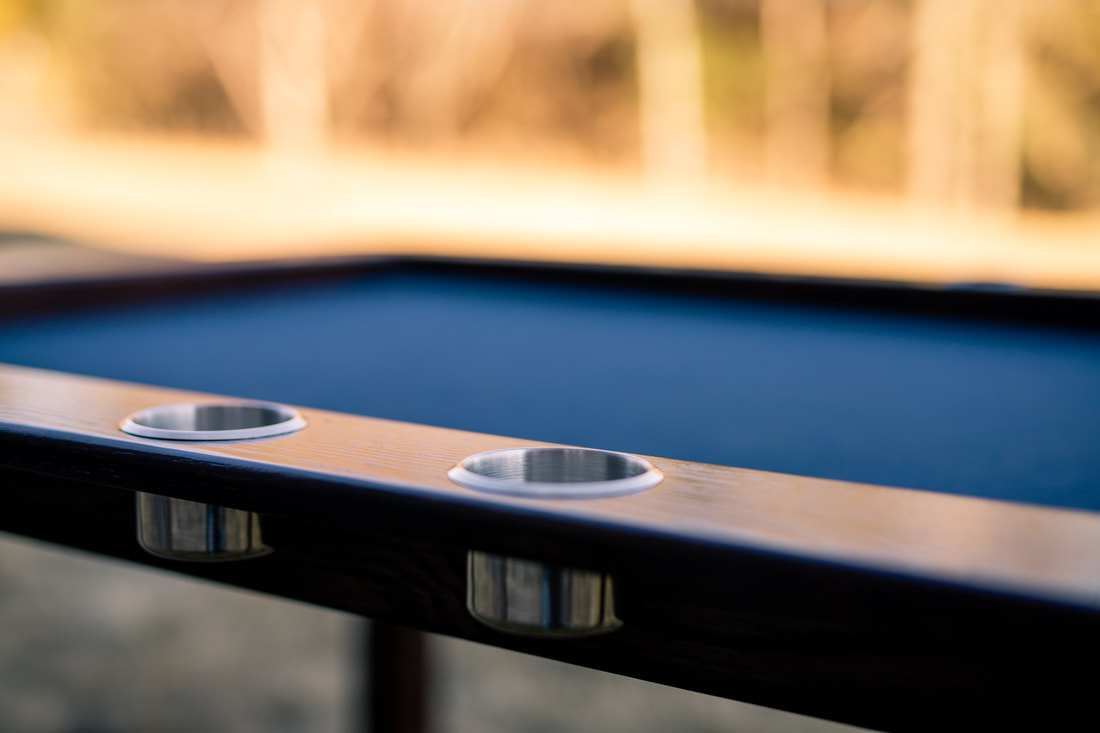  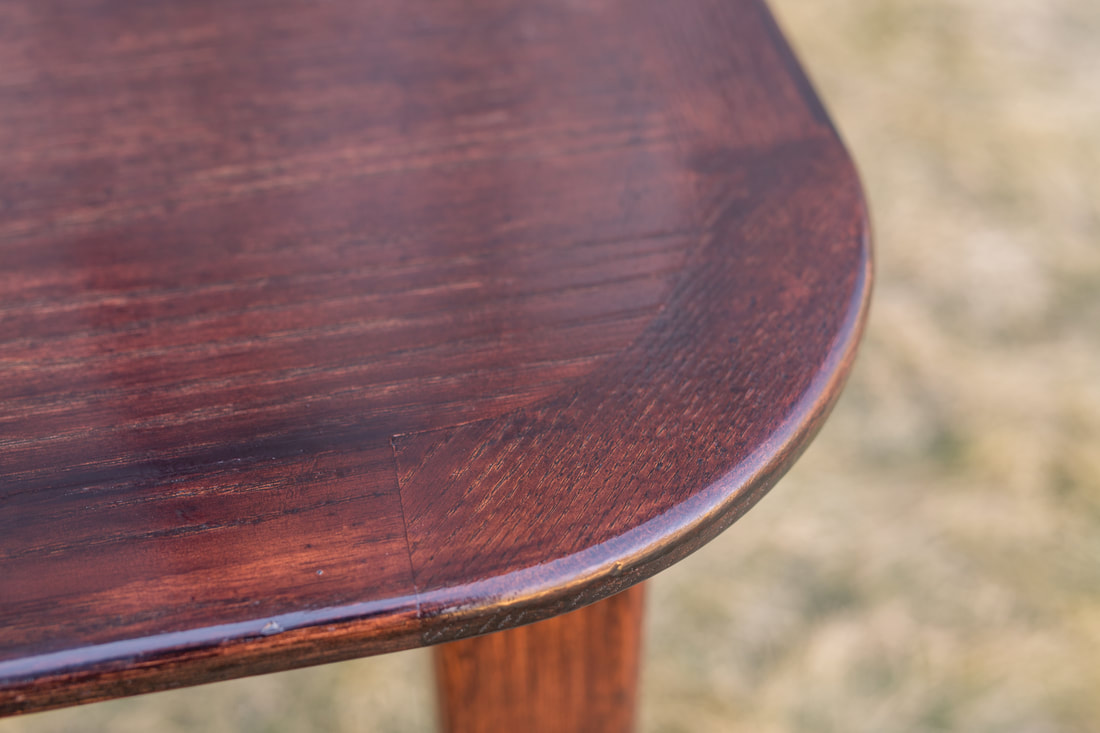 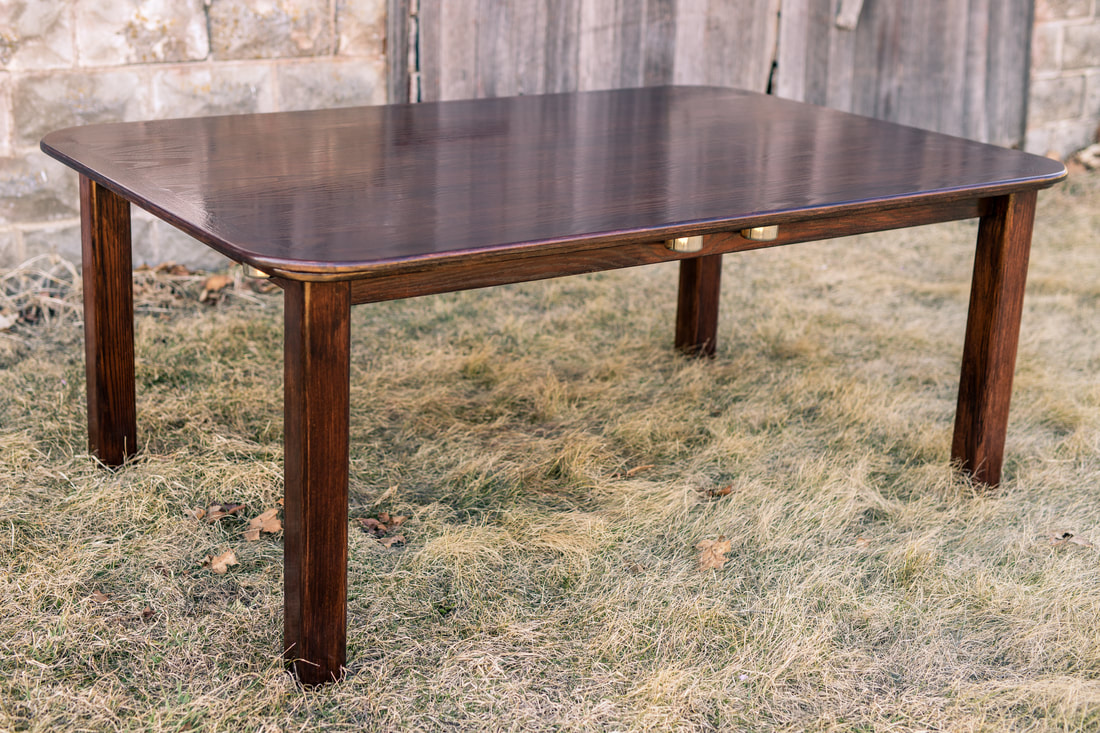 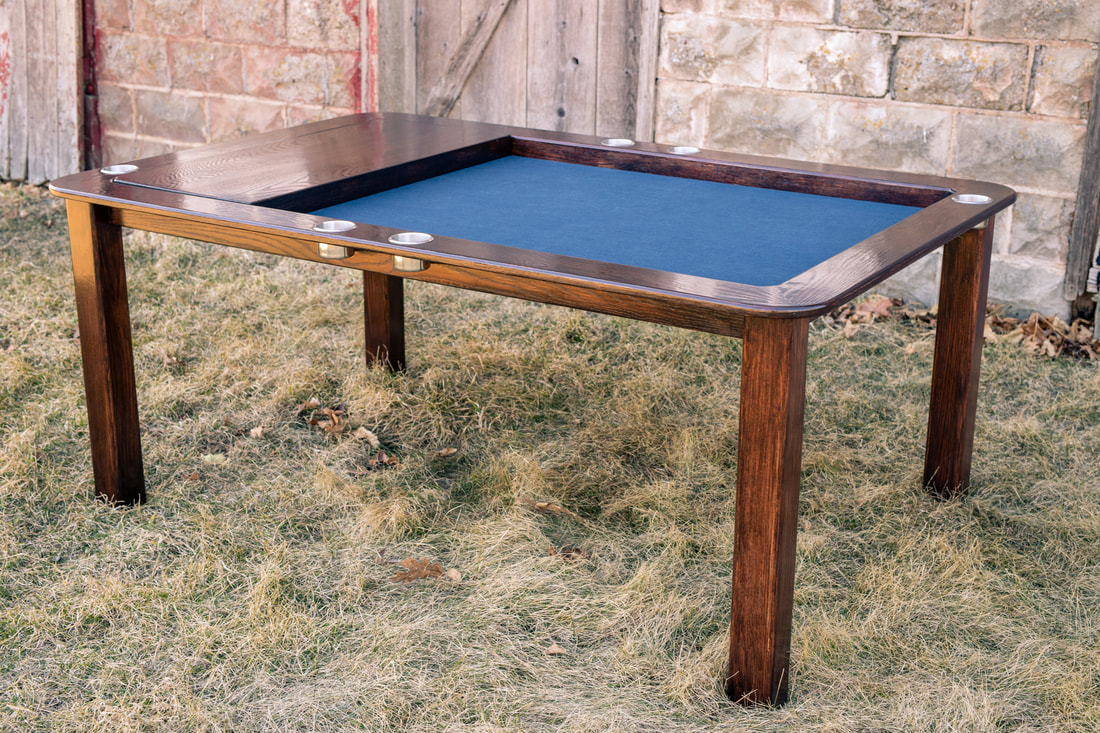 Another great project in the books. A big thank you goes out to Cam and Emma for wanting to do this project. I hope this table serves your family for years to come.
As always thanks for viewing and if you have questions on how or why I did something please don't hesitate to ask.
0 Comments
Leave a Reply. |
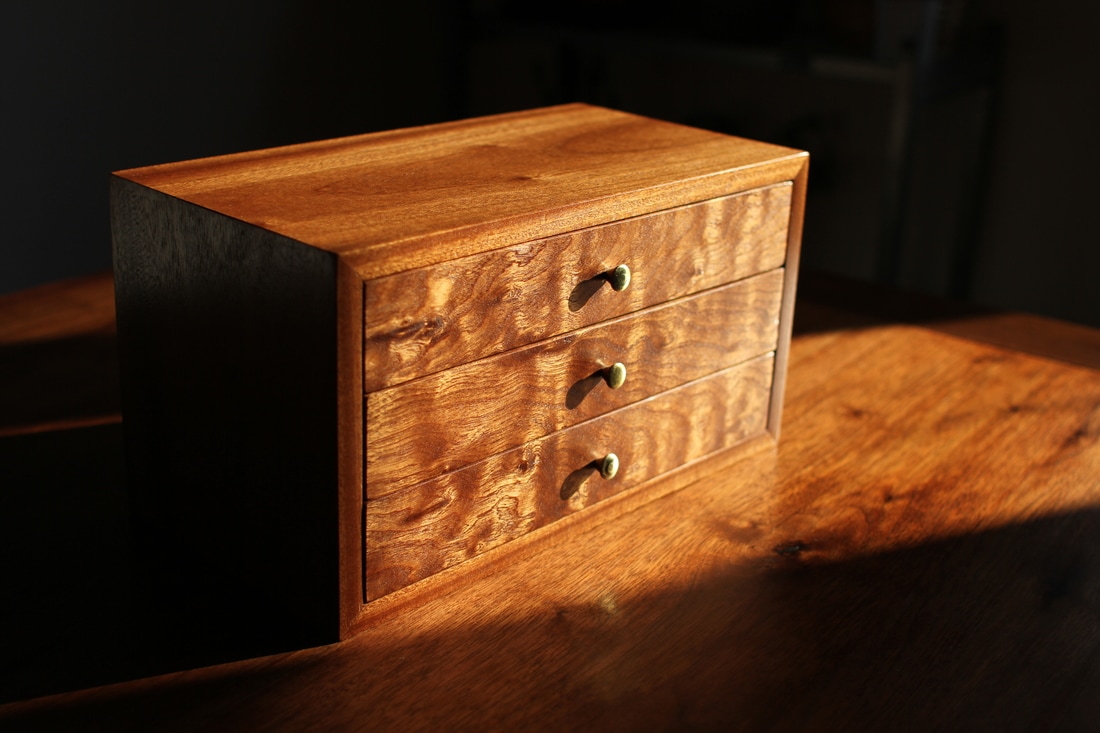
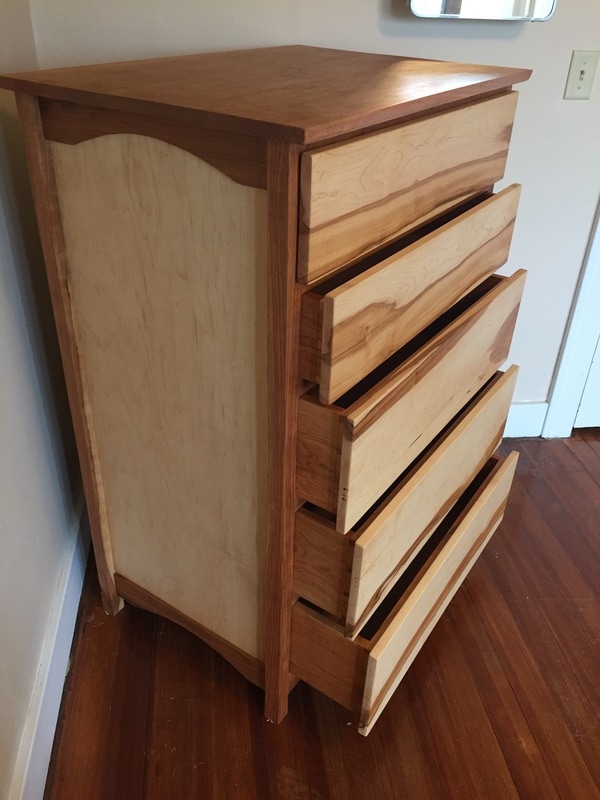
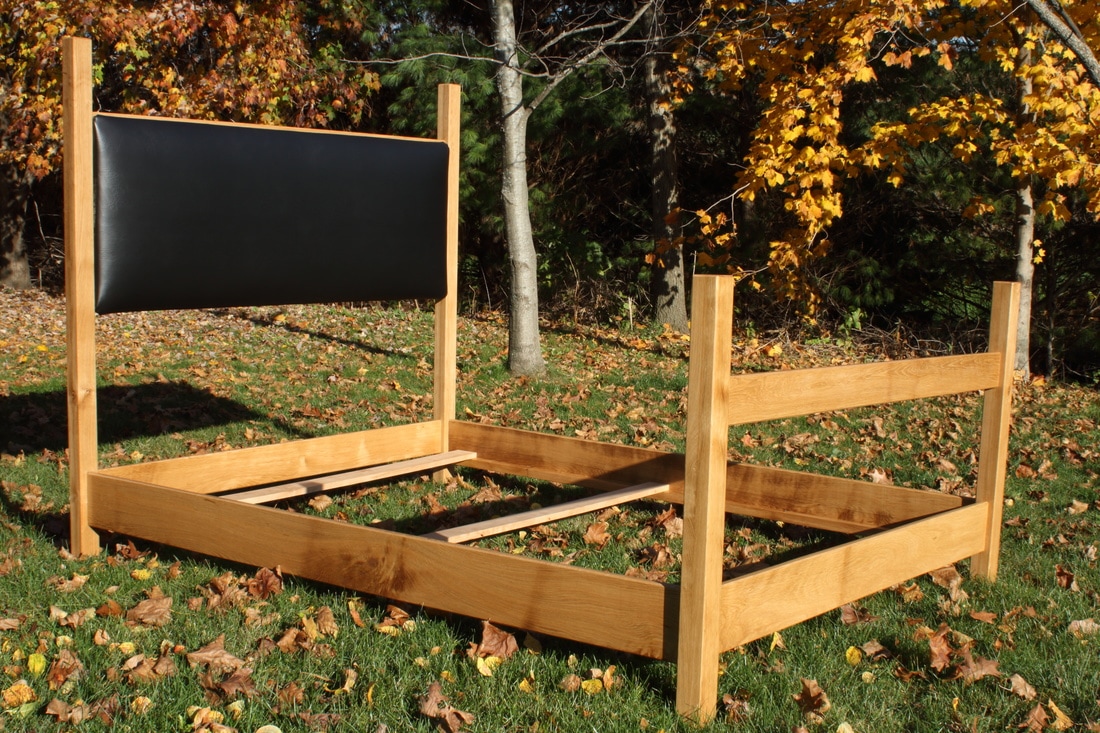
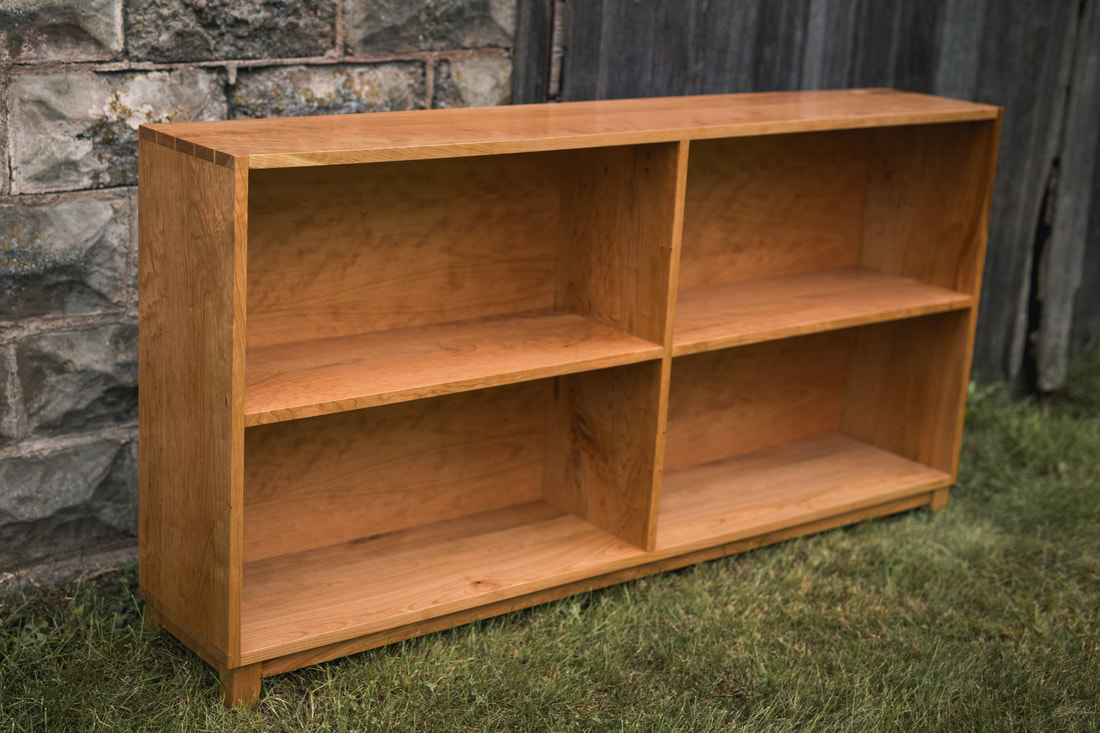
Aaron Whalen:A blog about woodworking in Southwest Wisconsin Previous Projects
Archives
February 2024
|