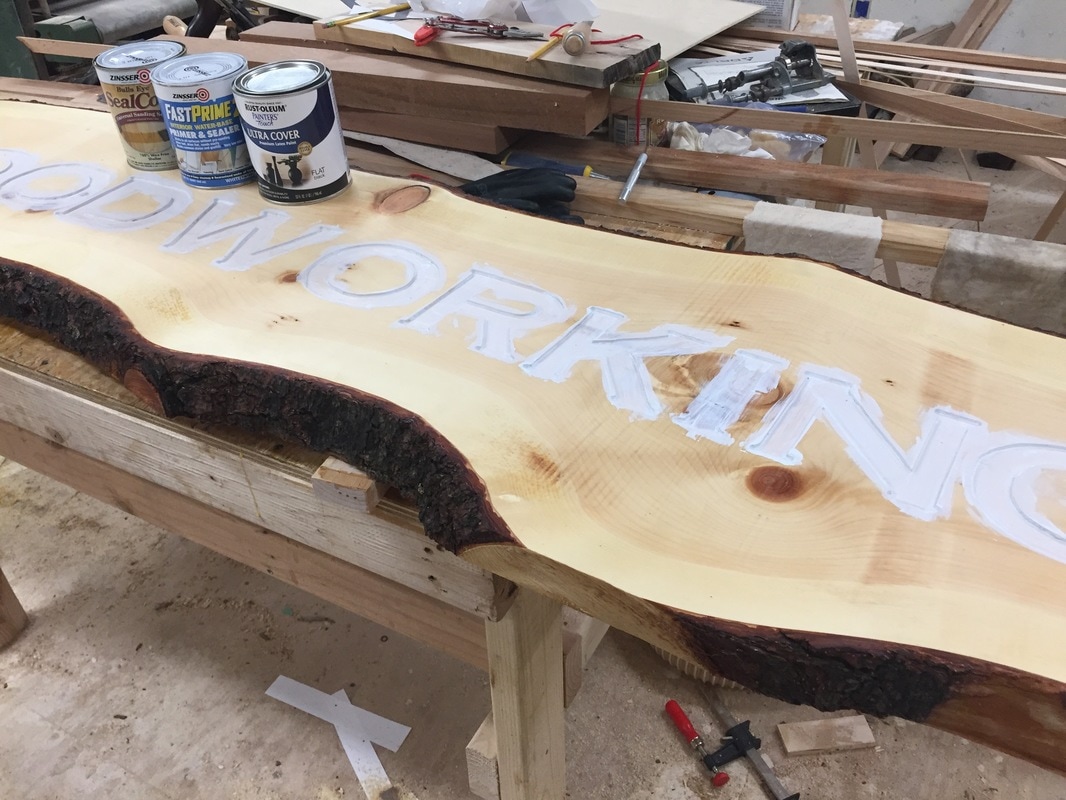
 This is a project I have been meaning to do for a while. You see, theres a rule in woodworking for how long wood is supposed to dry before you use it. The rule states that for every inch of thickness, the wood should dry for about one year. Let's go back a little. 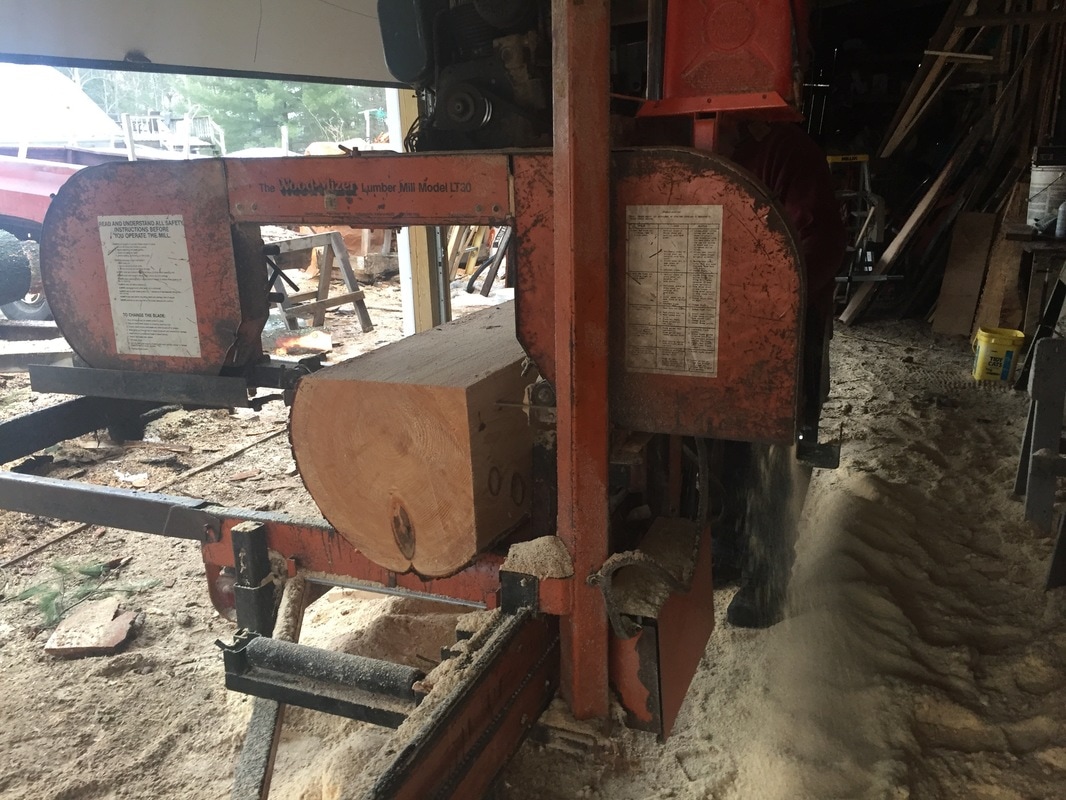 Back in February of 2016 my dad and I milled a few white pine logs. At that time I had only done a few woodworking projects. A table, a bed frame and a few odds and ends. I had no way of knowing that one of those slabs might be hanging above my shop door a year and a half later. Luckily at 2" thick I had some time to about it. 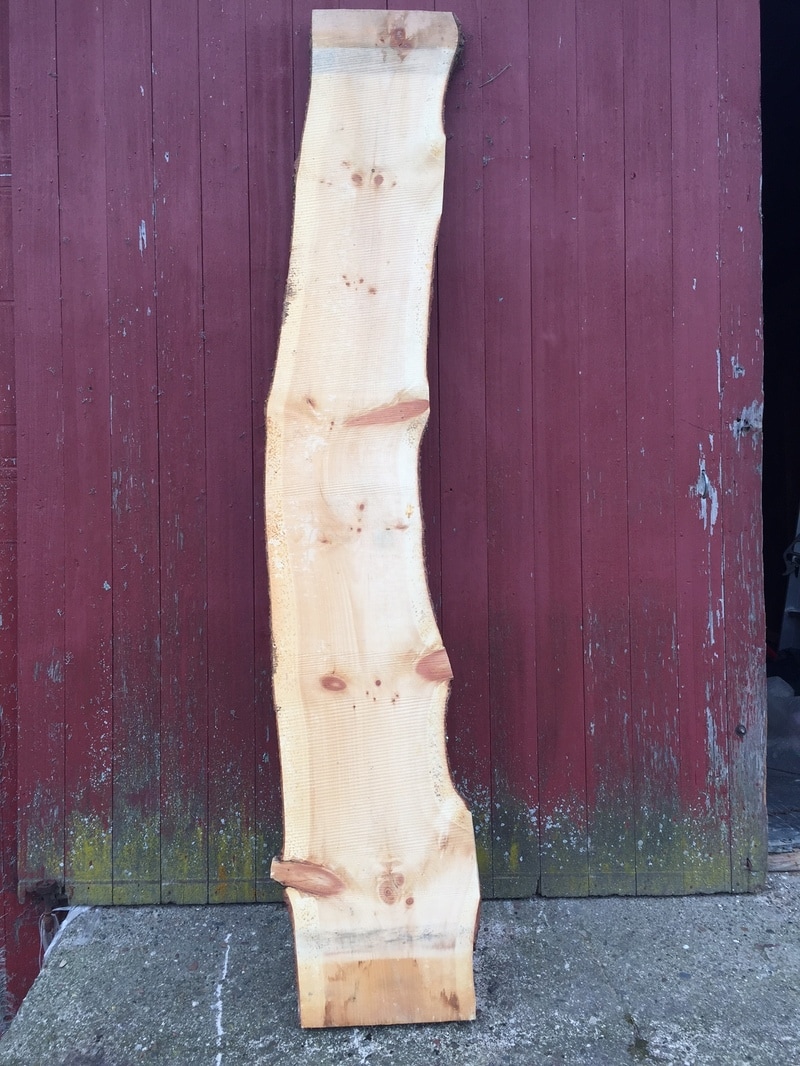 A fine specimen. I'm not sure if it was one I helped saw or if this one was done earlier, but it's definitely dry. I picked this one for its slight arching curve. It wouldn't make a great bench or tabletop, but it will be one heck of a sign. 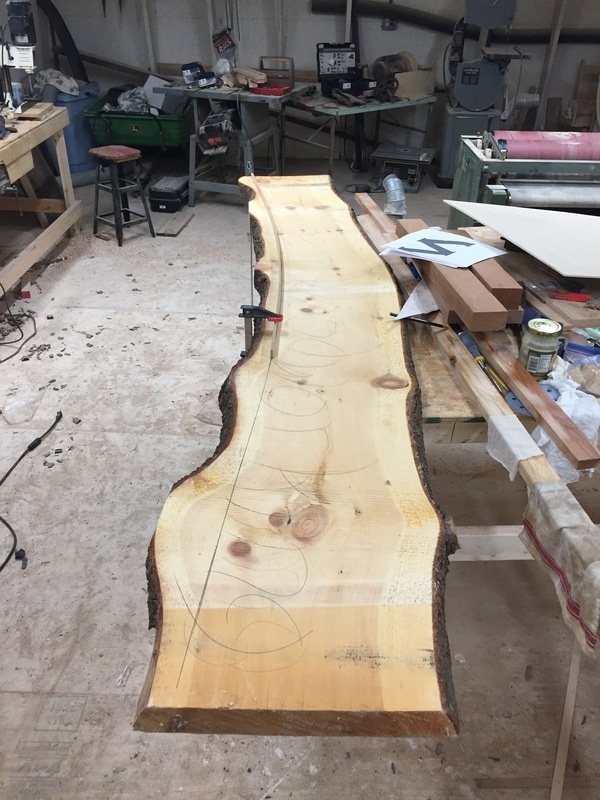 I wanted the lettering to follow the natural curve of the slab so I used a yard stick to trace out a line to follow. I also sketched out letters by hand to see what sort of height and spacing I would be able to use.
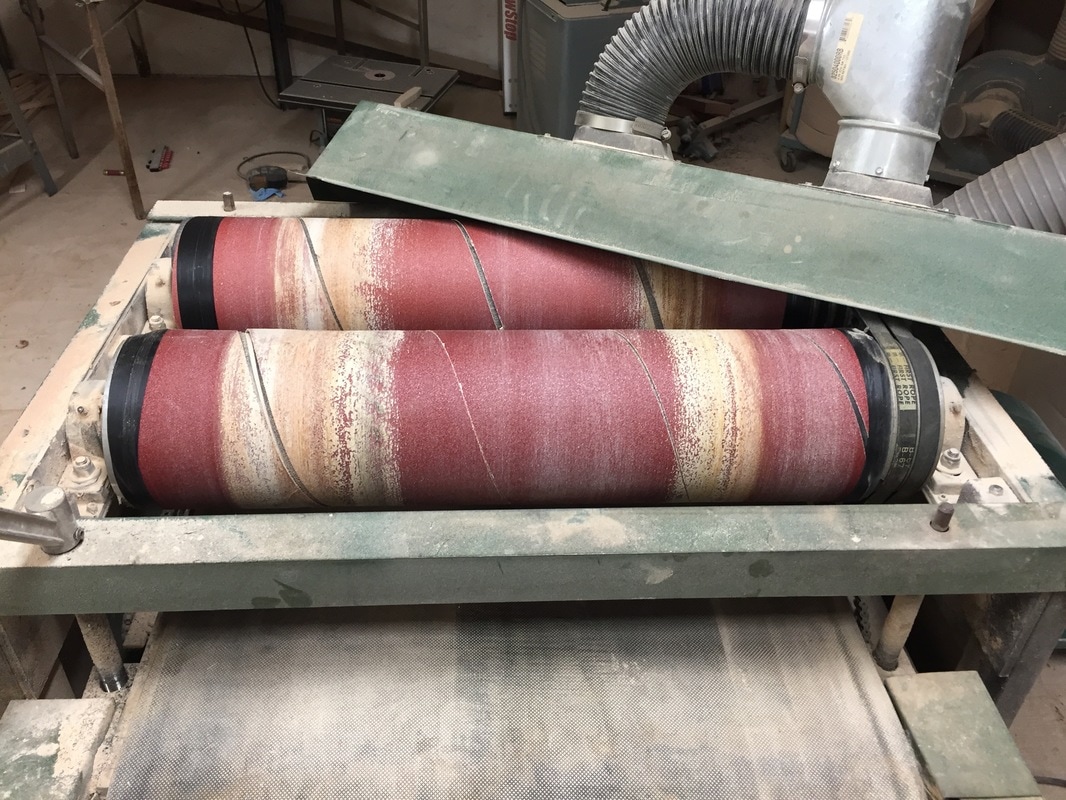
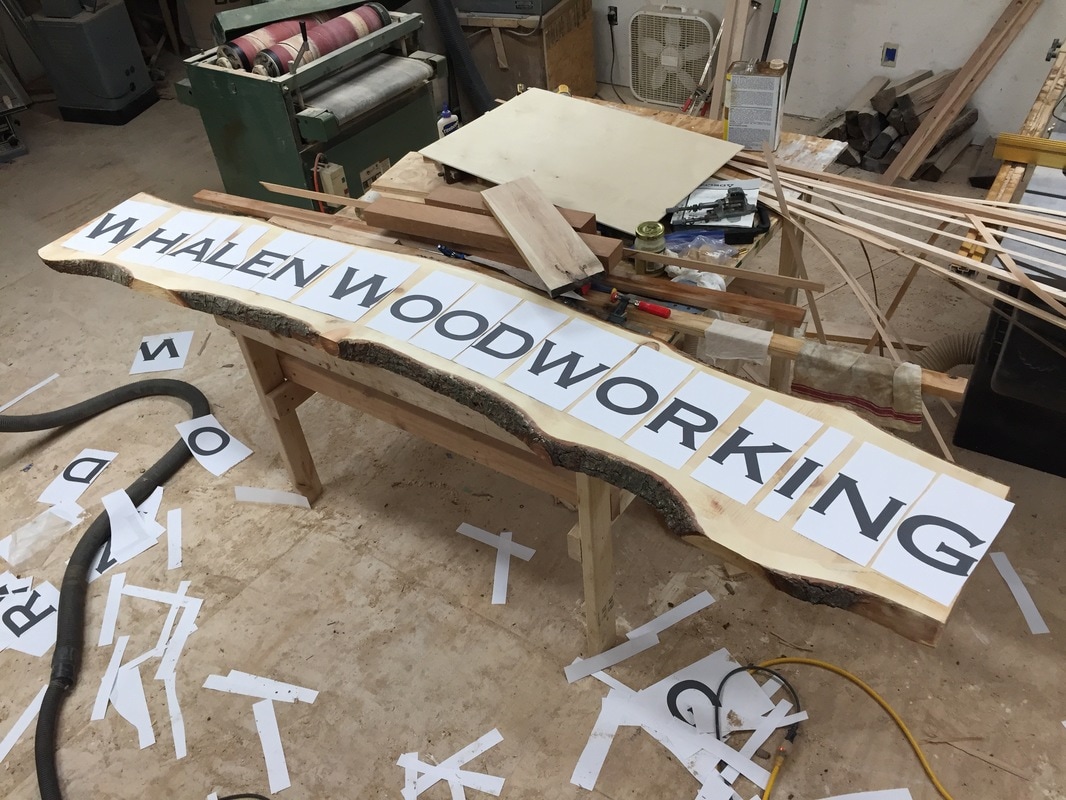
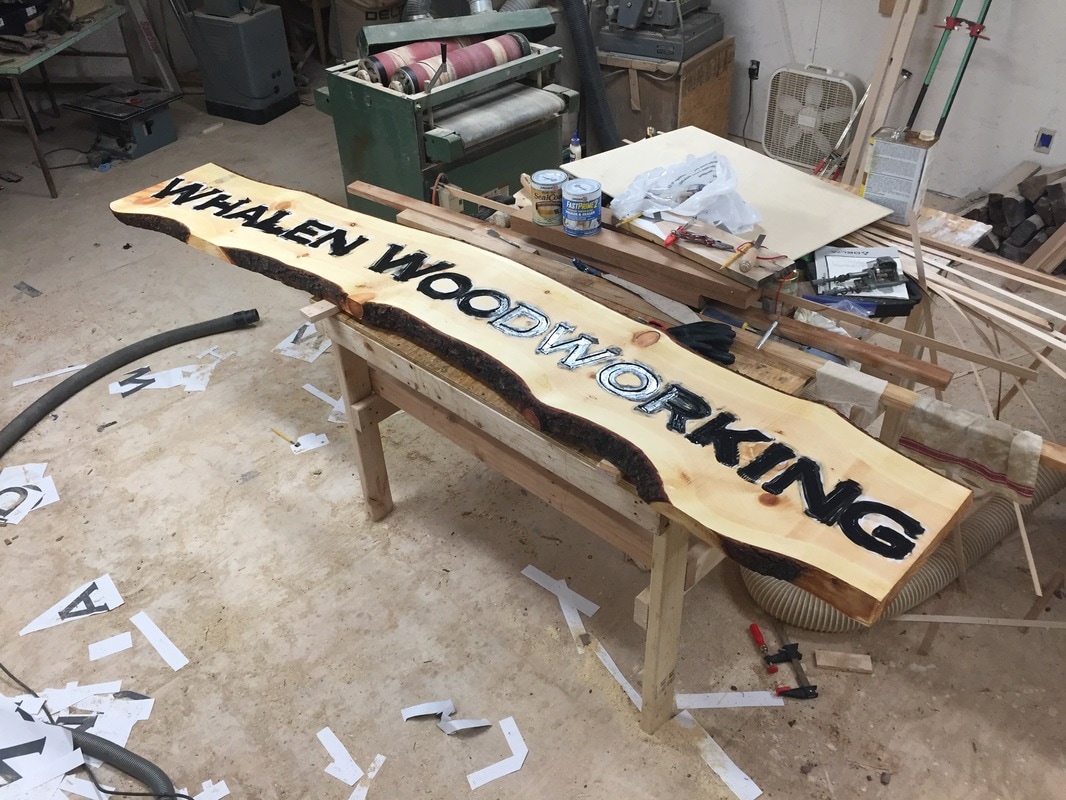
Mistakes were made. A new set of paper for this sander costs about $10 and lasts less than one pass with the pitchy white pine. I guess you really can buy an education. I finished the rest of the sanding with a belt sander. And then more mistakes... It took a few tries to get the letters to have the right size and spacing. You can see a few of the attempts littering the floor.
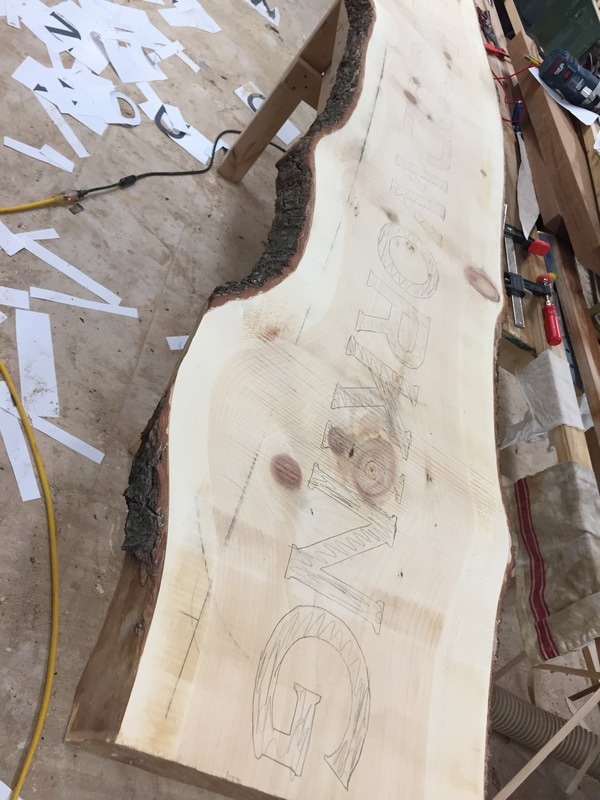
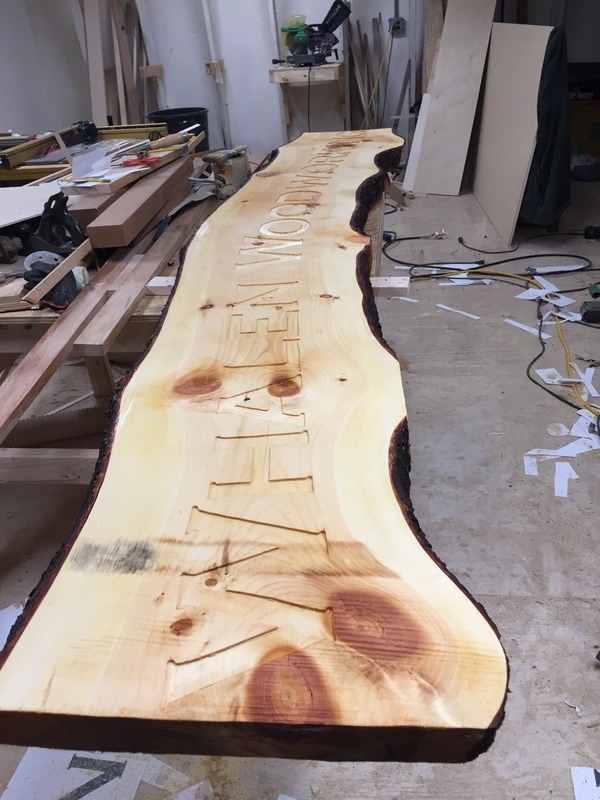
Cutting out letters is fairly straight forward. I traced the paper letters with a sharp knife and then darkened the lines with pencil and marked the area to be cut out. Then with a 1/4" end mill bit in the router removed everything that wasn't a proper shop sign. 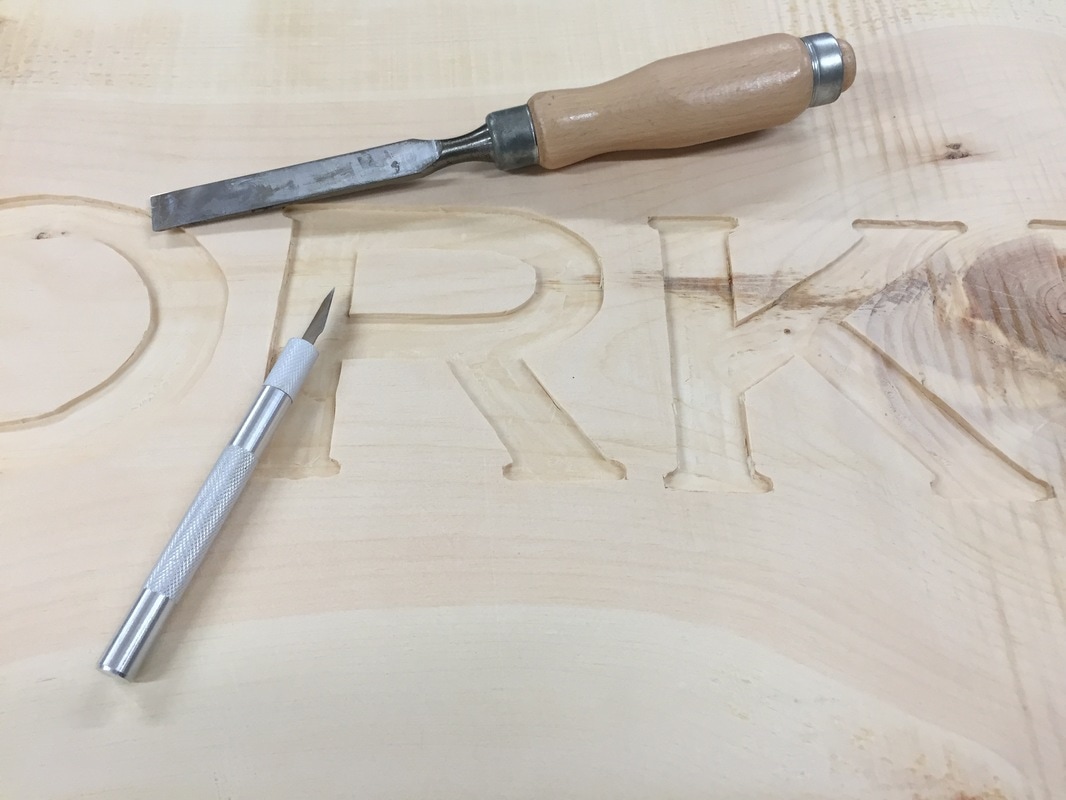 Cleanup was done with a chisel and sharp knife. Every line was gone over again to remove any wiggles I had with the router.
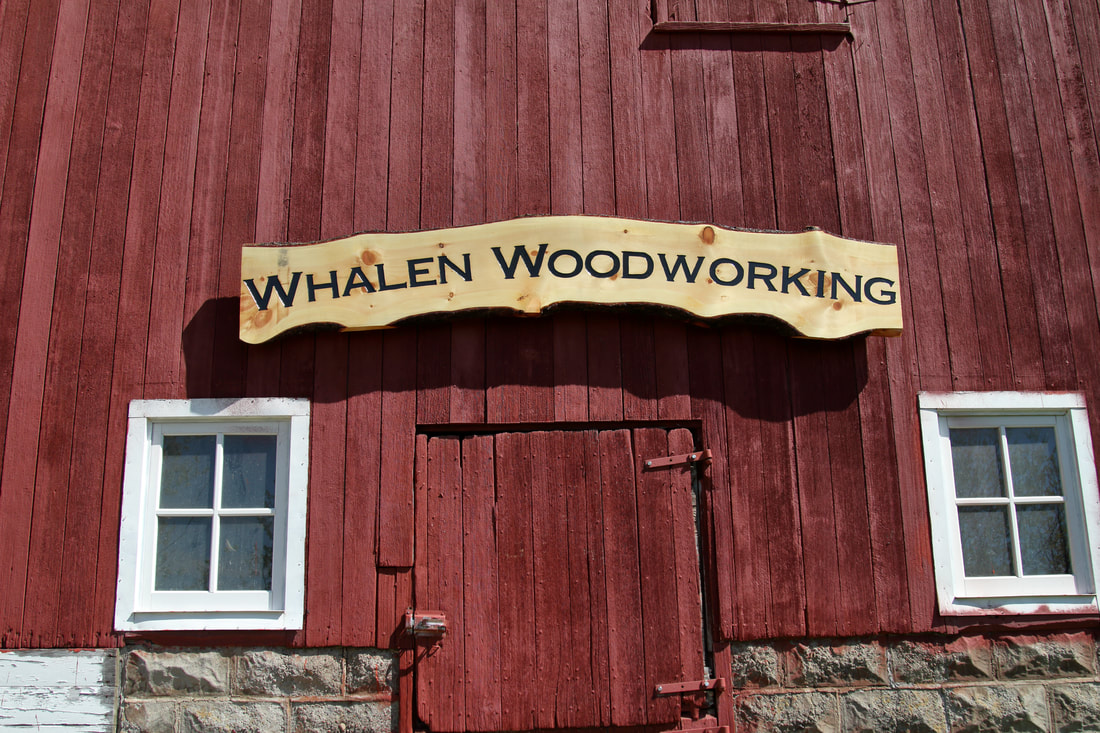
Finishing this was done in many steps. First the entire slab front and back was coated with shellac to seal all of the grain. This will protect the wood from paint bleeding into places I don't want it to be. Next, the letters were primed with two coats of a shellac based primer and followed with two coats of black outdoor paint. 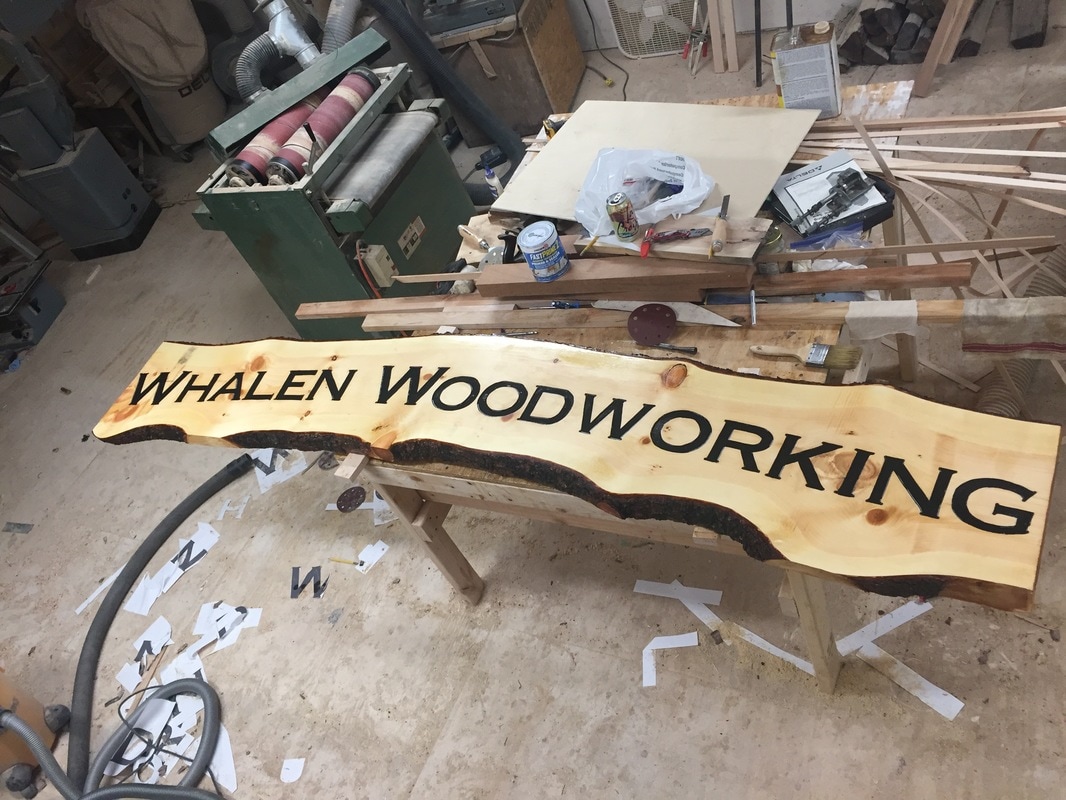 I was fairly sloppy with the paint because I knew I would be sanding off any that was on the raised surface to clean the front face. After another coat of shellac, the entire sign got two coats of polyurethane. Dewaxed shellac is what's known as a universal go-betweener. It can adhere to almost any other finish so it is a great in-between coat if you need to work with different types of finish. 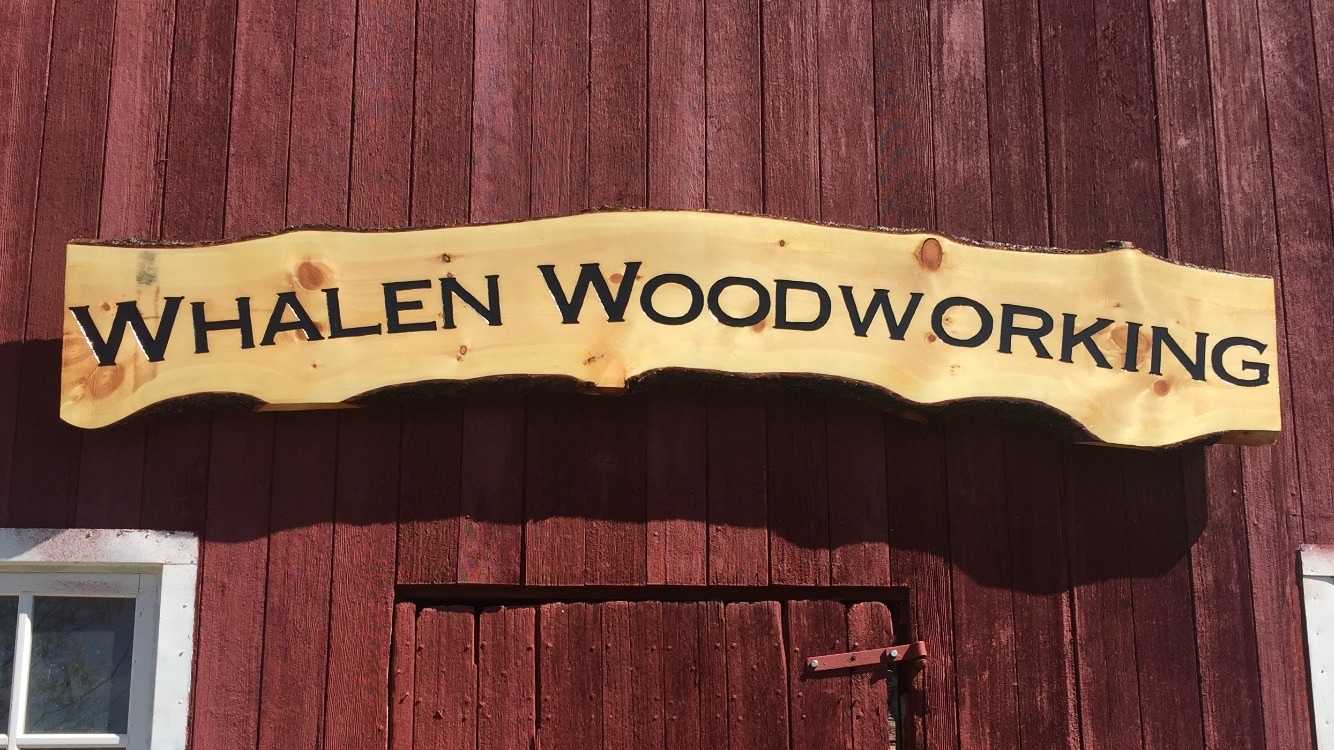 Done and hung. This isn't where it will actually go, but I love the sharp contrast of the white pine on the dark red background. Eventually it will go inside the barn above the door to the shop. 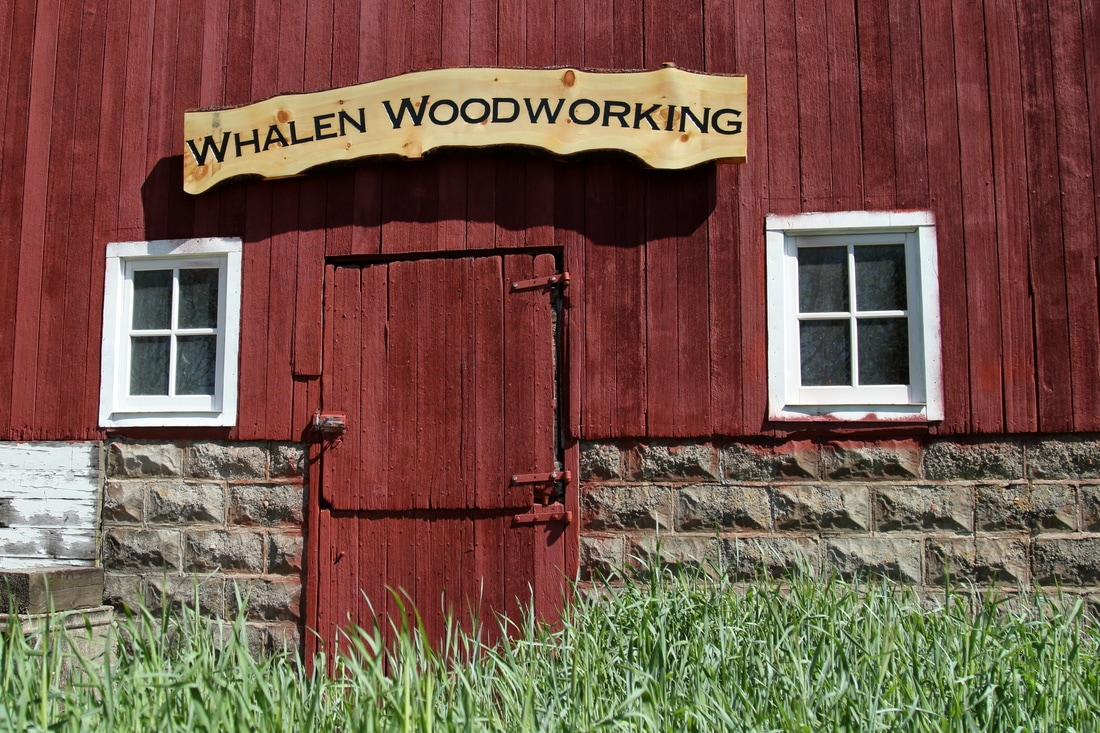
0 Comments
|
Aaron Whalen:A blog about woodworking in Southwest Wisconsin Previous Projects
Archives
February 2024
|