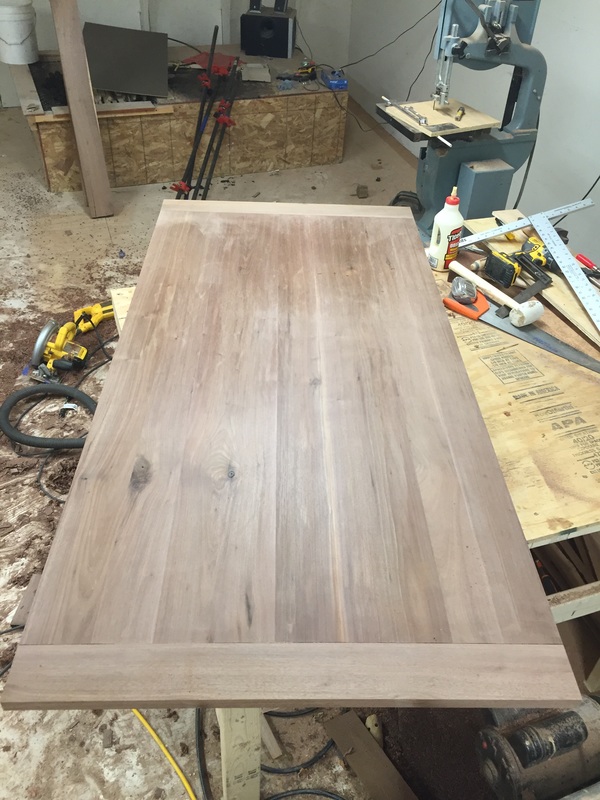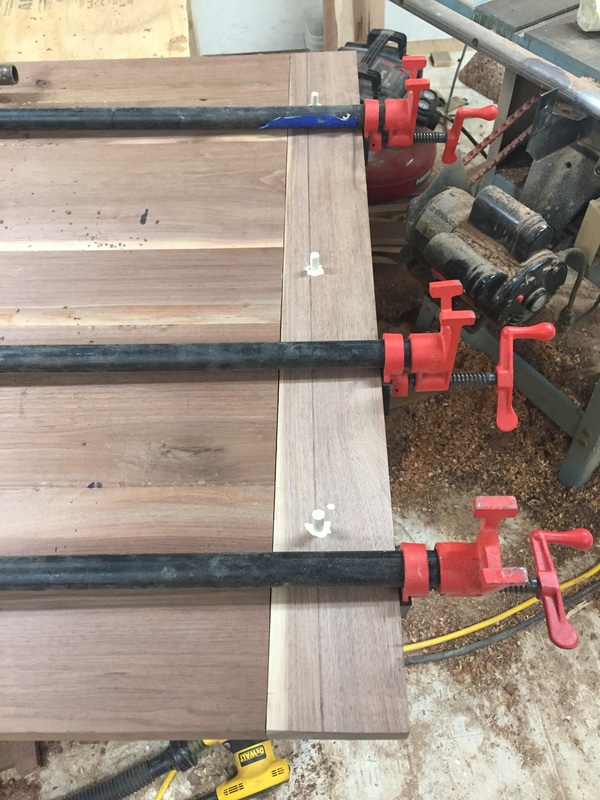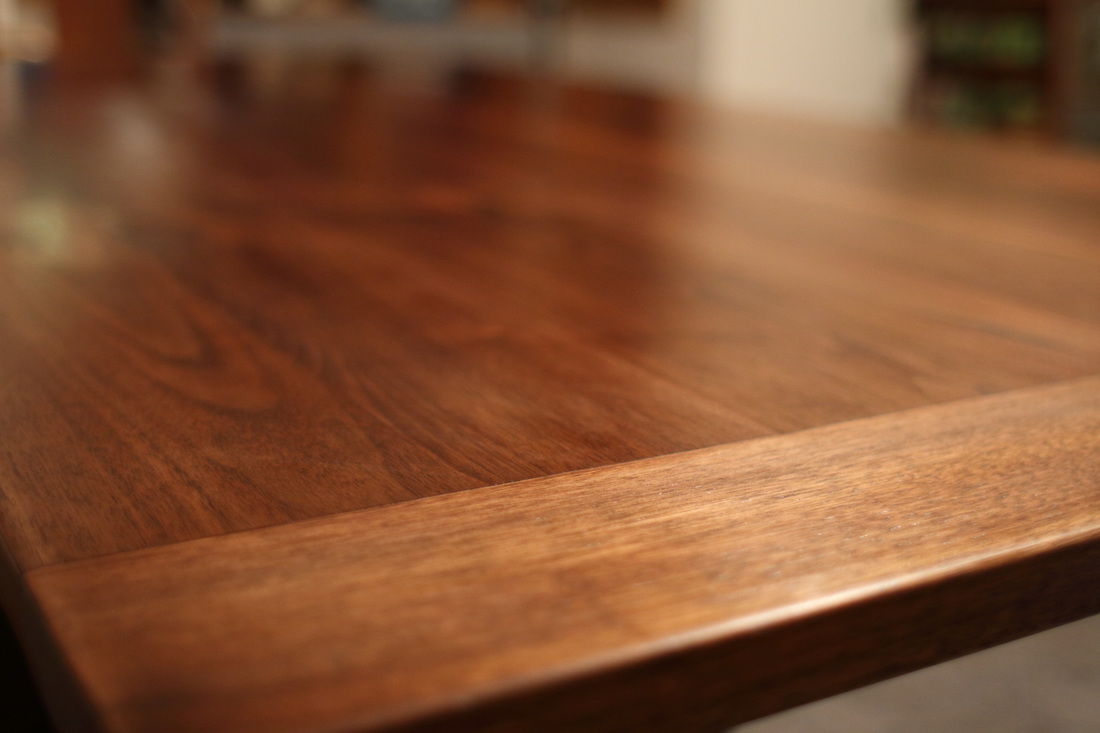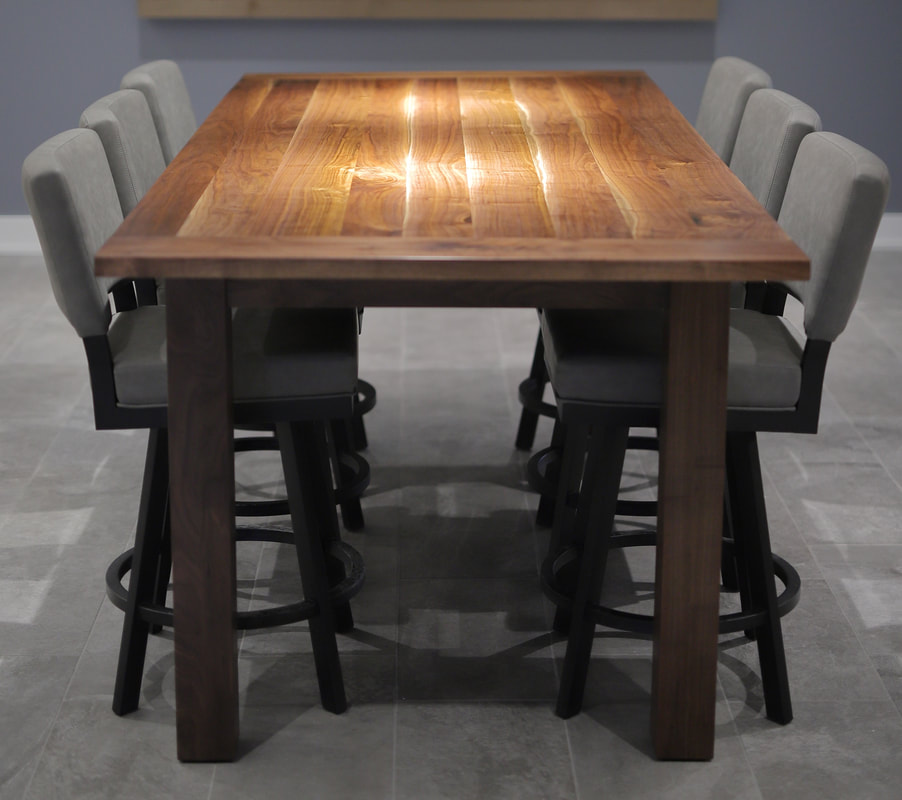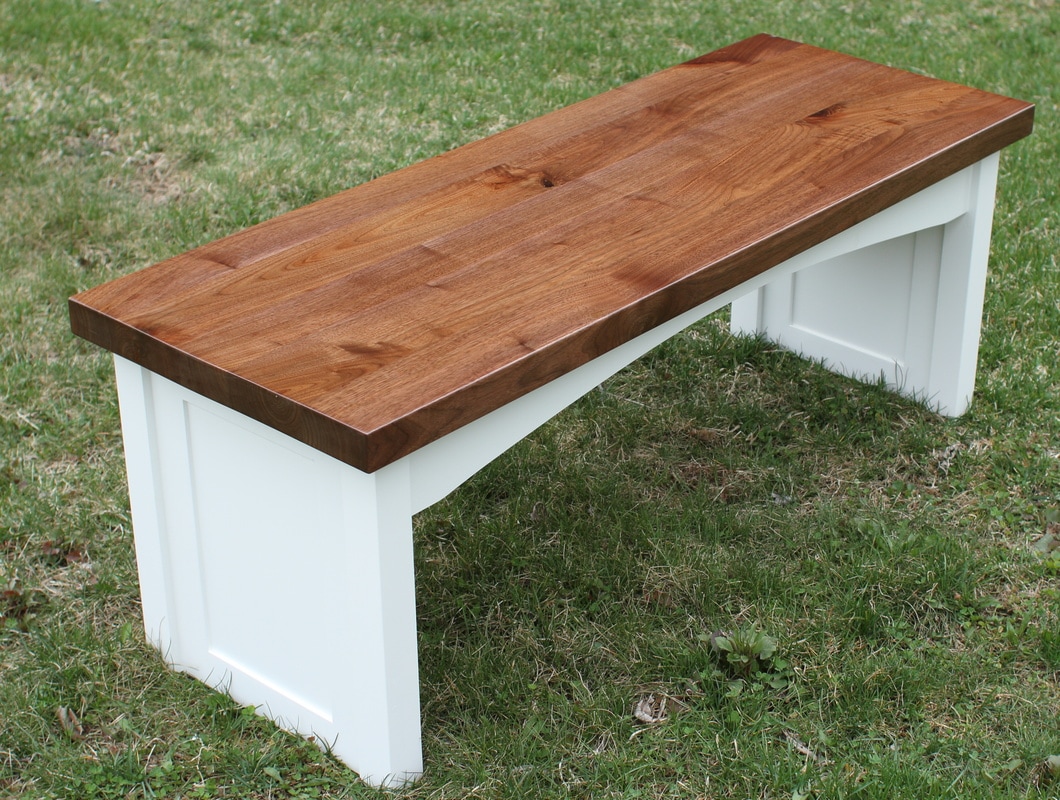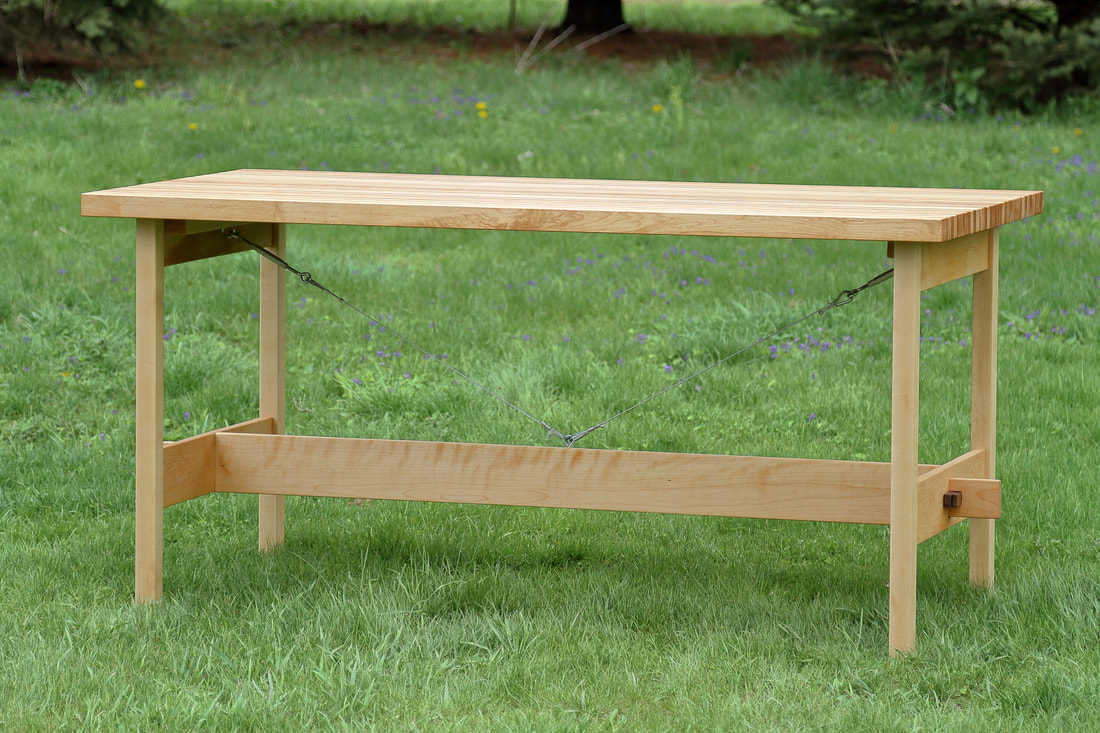
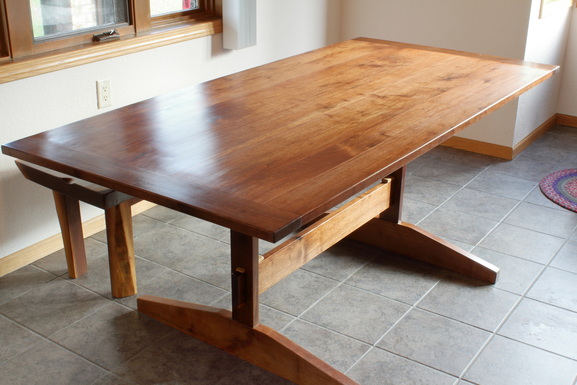
 Finished table - 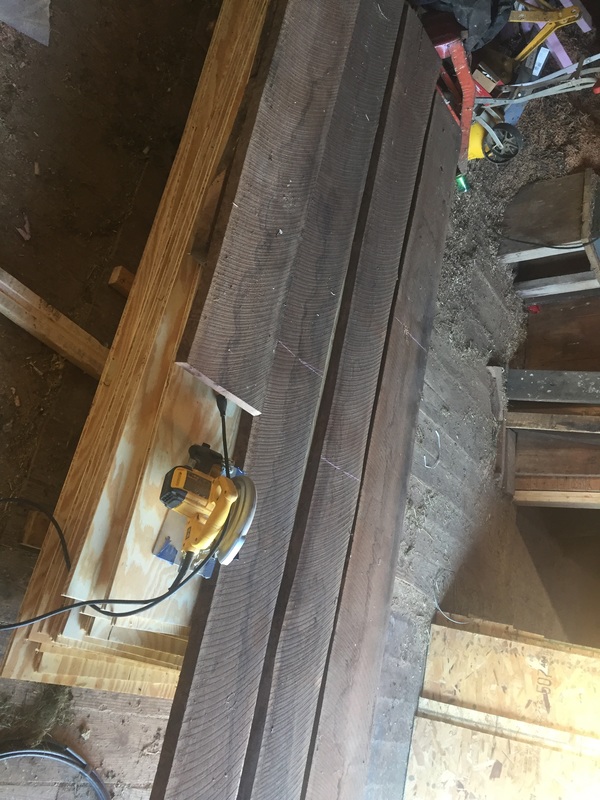 Circle sawn walnut - rough sawn walnut isn't very attractive. I bought these off Craigslist. The guy had found them in his garage when he moved in. The previous owner was lifelong woodworker who had repaired different churches all over the country. 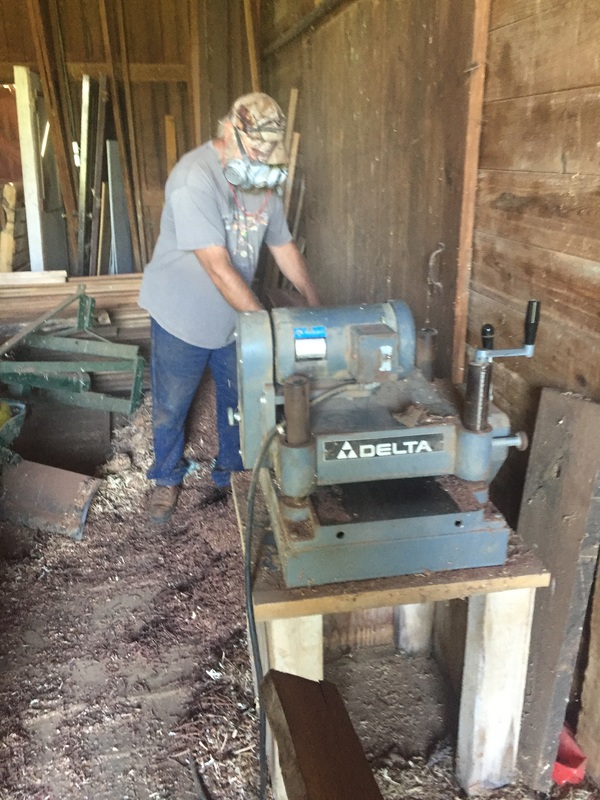 Grandpa Whalen! My parents came down to visit a few weekends ago when I was starting this project. We planed all the boards for table top. It was nice to have an some extra help surfacing the lumber. 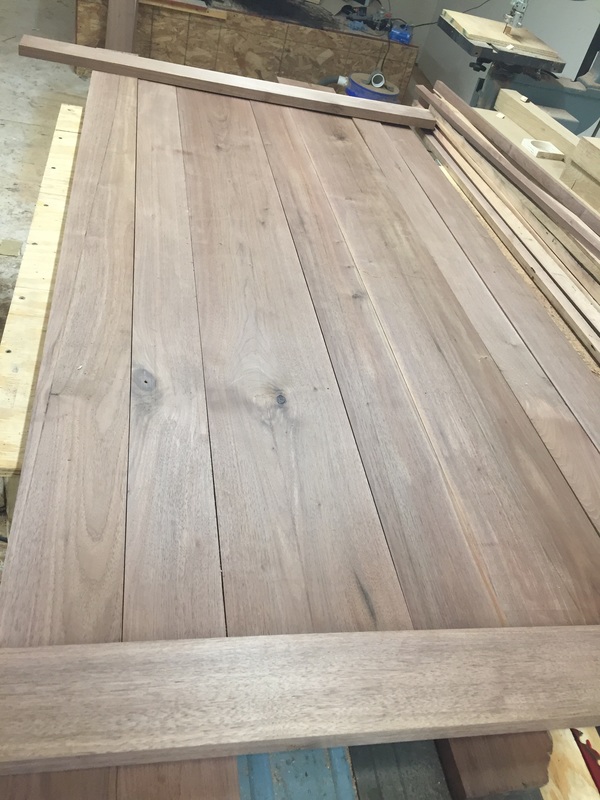 This was the plan for the top. It's a pretty typical breadboard end tabletop. I always try to do something new on each project. This project focused on how to do proper breadboard ends.
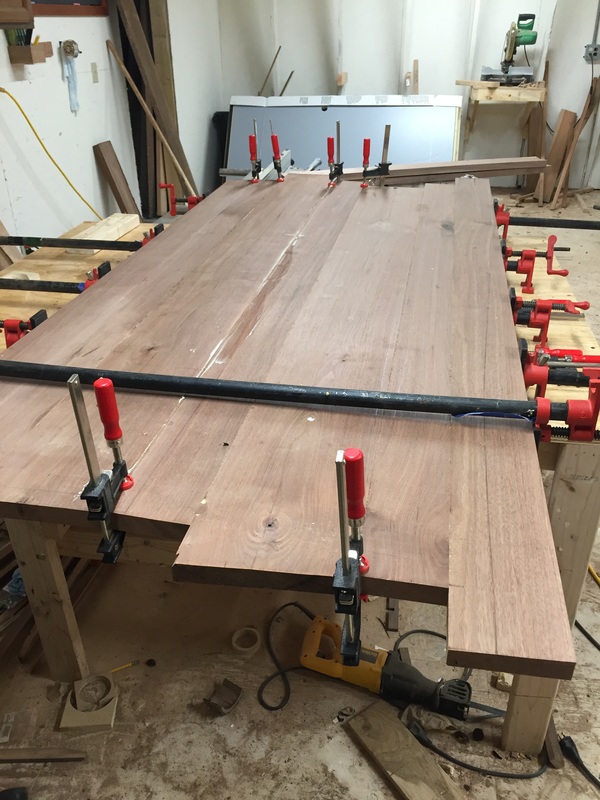
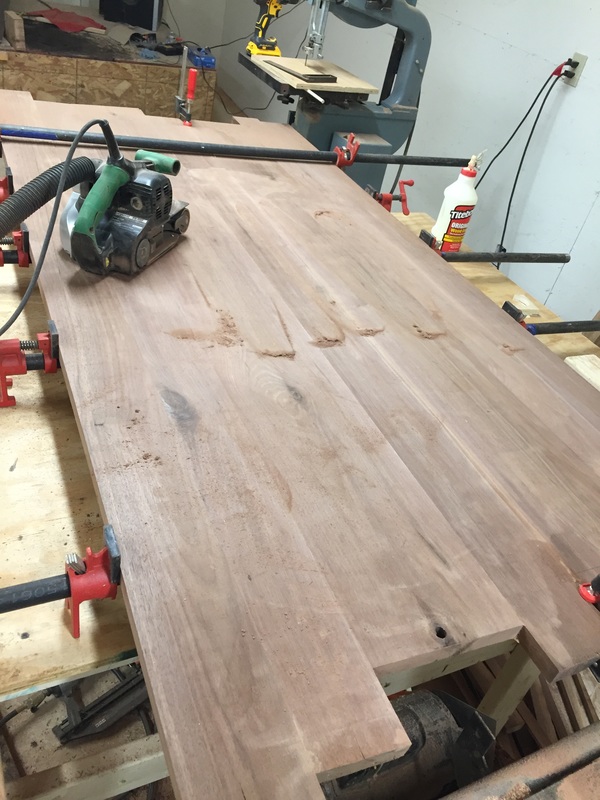
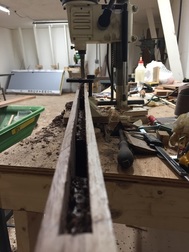
The top is doweled together. Dowels do not add anything for strength to edge grain glue joints. Their sole purpose is to align the boards to minimize flattening after all the boards are glued up. After some quick cleanup it's time to start the breadboard ends!
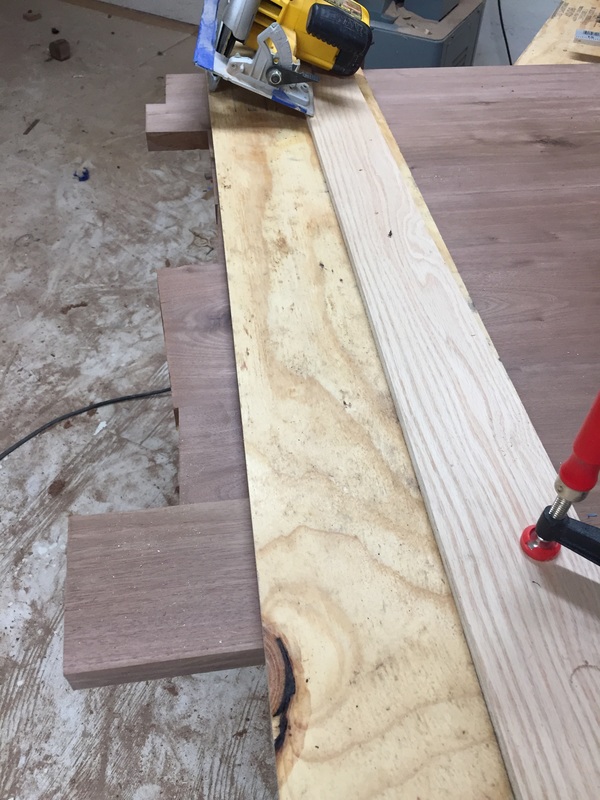
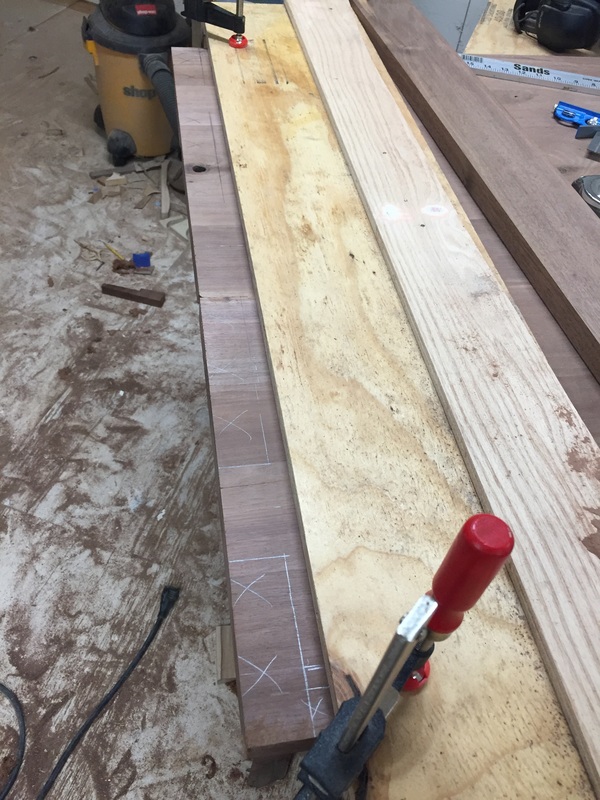
I start by trimming the end flush with the circular saw followed by a shallow cut 2" in from the end of table top. This will set the depth for the tenons.
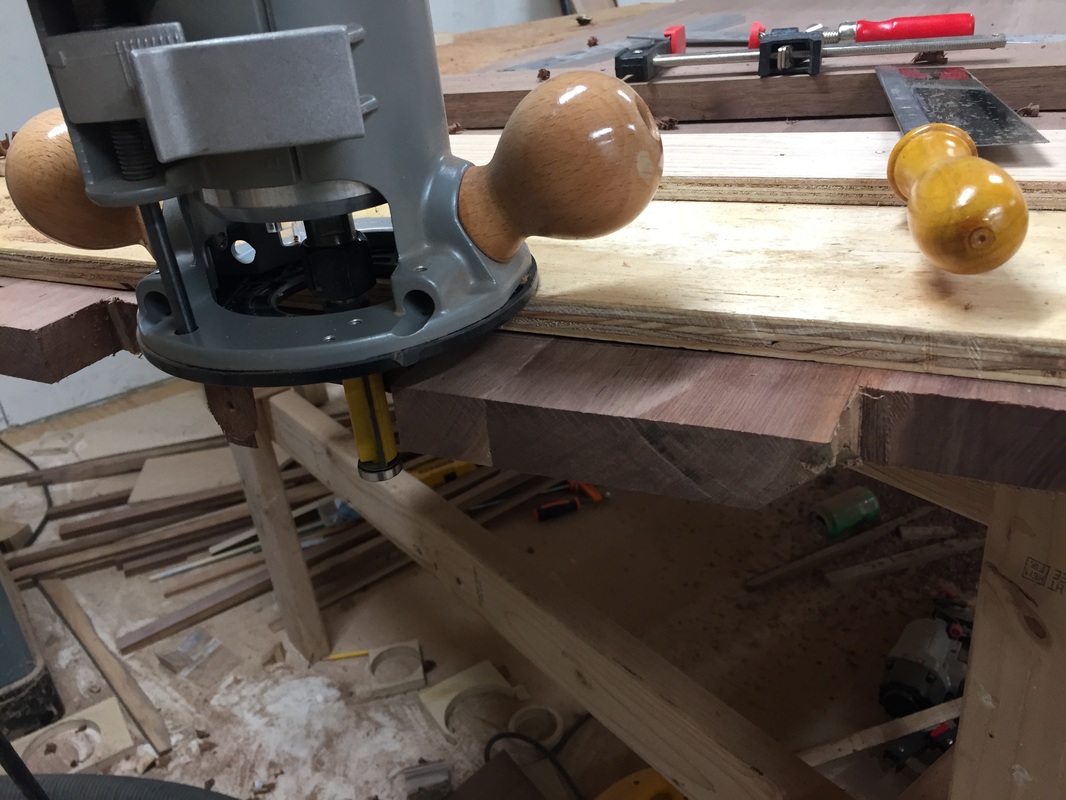
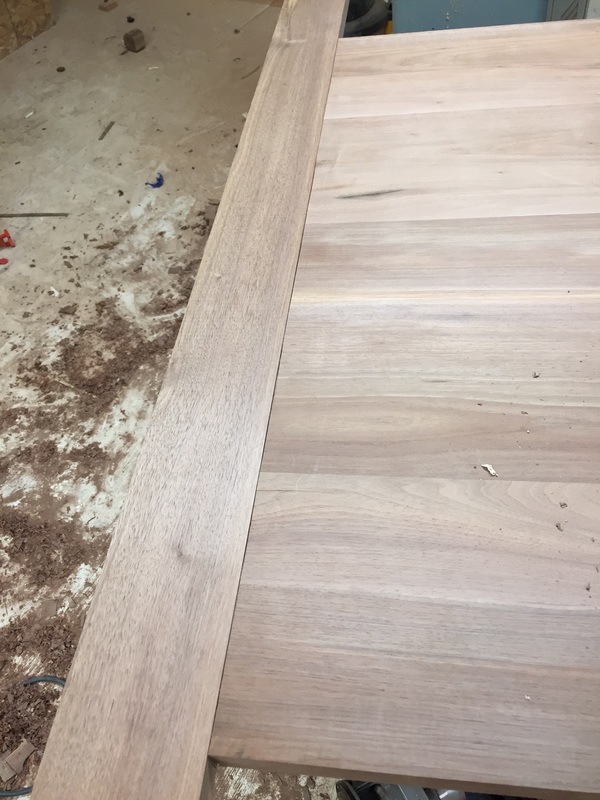
Next I rough cut the tenon shape with a hand saw and cleaned it up with a flush trim bit in the router.  Ah crap. I was cutting the tenon depth with with a router bit and it slipped off the end into the table top. Time to improvise. 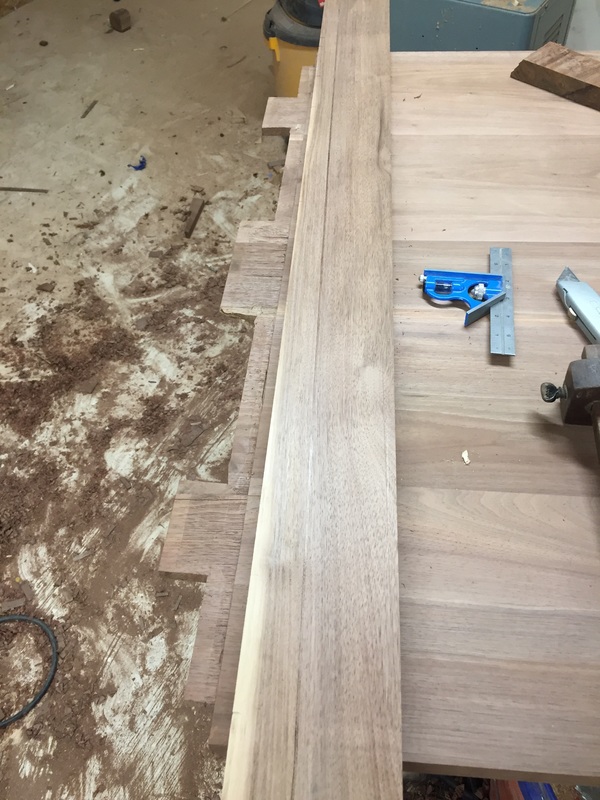 This mistake was easily fixed by trimming the edge of the tenon back slightly.
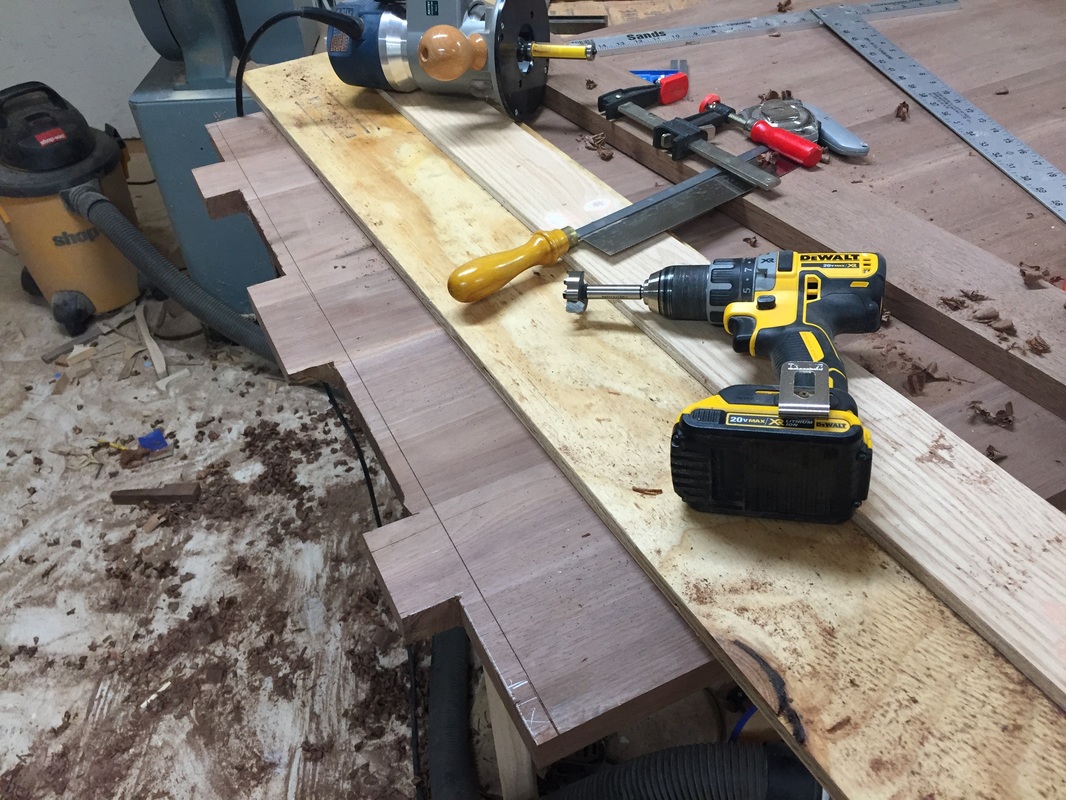
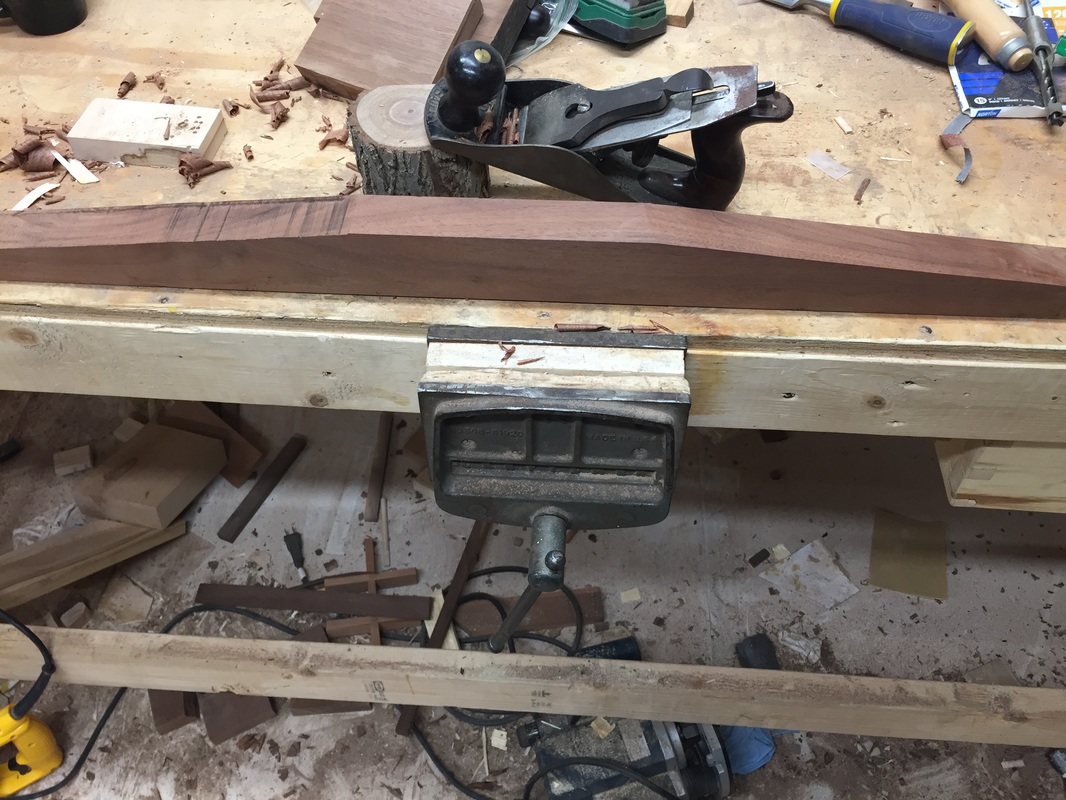
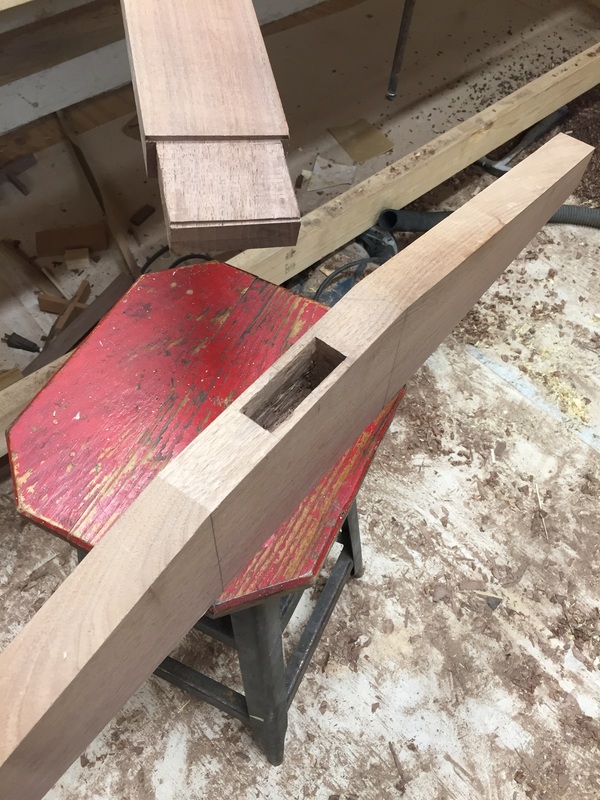
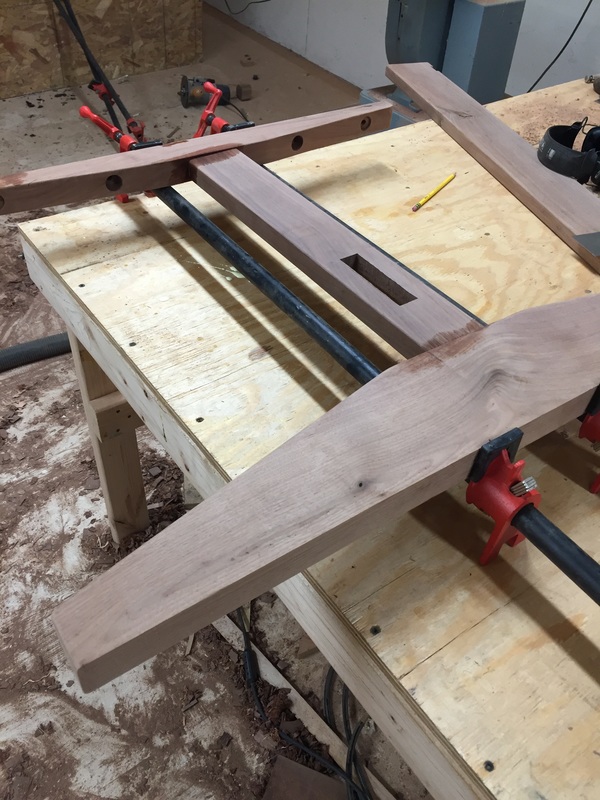
Next the breadboard is cut. First the deep mortise for the large tenons and then then a shallow mortise most of the length.
Repeat everything for the other side. All of this work will never be seen by anyone.
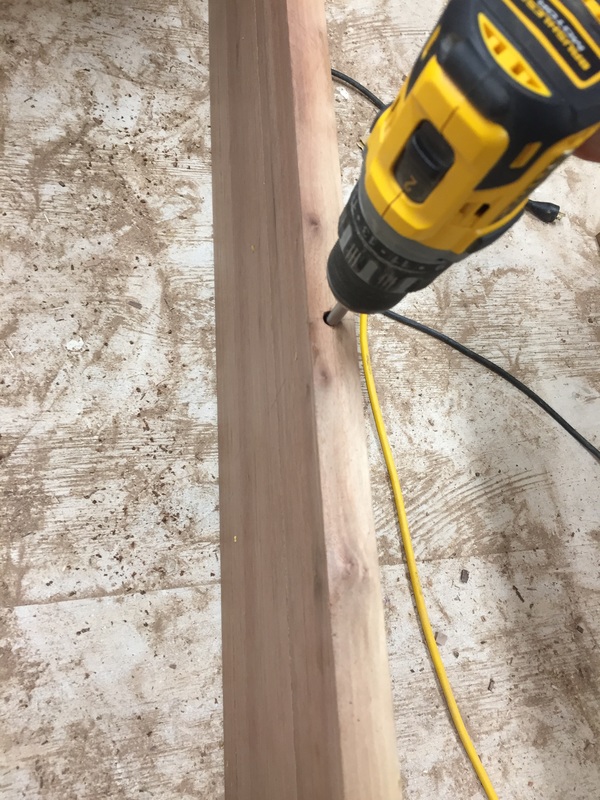
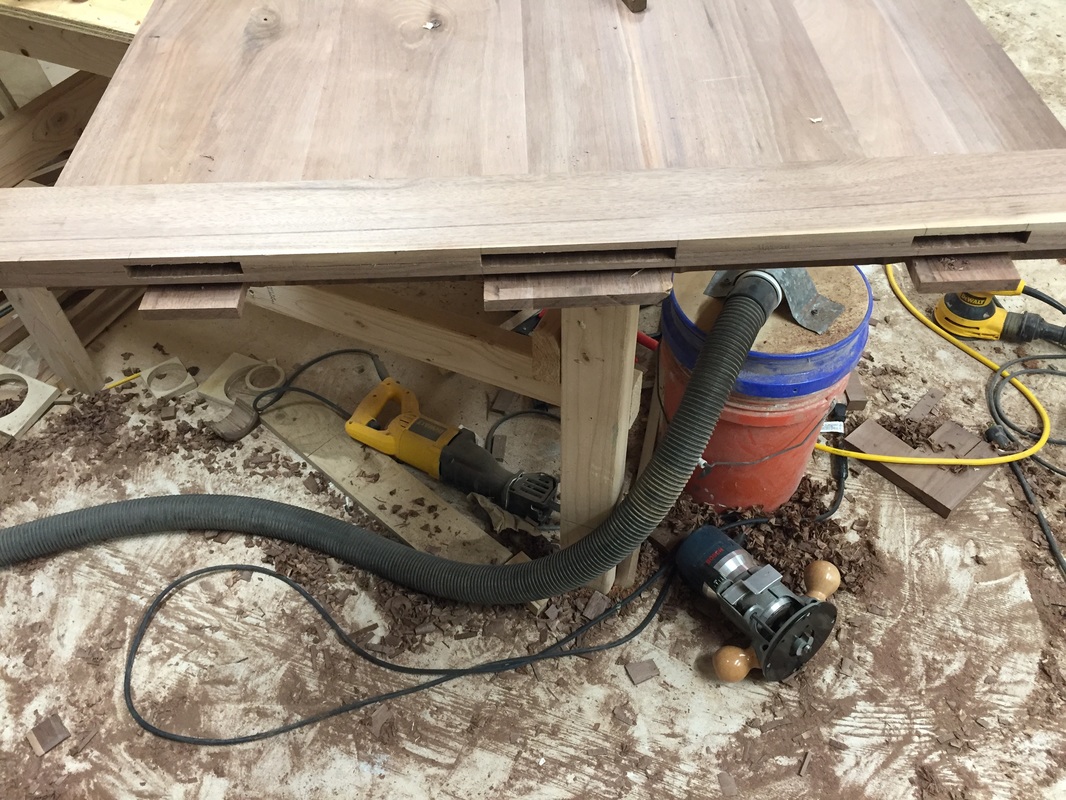
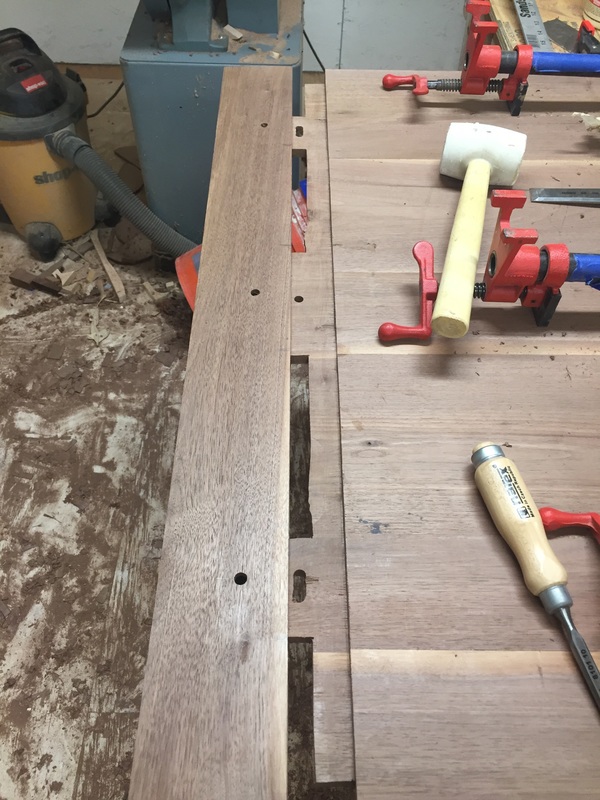
On the bottom side of the table, holes are drilled in the breadboard and center tenon. The outside tenons get slots. Dowels go through the holes to hold the end on. The whole reason for all of this is wood movement. The tabletop will expand and contract with the changing humidity throughout the year. Because the grain of the breadboard is perpendicular to the rest of the top, it will not expand the same. If it were glued on tight, it would eventually crack and possibly even tear itself apart.
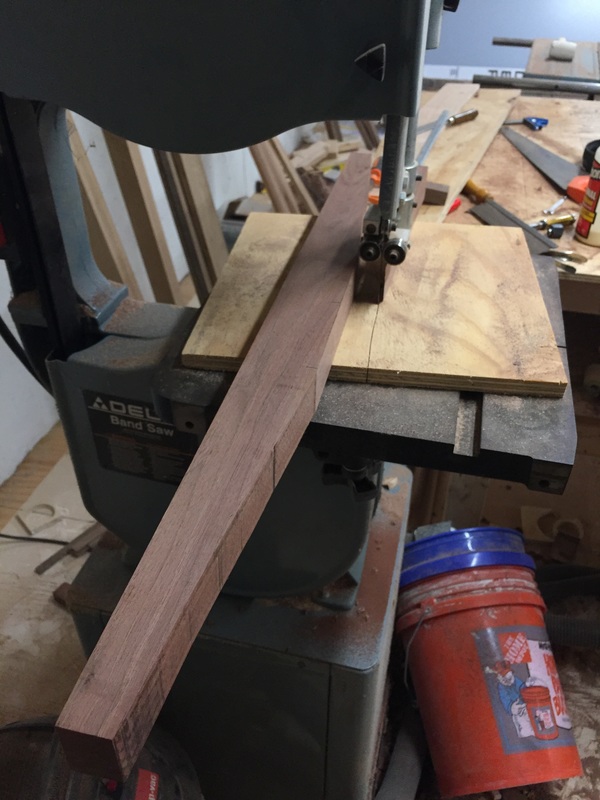
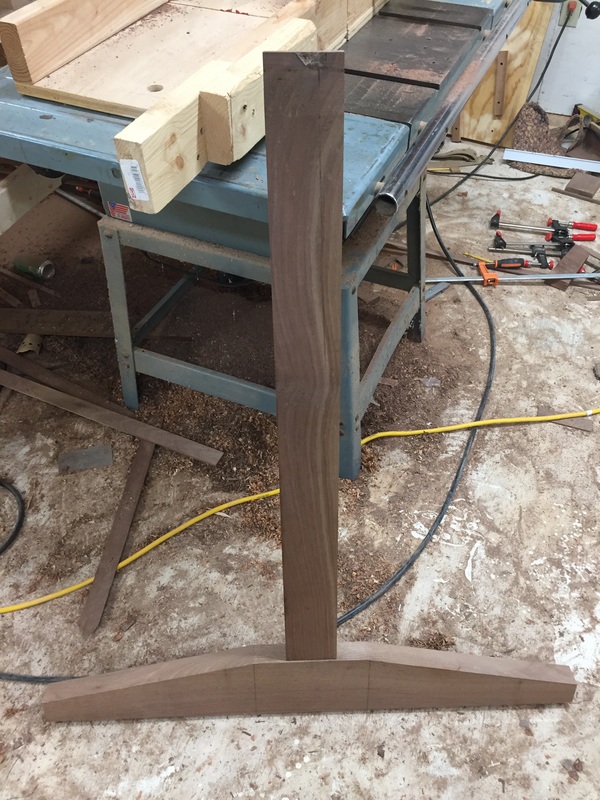
These are the supports for under the table to connect the legs to the top. They were cut out on the band saw and smoothed with a hand plane. 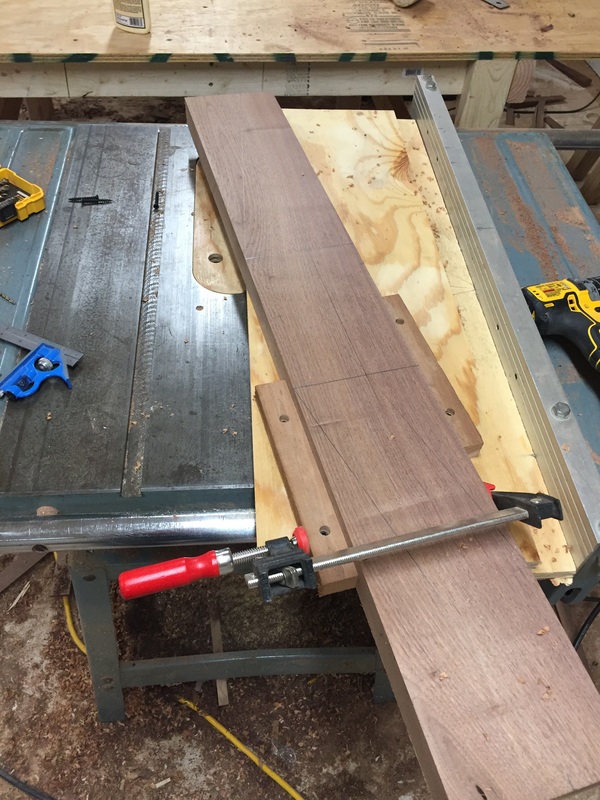 I wasn't happy with how rough the band saw left them so I made a new sled for the table saw for the bottom part of the legs.
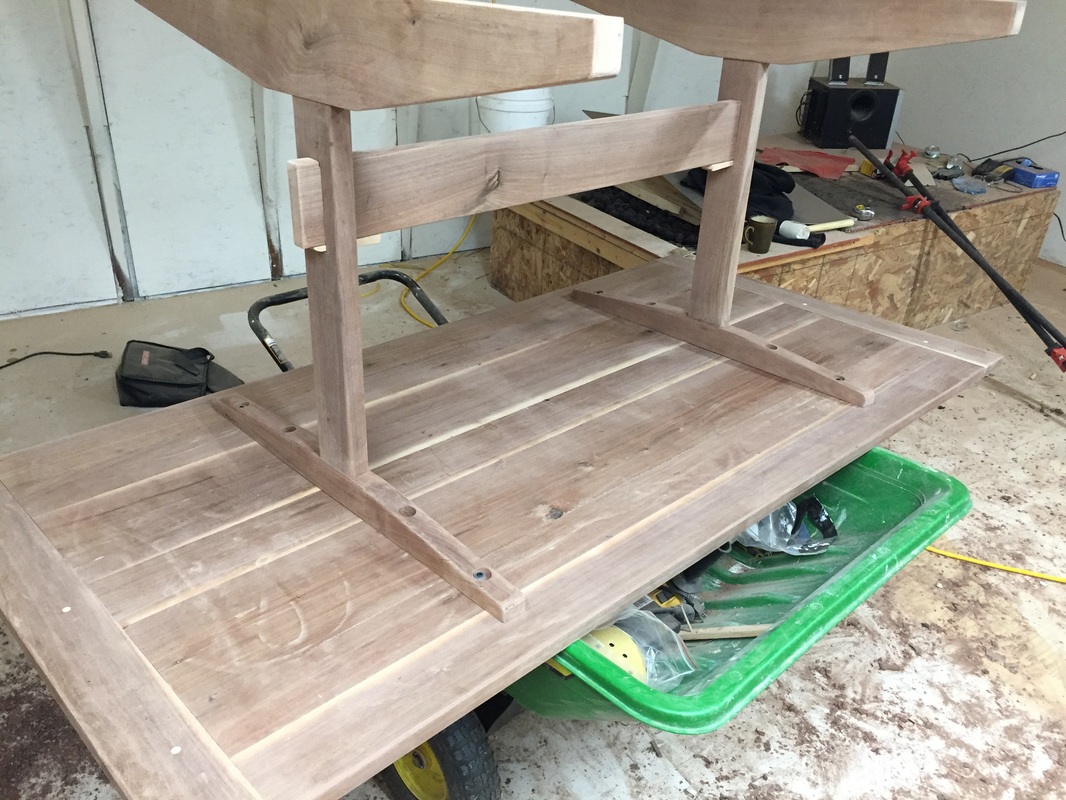
The legs have through mortise and tenons connection the base to the upright and the upright to the top pieces. 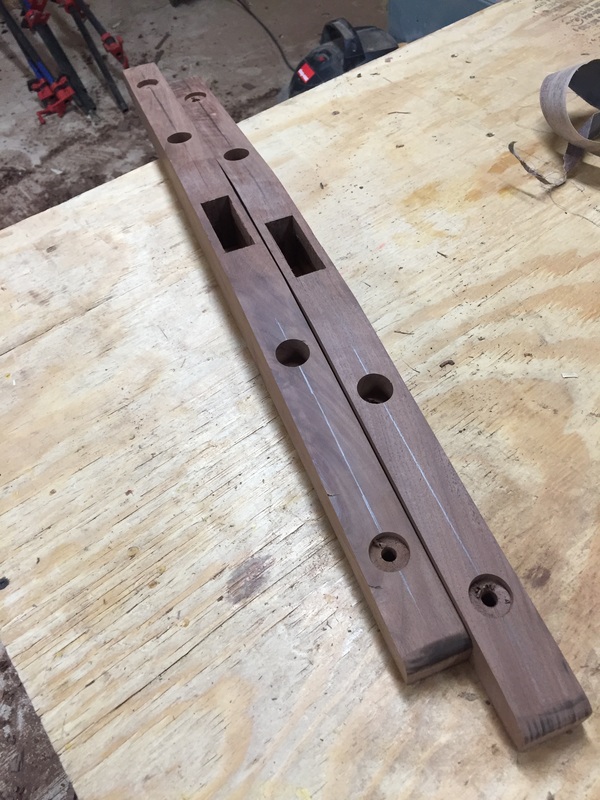 To connect the legs to the top I drilled oversize holes to allow for wood movement and countersunk holes to hide the hardware a little bit.
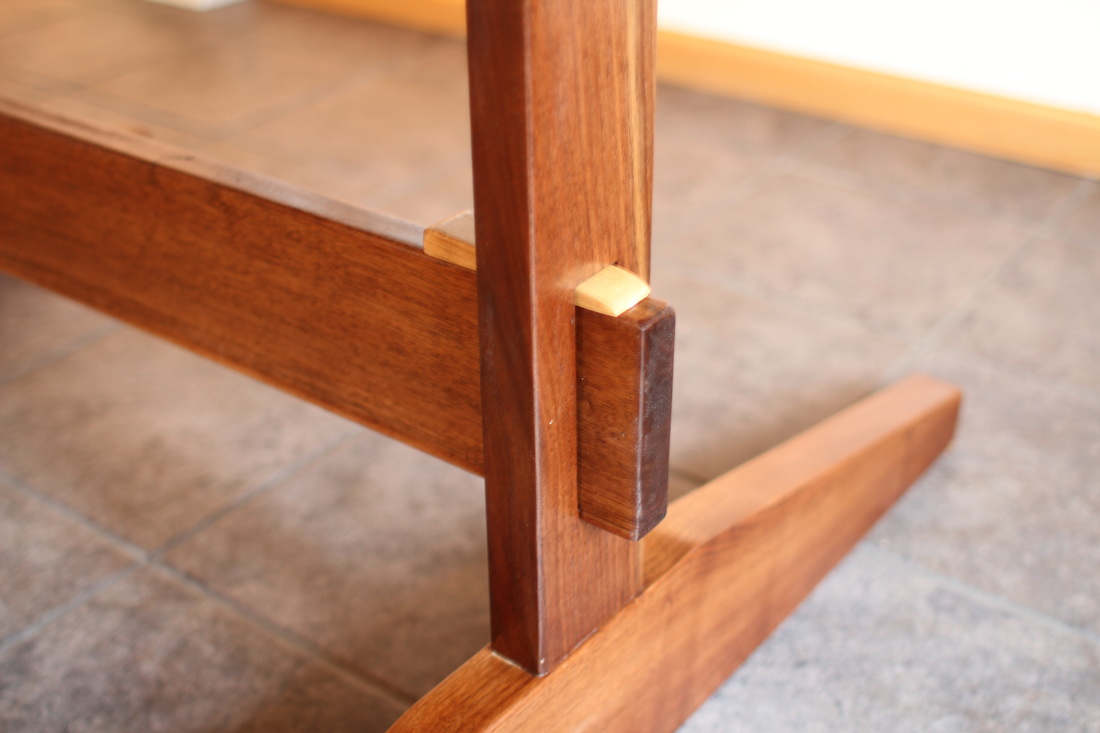
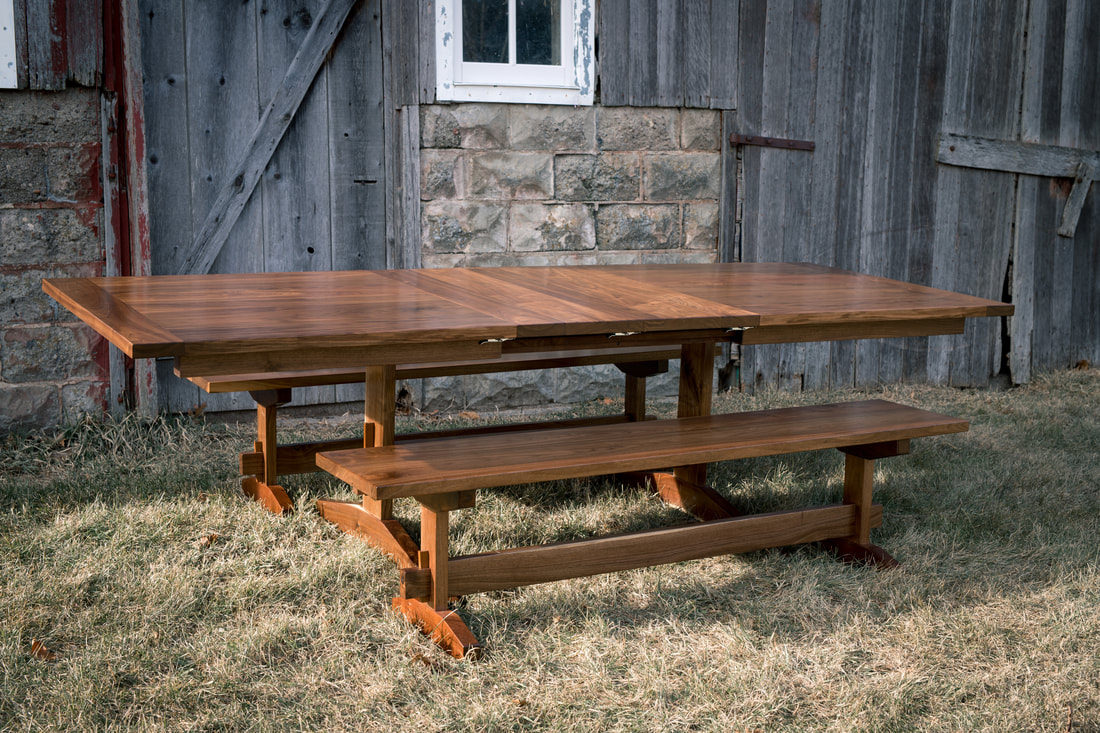
A through tenon was added for a support piece to go from leg to leg. This adds lateral support and prevents racking. This is one of the best parts of the process. It's the first time you can see the true beauty of the wood. The finish for this table is one coat of boiled linseed oil and 6 or 7 very light coats of polyurethane.
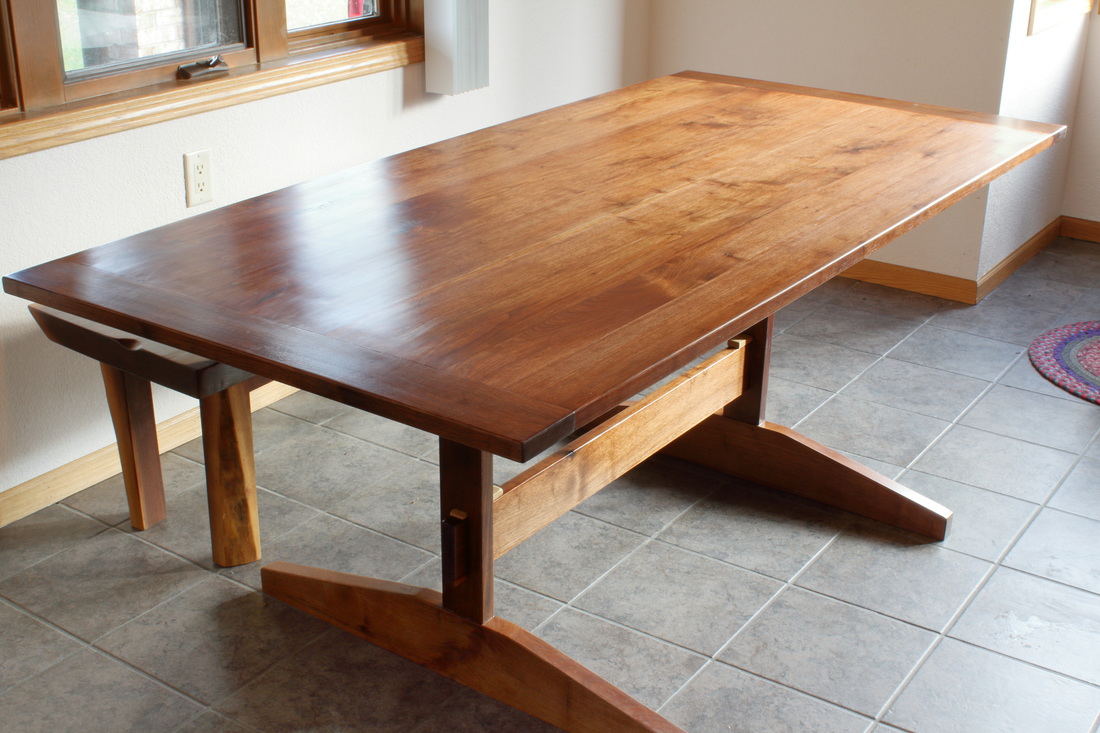 This was another great project. I love how all the little details came together and the breadboard ends were fun to learn. It was also awesome to have my dad help out at the start of the project.
The table is solid and should last forever.
1 Comment
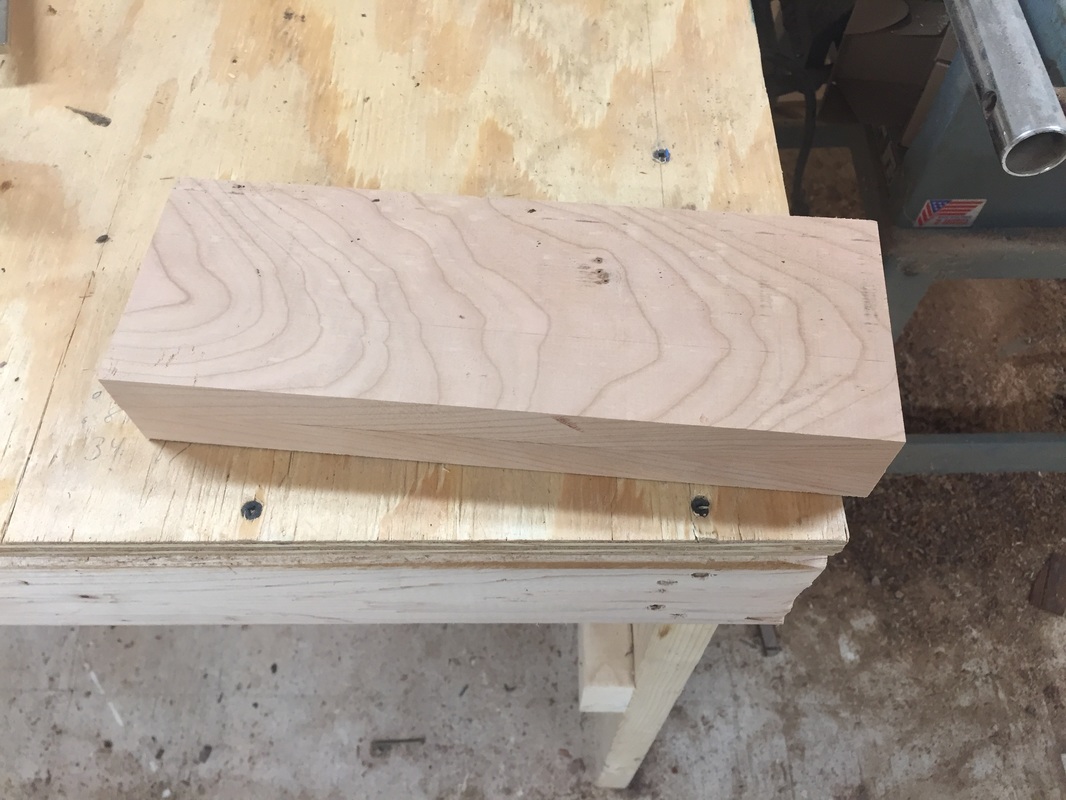
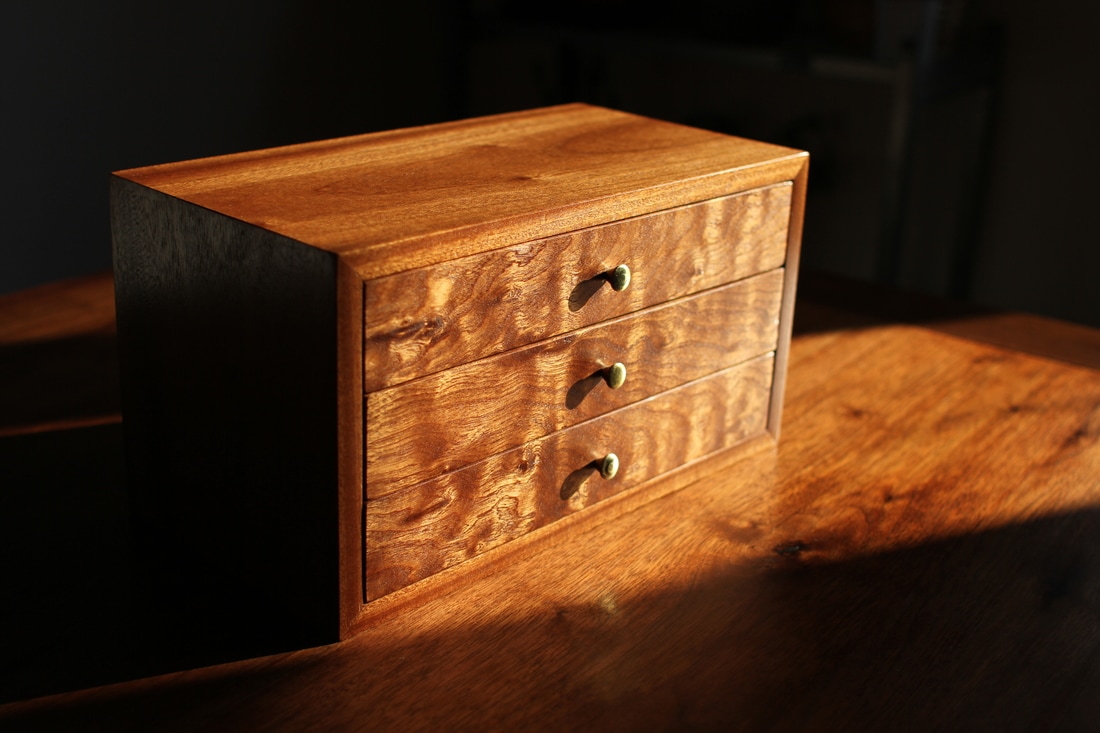
This week I built something fun, made some mistakes and learned some things.  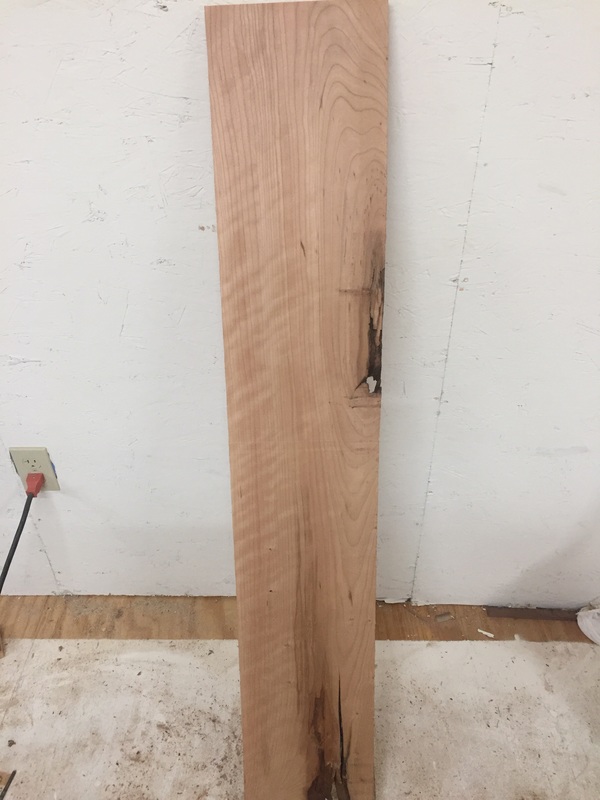 This is some cherry planned over from the chest of drawers project. I have tons of this left but I'm always finding little projects for it. Cherry is probably my second favorite wood. It is a little harder to work than walnut and not as pretty, but it's a little more durable.
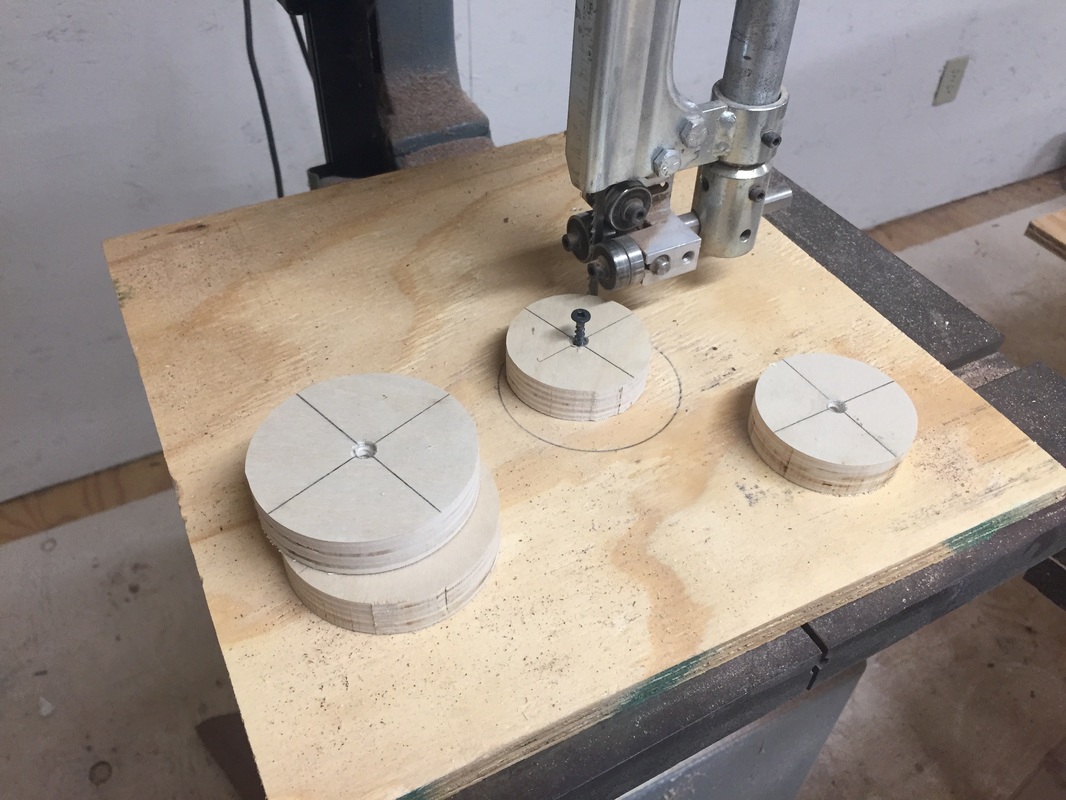
For the body I just cut out two pieces and glued them together to get the width that was needed. The wheels were cut on the band saw by screwing the center to a piece of plywood and turning the wheels.
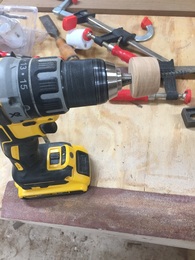
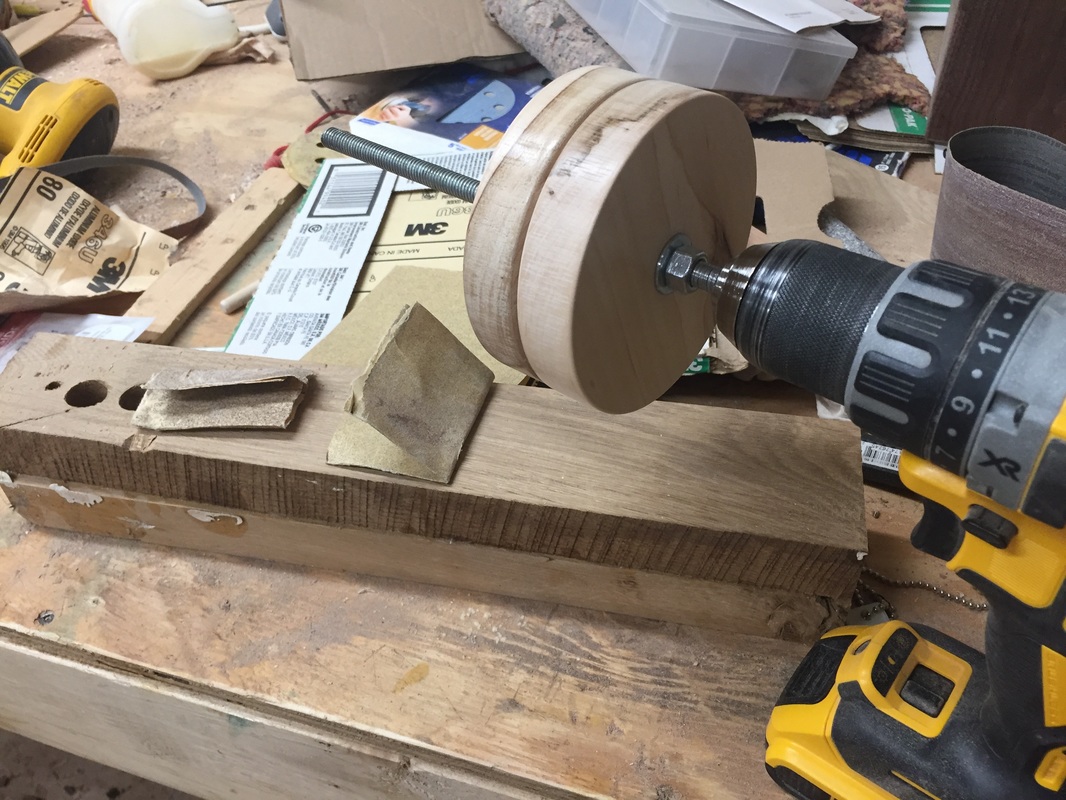
"Do you have a lathe?" - No. People always ask if I have a lathe. I do not. I find other ways to achieve the same results. The wheels were chucked in the drill and sanded smooth. It worked. 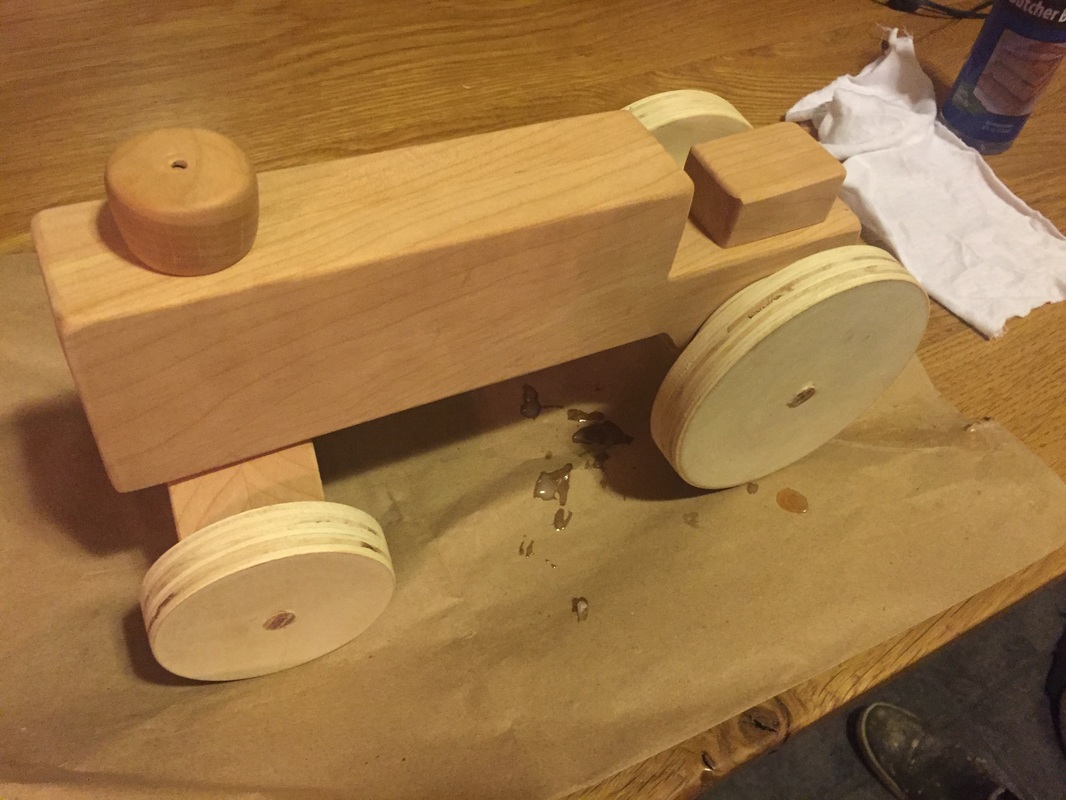 The body shape was cut out in a few quick cuts on the tablesaw and after some light sanding it was ready for some finish! 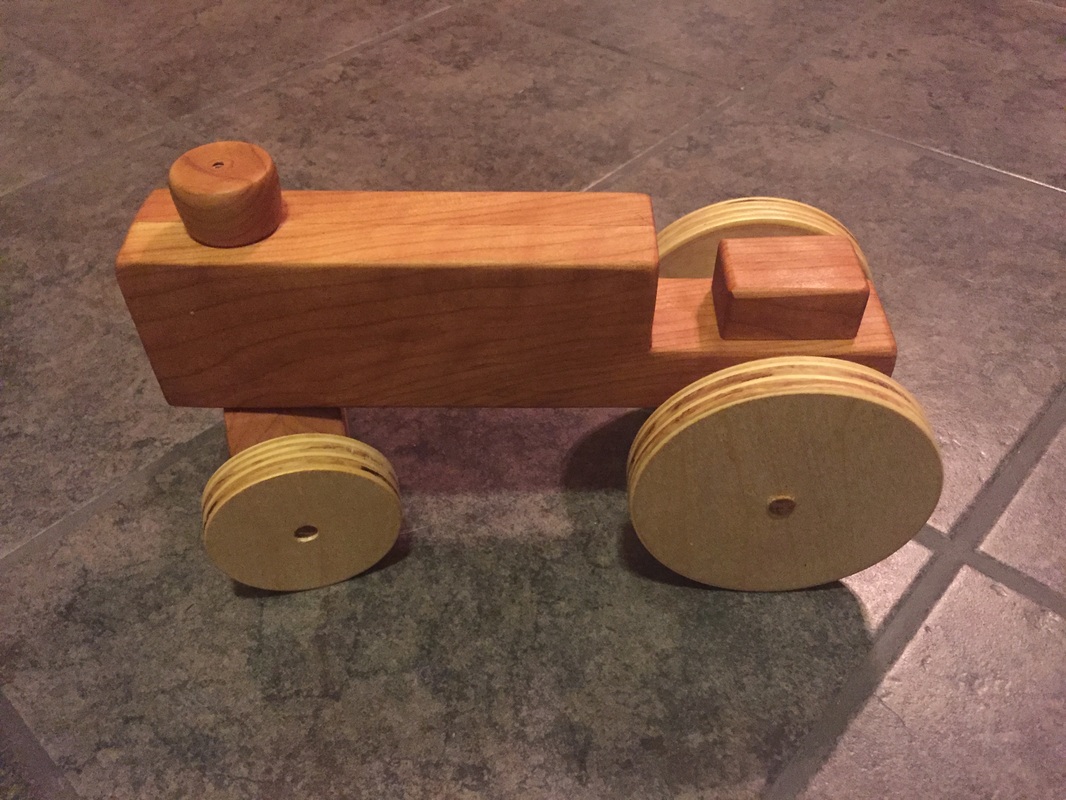 Done? I hate these wheels. I used birch plywood for the first set of wheels. They will resist warping with changing humidity levels. Too bad they are super ugly. Perfect for the campfire pile. 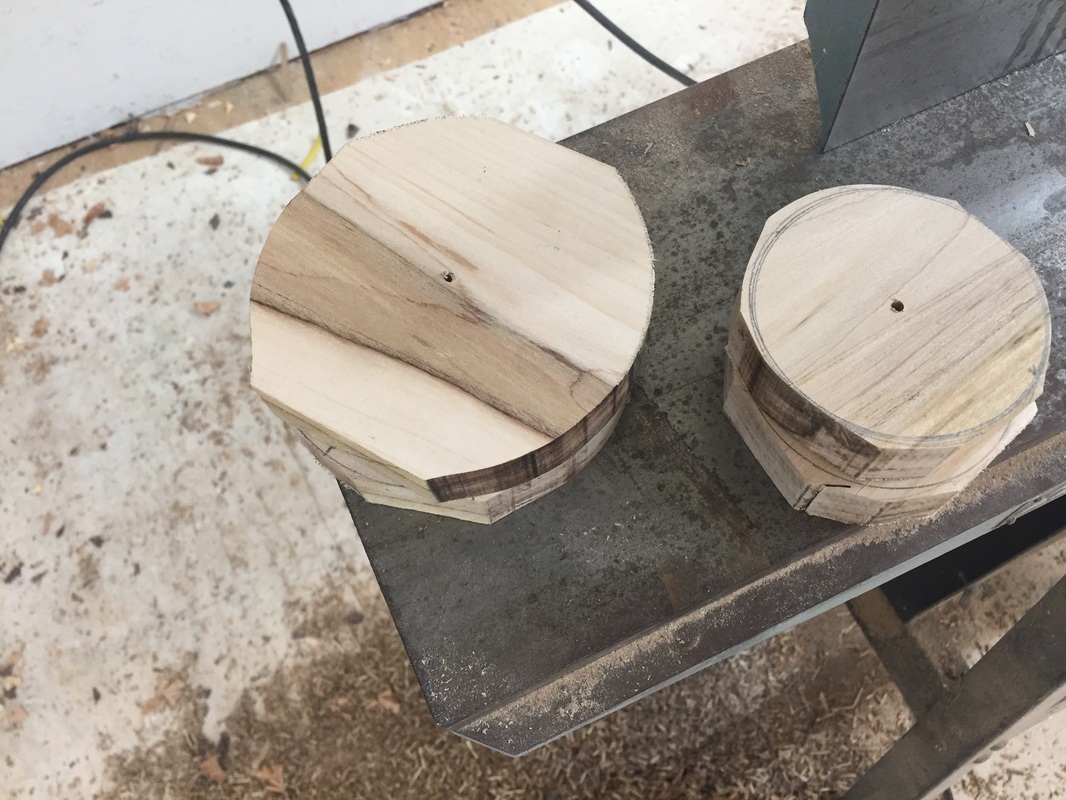 Hard maple wheels roughed out on the band saw. The maple was too hard for the bandsaw to cut the tight radii. Time to learn something new and make a new jig. 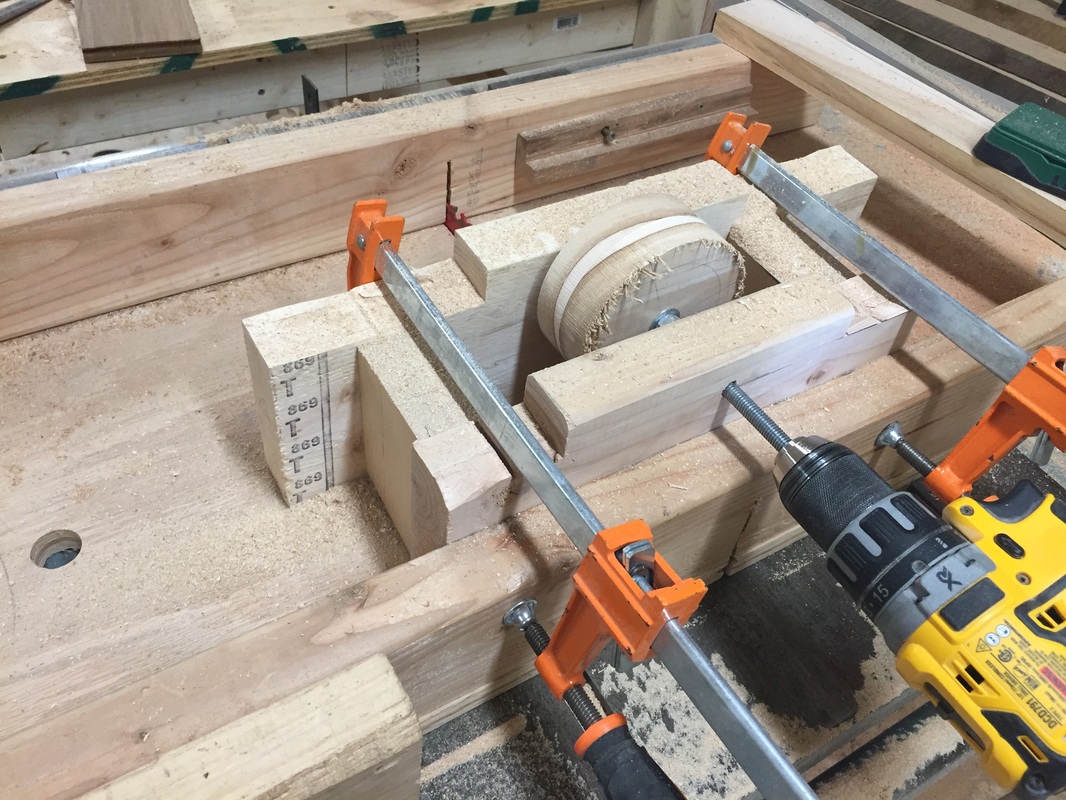 This took about 15 minutes to throw together. It is an attachment for my crosscut sled for making wheels on the table saw. The blade is raised little by little while the drill spins the wood. Perfect circles every time.
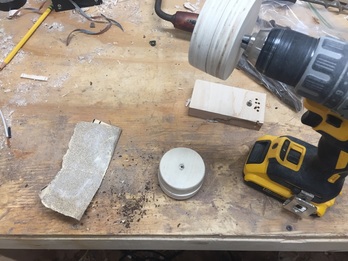
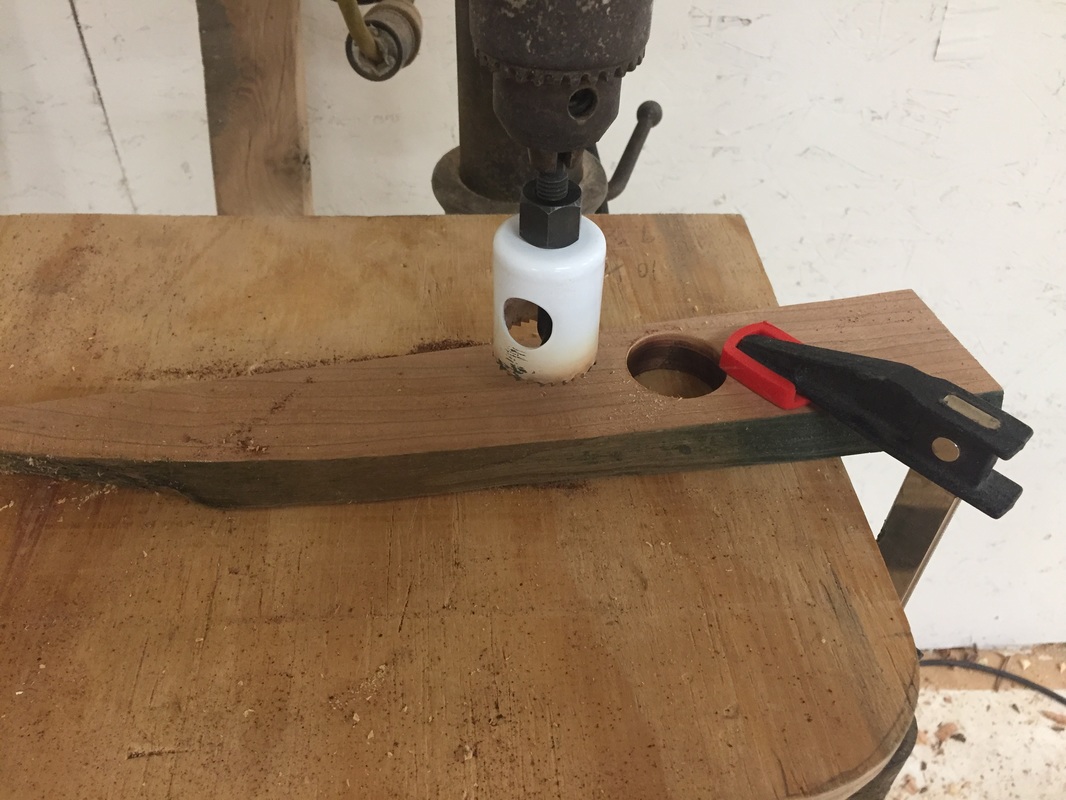
Back to the drill for some sanding and then over to the drill press to make some spaces for the rear wheels. My hole saws only go up to 2" so I couldn't use one of those for the wheels.
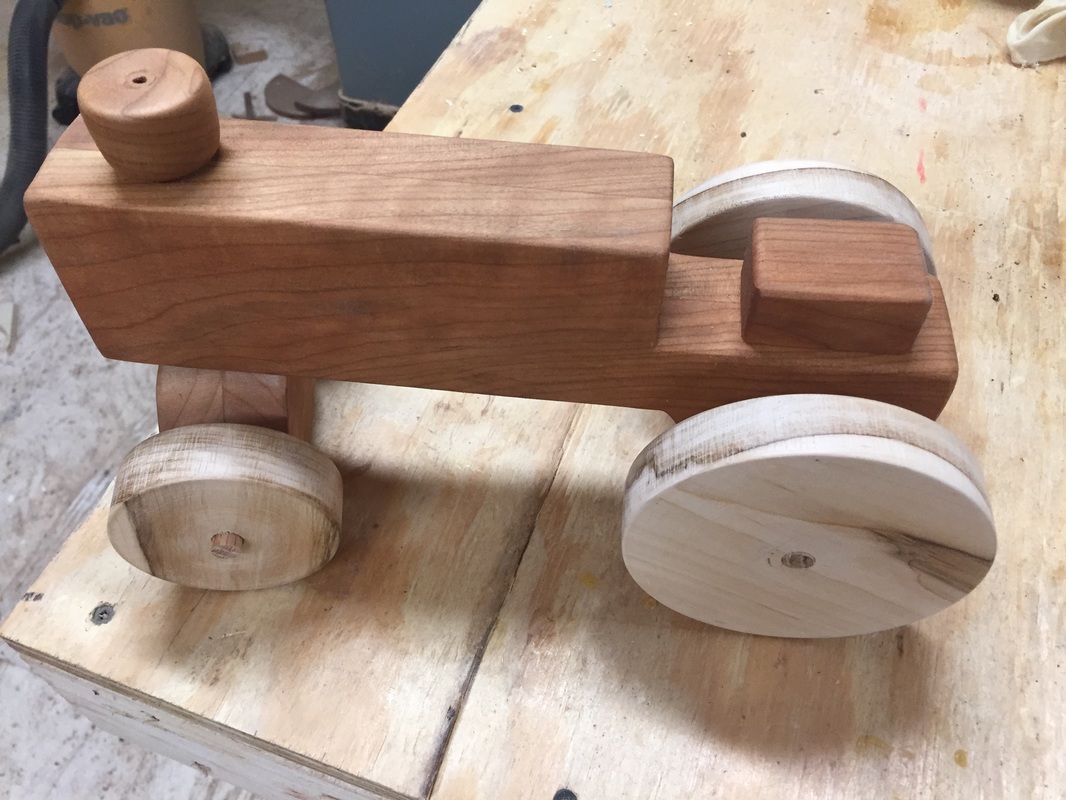
Butcher block oil makes a great kid safe finish. 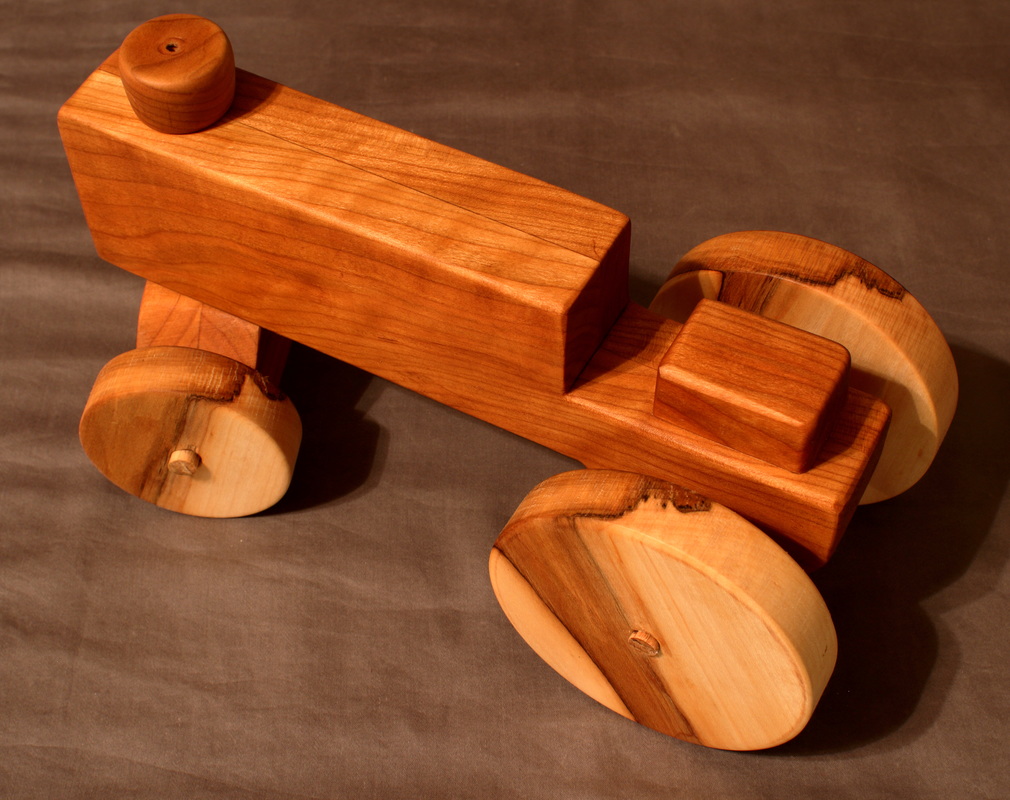 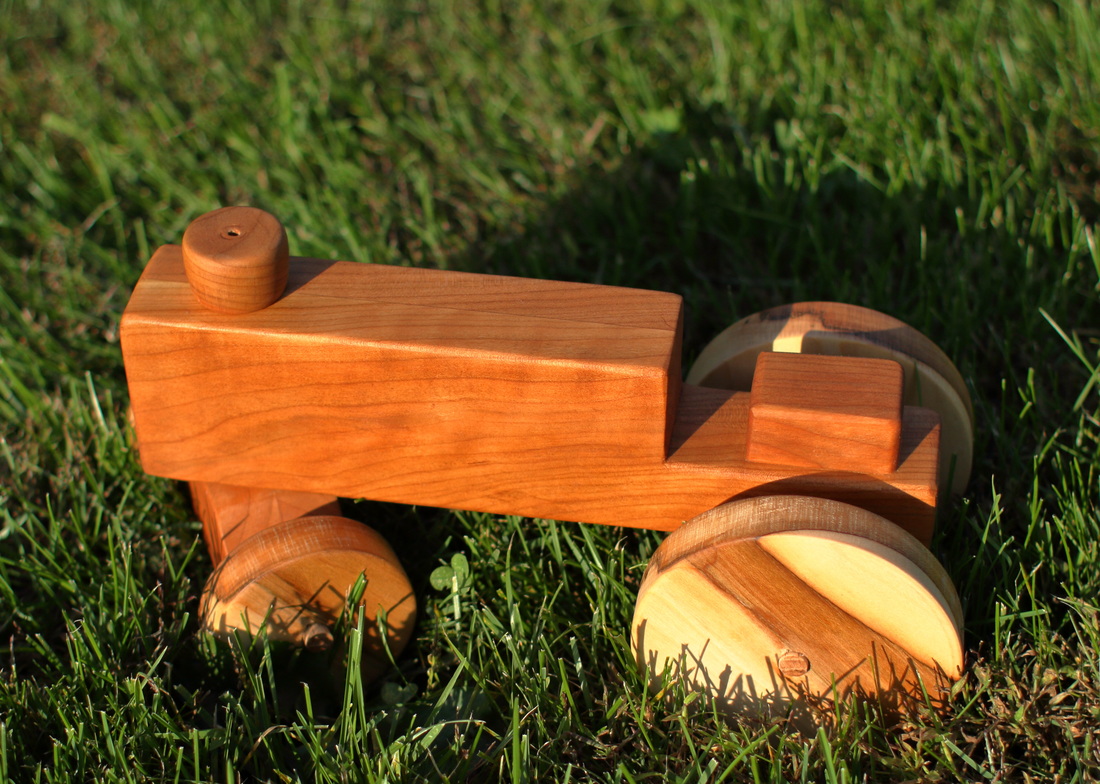 Let's bale hay! 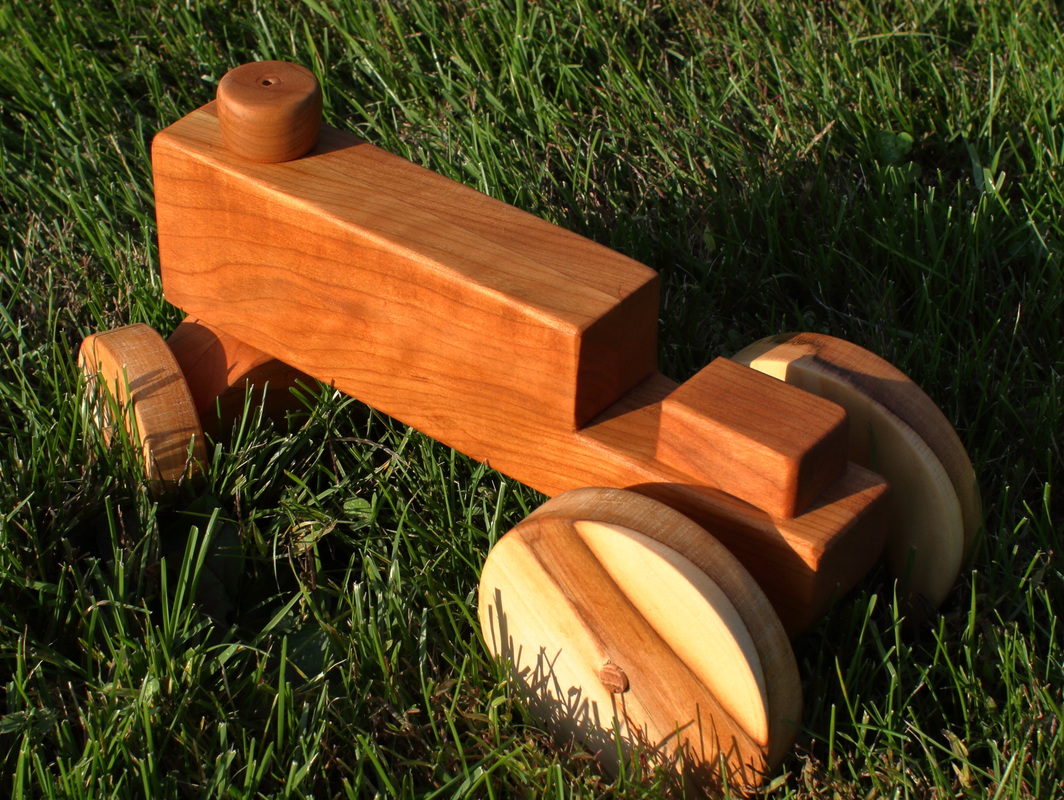 |
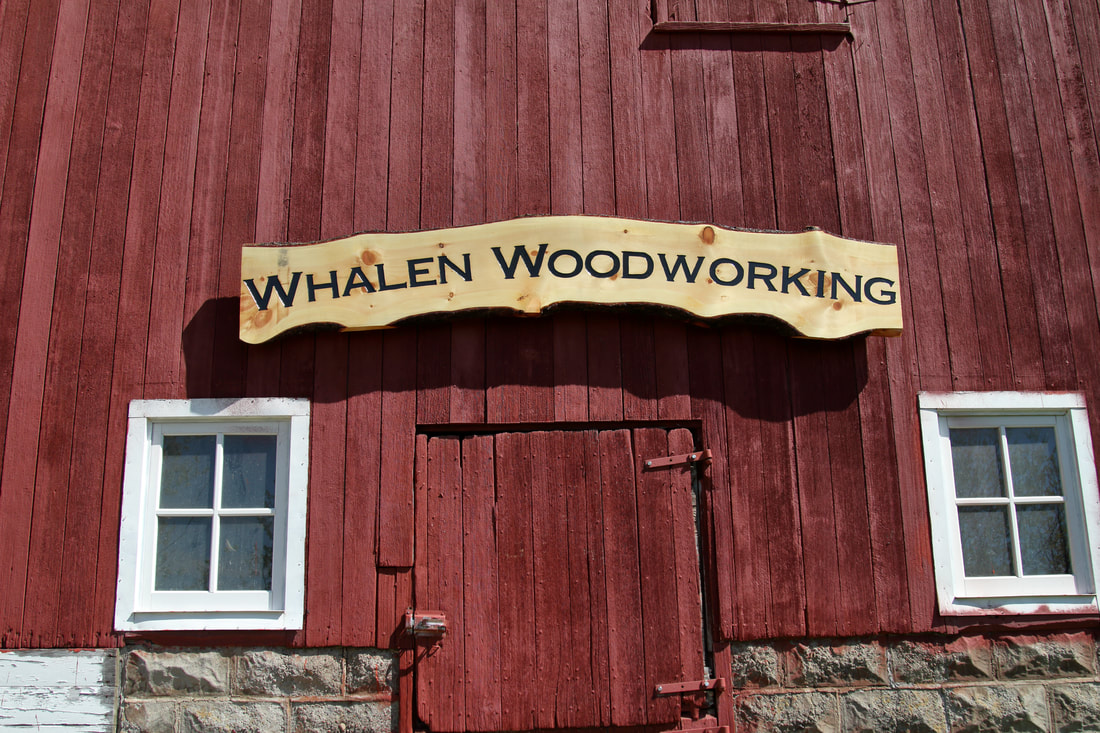
Aaron Whalen:A blog about woodworking in Southwest Wisconsin Previous Projects
Archives
February 2024
|